Panna Cotta
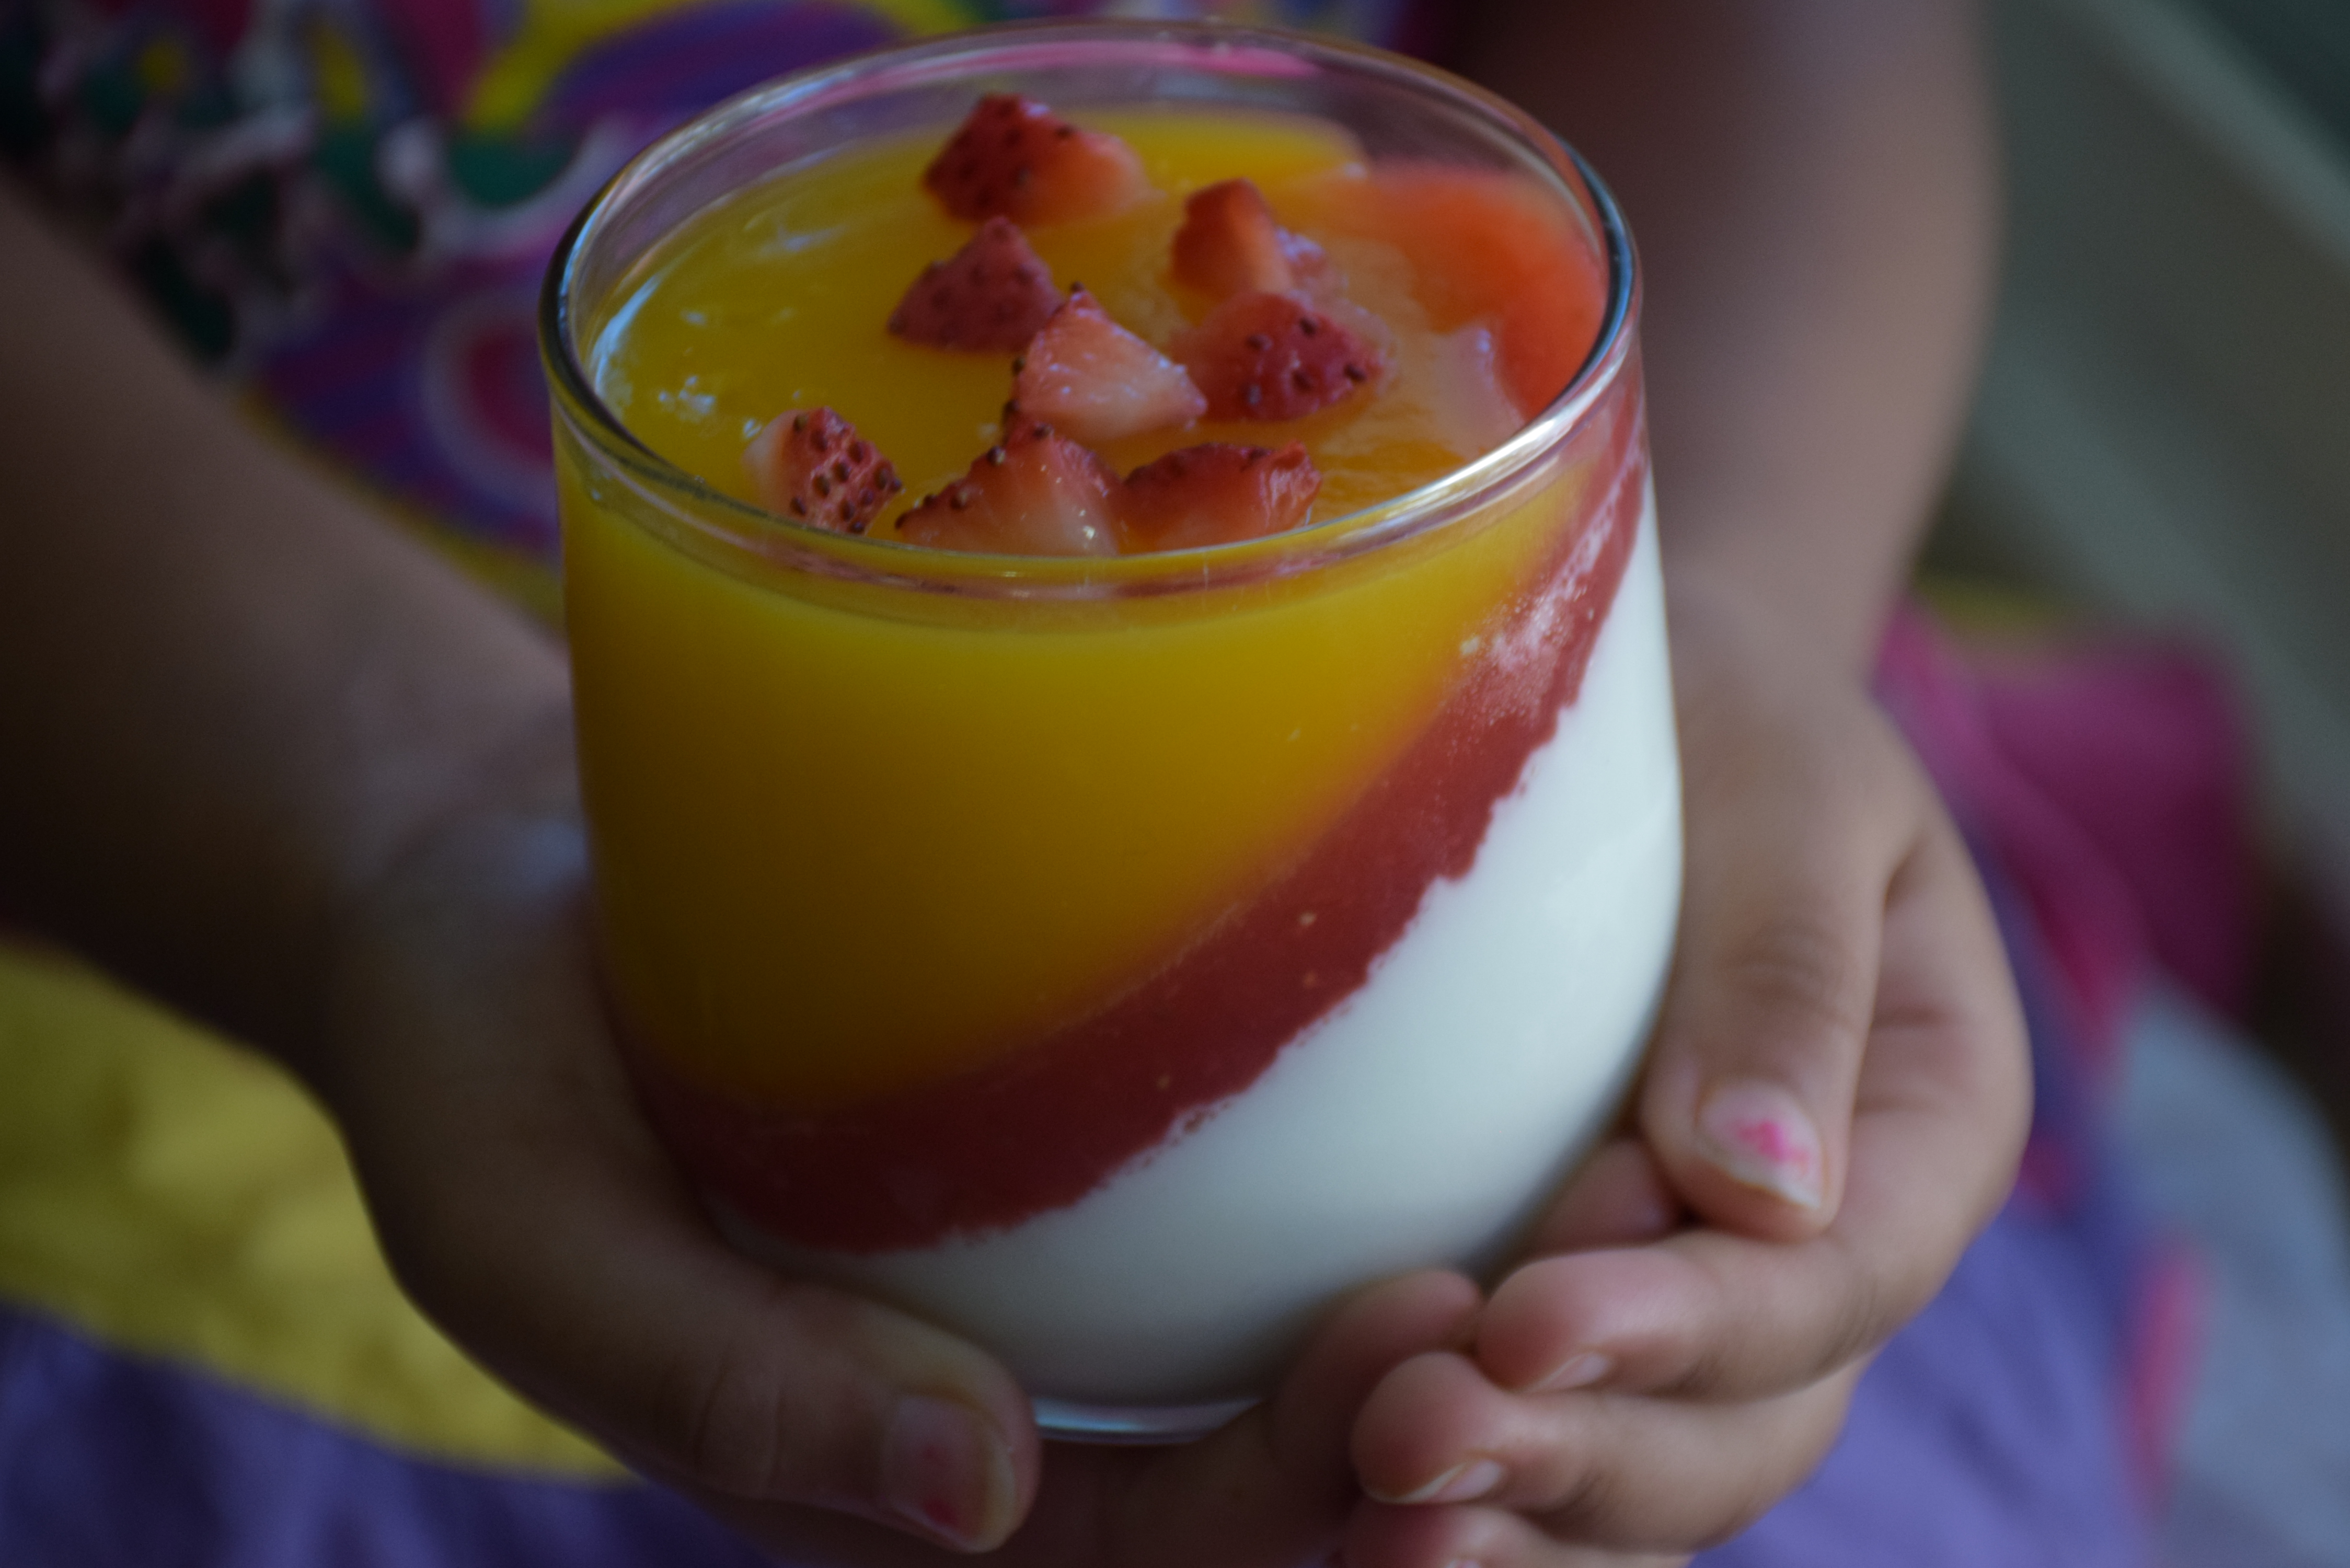
Are you expecting a pack of guest for your house-warming party or any celebration party? Then this dessert is a “Guest pleaser” for sure. Panna Cotta , an Italian dessert where panna cotta means “cooked creme” could be prepared in advance and refrigerated for a week. It is a heavy , cooled dessert which needs just some of your patience to set . Today I am going to share with you the recipe without any Gelatin and with seasonal fruits — Mangoes and Strawberries. You may use kiwi, pineapple,watermelon, cantaloupe melon , orange juice, etc any type of seasonal fruit for the layering and garnishing. The base that is “Cooked cream” will remain the same everywhere.
So tell your guests to leave some space empty for this dessert after the dinner. 😉 . Looking at its fancies, don’t think that it is an impossible dish which looks pleasant only in restaurants. You have to be patient and careful while preparing it ,rest will fall into place naturally. Lets have a look at the recipe>>
INGREDIENTS:
For White Layer>>
1. Heavy Whipping Cream – 2 cups
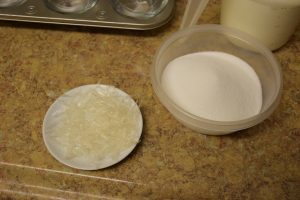
2. Agar agar strands – 4 (long chopped in pieces)
3. Water – 1 cup
4. Sugar – 2 tbsp
5. Vanilla – 1 tsp
For Red layer>>
1. Strawberries pureed – 1 and 1/2 cup
2. Agar agar strands – 4
3. Water – 1/2 cup
4. Sugar – 1 tsp (optional)
5. Rooh Afza (store bought) – 1/2 cup(optional)
For Yellow Layer>>
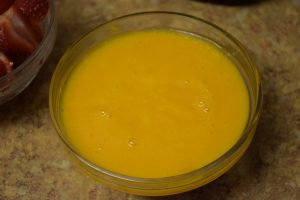
1. Mangoes peeled, cut and pureed – 1 cup
2. Water – 1 cup
3. Sugar – adjust to the sweetness/sourness of mangoes
4. Agar agar strands – 4
5. Pineapple Crush or concentrate syrup(Haldiram’s) – 1/2 cup (optional)
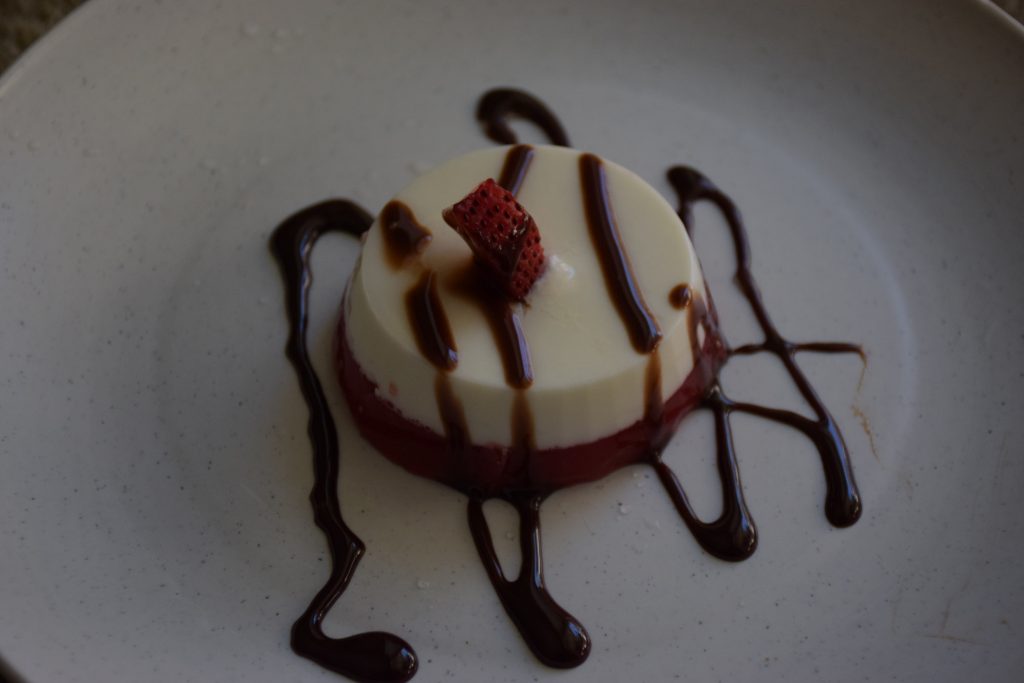
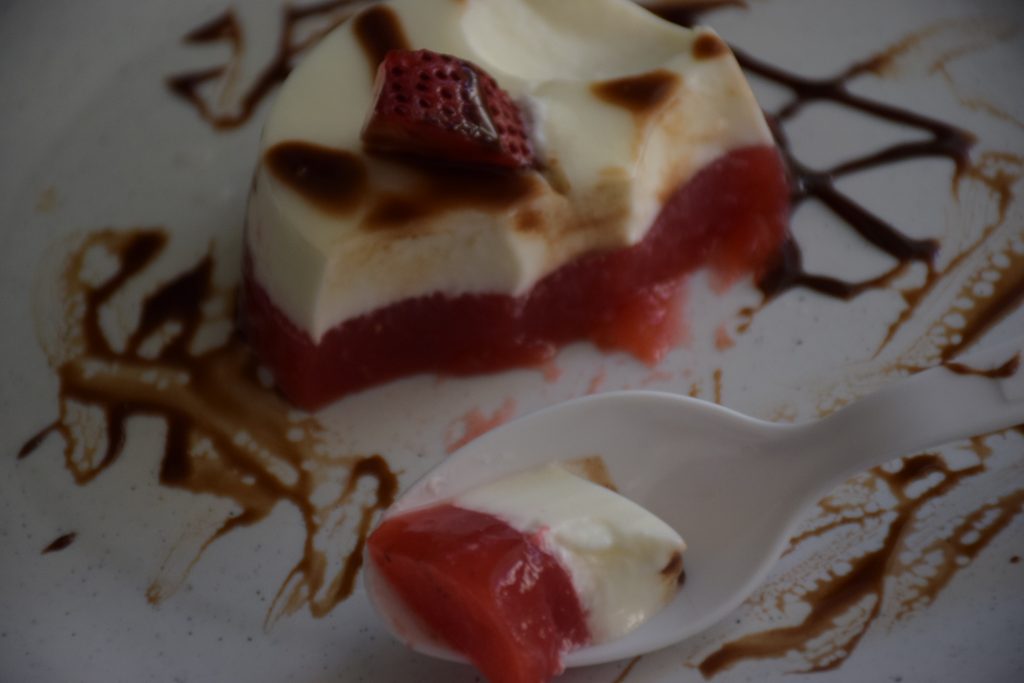
For Garnishing>>
1. Chopped strawberries – 2 -4 tbsp
2. Chopped mangoes – 2-4 tbsp
3. Chocolate syrup (Hershey’s) – a few drops
4. Strawberry syrup (Hershey’s)- a few drops

METHOD:
For each layer – | Preparation time : 10 mins | Setting time : 4 hrs or overnight | Serves 5-6 persons |
Preparing white layer :–
1. Take two saucepans. In one add the heavy whipping cream and sugar. In the other add water with agar -agar strands. If you have agar-agar powder(1 tsp) then , you may use that too.
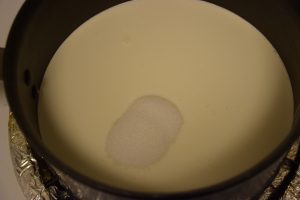
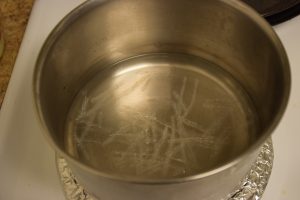
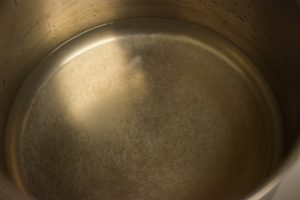
2. Simmer the cream on medium till you see bubbles at the edges while stirring. Boil the water with agar agar such that it all dissolves well and no strands are visible in water.
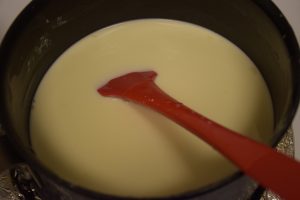
3. Add the agar-agar solution to the simmered cream and mix well. Also add a few drops of vanilla extract now.
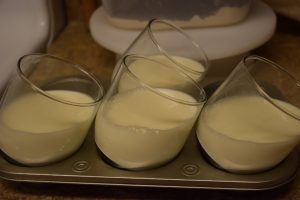
4. Line some glasses in a cup-cake tray at 45 degree angle such that the white cream while pouring will form a slant level. You may also use ramekin cups or silicone molds or cupcake molds for filling.
5. Let the hot mixture cool a little to room temperature before filling in the cups/glasses. Pop in the bubbles with a spoon so that you get a finished smooth layer after filling. Transfer it to a mug or a jug with a pout so that it becomes easy to pour.Pour the mixture in the glasses now. [I accidentally poured the hot mix in the glasses ,hence the white layer is uneven.] Also don’t allow it to cool more or it will set in the pan itself.
6. Cover the glasses and the ramekin cups with plastic cling wrap so that it prevents any moisture from entering while it sets. I kept it overnight, you may keep for four hours too.
Preparing strawberry layer :–
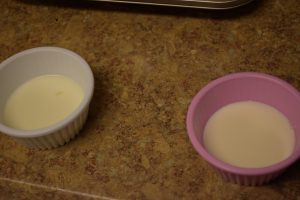
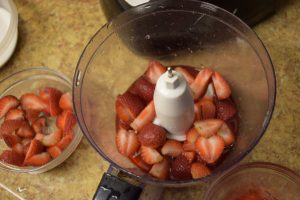
1. Take some (12-15) fresh strawberries , save 4-5 out of them for garnishing. Remove their tops and puree them.Add rooh afza while crushing.
2. Boil some water again with agar-agar strands. Stir continuously so that they are dissolved properly. Add sugar if needed. When you don’t see anything floating in the water , it means it is ready.
3. Now add the strawberry puree to it and check the sweetness and adjust it.
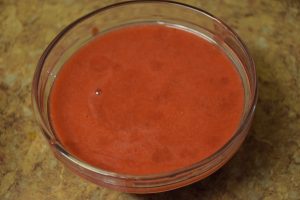
4. Transfer it to a pouring mug. Let it cool to room temperature for 5 mins. Pop in the bubbles with a knife or spoon.

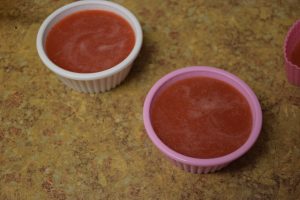
5. Take out the already set cream layered glasses and cups. Pour the strawberry layer on the top of cream layer leaving some room for the yellow layer in the glasses.
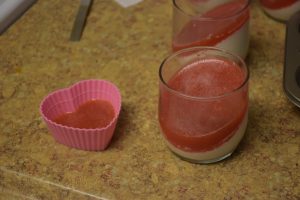
6. Cover with plastic wrap again and the glasses ,cups go in the refrigerator again for 3-4 hrs.
Note : Please make sure that the strawberry puree is at room temperature before pouring in the glasses. Also don’t take out the glasses and cups before you are red with the layer to be poured in. The cream layer could lose shape because of change in temperature.
Preparing mango layer :–
1. Take 2 ripe mangoes ,peel and cut them. Puree them Or you may use mango juice. Add pineapple crush while pureeing.

2. Boil water with agar-agar strands. Heat till well dissolved .
3. Add the mango puree to it and let it simmer till everything gets dissolved. Adjust the sweetness and turn off the heat.
4. Let it cool down to room temperature. Pour it into a pouted jar /glass.
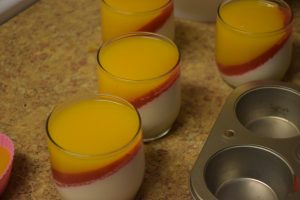
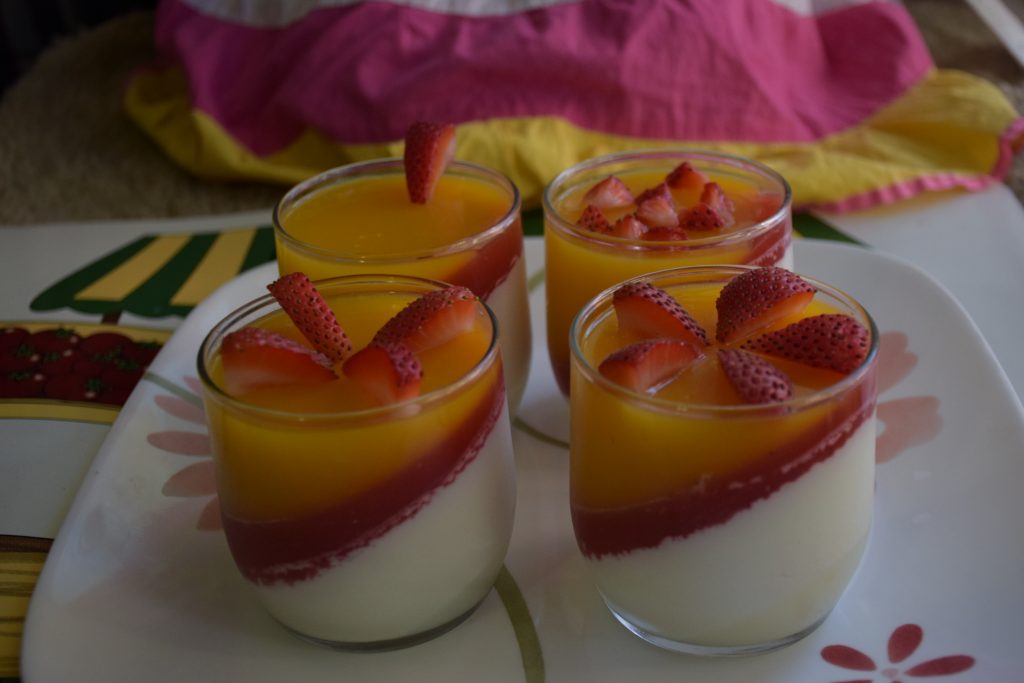
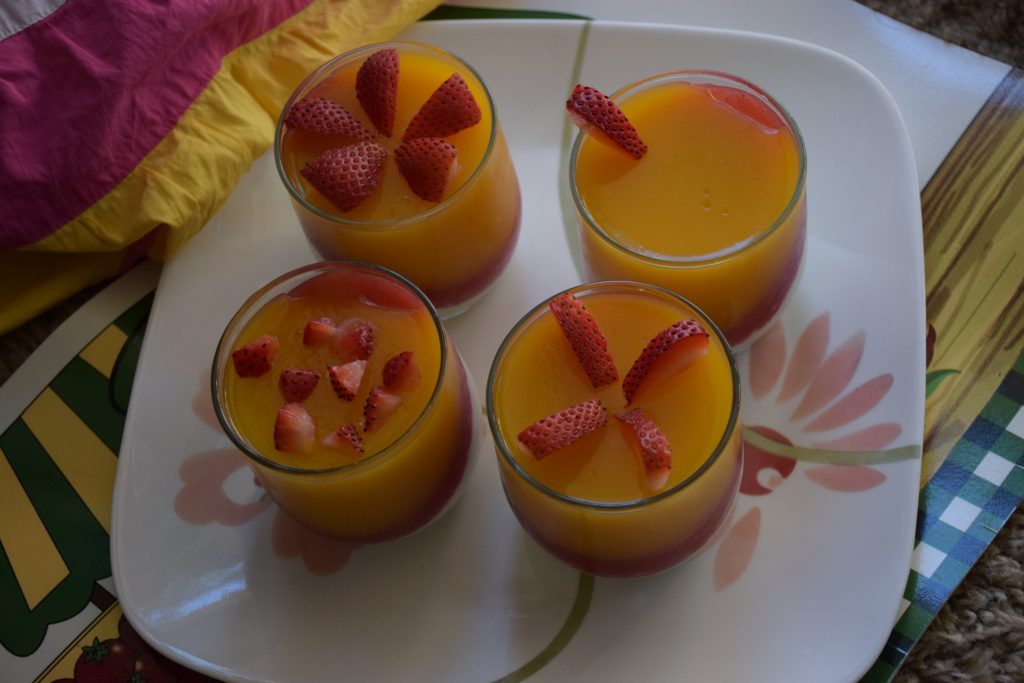
5. Take out the set red-white layered glasses . Remove their cling wrap and pour the mango puree. Also fill in the molds.
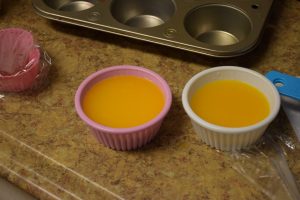
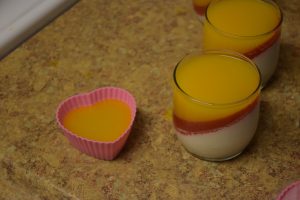
6. Cover them with plastic cling wrap again and put in refrigerator for another 2-3 hrs. The time for setting depends on the thickness of layer and quantity of layer. You will see that it sets faster in small molds rather than in cups or glasses.
Garnishing :–
1. Cut some fresh mango into small pieces. Cut some strawberries into tiny pieces.
2. Remove the cling wrap from the molds and run a knife into the edge of molds or cups.
3. Invert them one by one in a plate, top it with your favourite fruit.
4. Drizzle some chocolate syrup or strawberry syrup or honey .
5. Have a bite and enjoy life!! 😀
Please feel free to post queries, doubts and suggestions below. I have tried this for the first time, so expect some advices!
Till then Happy cooking , 🙂