Home-made Mandir DIY
Hello Readers !! Wish you all a Very Happy New Year ! I started this year with a resolution to make a temple for all the Deities I have at home ,so that I get a sense of satisfaction that we have a space for them. I know , however, its the other way round. Its us who are given a chance to live ,to share a space or to share a meal with our family ,friends and the whole world.
Last year in Dec, while worshiping as usual , I happen to knock down one of our God’s frame, and I felt so bad about it, that I decided then to get a covered shelter for all.
This post is to inspire all those who wish to buy a temple or Mandir for their home, but can’t due to any reasons. So making Temple at home is not at all that difficult or expensive anymore. Just say,”Jai Mata Di”, and start your work.
However, I still agree that the real God lives within us and our Body is the only “Real Temple”. So Keep it clean,healthy and nourished just like any Holy place.

REQUIREMENTS:
1. Old or new Carton box – 1 (Mine was 14.5″ by 10″ by 13.5″ in size )
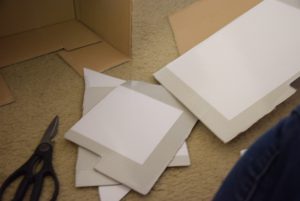
2. A pair of Scissors
3. Tissue paper/Paper towel/White tissue napkins – 5-6 sheets or as needed
4. A bottle of white adhesive glue
5. Scotch transparent tape – both wide and narrow
6. Cutter – 1
7. Thermocole/ Soft Foam – 1 piece
8. Acrylic Paints – Copper, Brown, Dark Brown, Black, King’s Gold,Bronze
9. A set of Paint Brushes
10. Palette for paints or water colors
11. Varnish (I used Glossy finish)
12. A pencil
13. A scale or foot-rule
14. Sparkle Glue pens (optional)
15. Decorative Lace or tapes for Border (optional)
16. Bells (optional)
17. An Inch tape or measuring tape
METHOD:
| Preparation time : 4 to 5 days (Every day 1-2 hrs )|
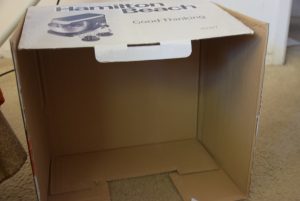
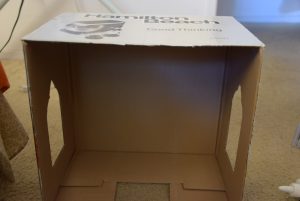
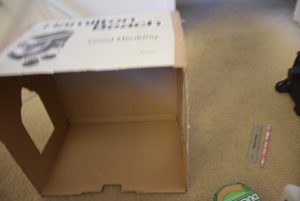
1. I took an old Hamilton Beach Stand Mixer’s carton ,which I had retained since once year for storing some decorative materials. This DIY was inspired from the internet, where I saw how to transform a carton into a temple. Initially I thought of making the temple from wooden pieces , but taking into account the expenses, the time of assembly and procuring the materials, I skipped that idea. So to get the wood kind of look , I followed these steps. 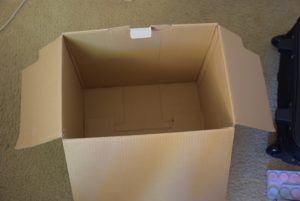
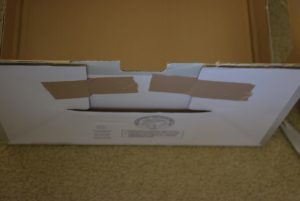
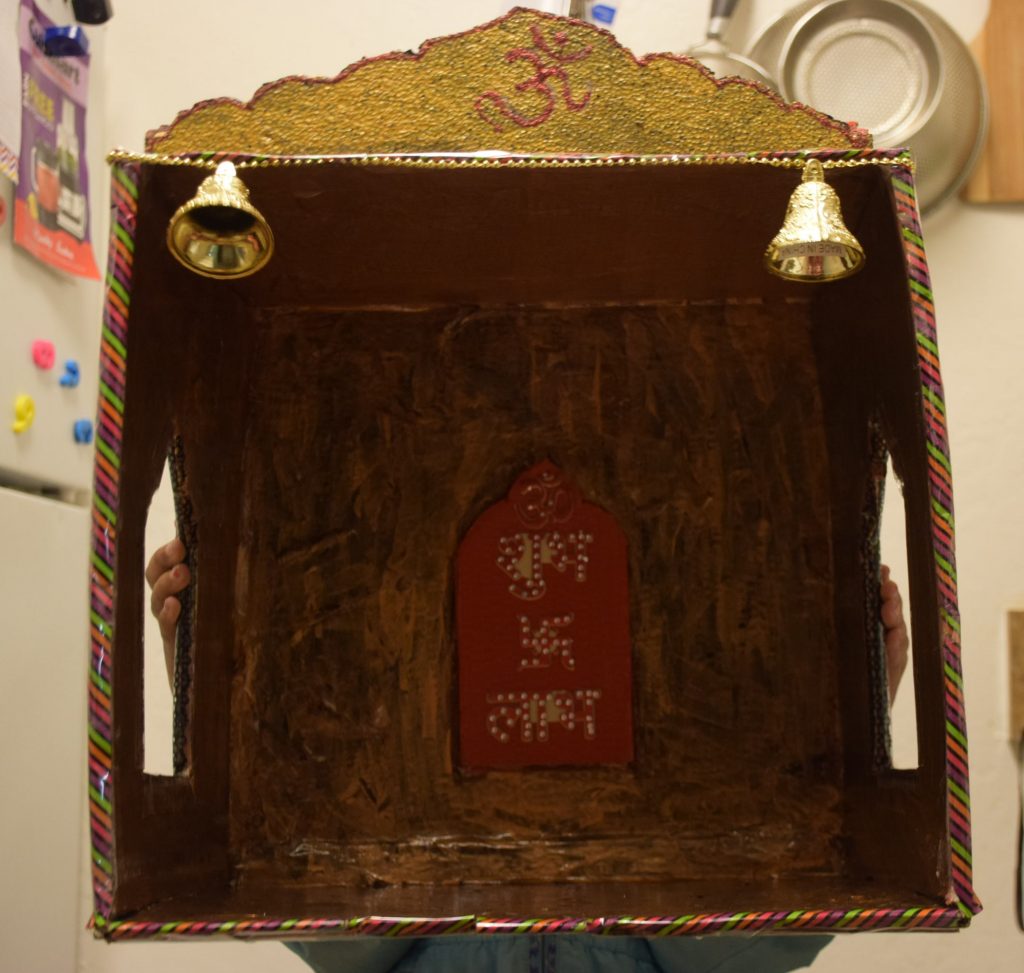
2. Since this was the perfect size for me , I thought of cutting open its one side ,rather than the top flaps. Here I have used a thinner carton, but its best to use the thickest cardboard’s carton available at home. Also ,since I cut the side (length by Height) face of the carton,my bottom side too got detached. So immediately , I had to fix the bottom face of my carton with glue. Also attach the detached side walls back to the top surface with a tape or glue.
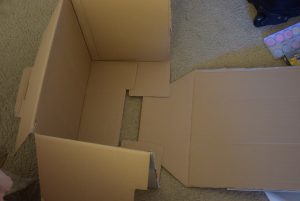
3. Next I cut the top flaps of the carton with the scissor.You can save these flaps too for making the mount -designs of the temple.
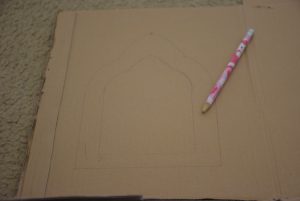
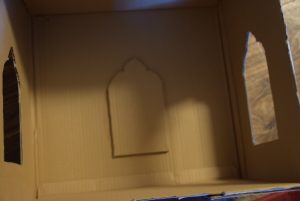
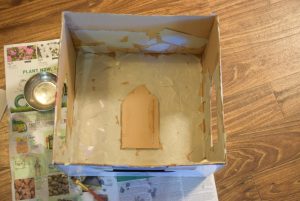
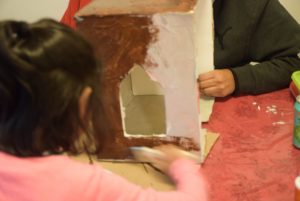
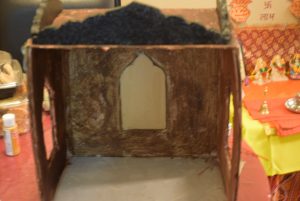
4. Trace the windows shape with scale and pencil on both side walls. I cut out the windows from the two side faces and save the cut outs to stick them in the center later on.

5. To increase the sturdiness of the temple, I attach another cardboard’s base with glue at the bottom face from the bottom side.Also attach the detached side walls back to the top surface with a tape or glue. (From hereon, I turned into We. Yes thanks to my family, we all contributed in making this temple.)
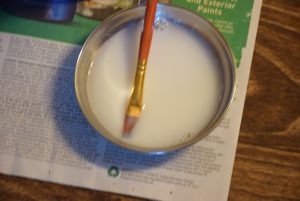
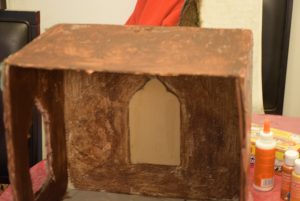
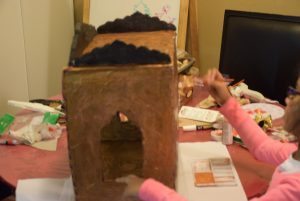
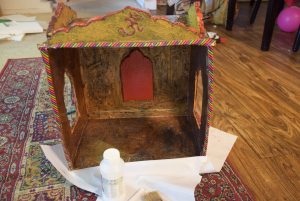
6. Next we started with a diluted white glue’s solution. Just take a bowl or palette and dissolve equal quantities of water with glue . Take a big Brush. Now tear bits of tissue paper and start gluing them all over the 7 faces of the temple so made. This is a tedious job, it takes as much as 2-3 hours without stop or break. You have to make a collage with those bits of paper such that no blank space is left and all the surface is covered with this collage. This is for creating the wood texture that you will get at the end. Leave all the surfaces to dry for 3-4 hrs.
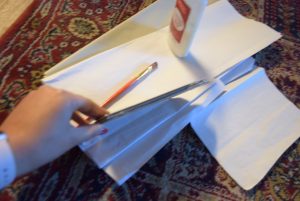
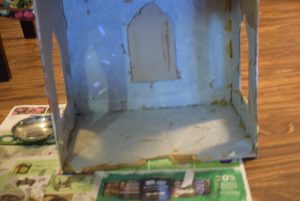
7. After sticking this tissue paper, we realized that the side walls are not sturdy enough. So we cut out thin strips of foam or thermocol ,cut out the exact designs(after tracing them with pencil), from their center for the windows and then glued them to the side walls each. To avoid this step, use a thick carton.
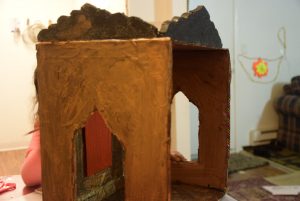
8. Now we painted dark tan color all over the temple. Take a good quantity of color, as much as 2 Fl oz or 60 ml. Here too, we ran out of my brown acrylic color ,so I had to switch to black to complete my other walls. Leave them to dry for 3-4 hrs or overnight. We diluted the acrylic paints a little to get a thin layer.
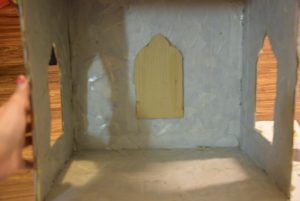
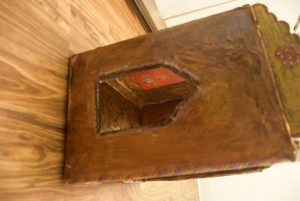
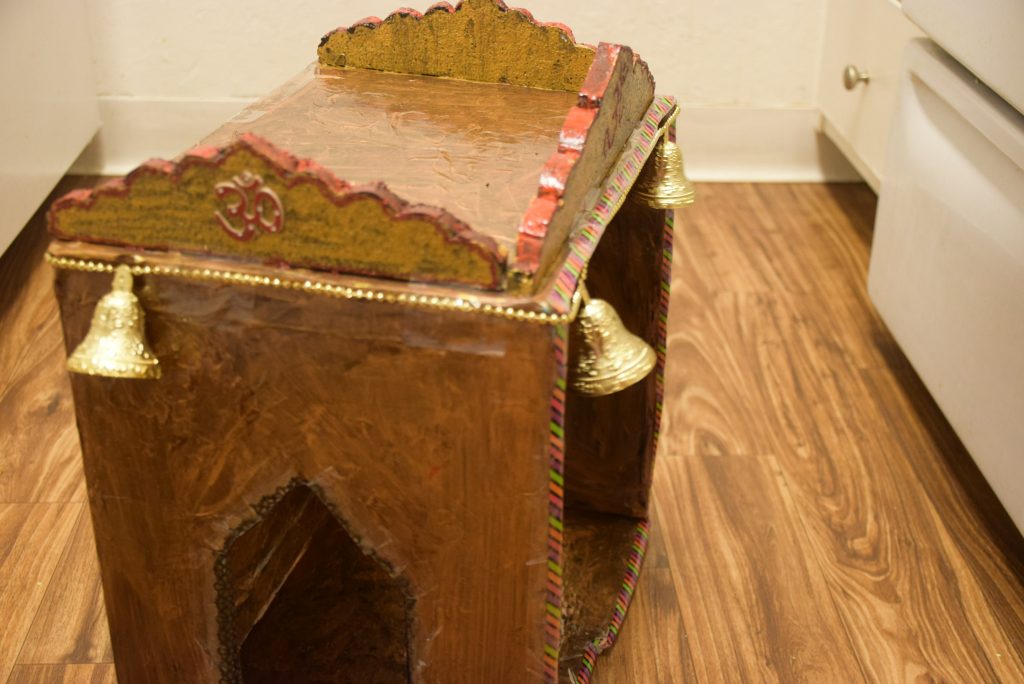
9. Next we traced the 3 crowns used as mounts on the ceiling. Take the measurements. mark their place on the top , and then cut out using a cutter.
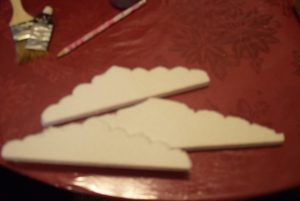
10. Glue them on the top 3 sides, front side and the two side walls. Paint them with black first. Then leave them to dry.Once they are dried ,paint the mounts with king’s gold or copper or bronze.
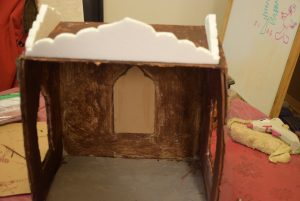
11. Now paint all the surfaces with Bronze metallic color , and leave it to dry for 3-4 hours. One thin coat is enough, we didn’t diluted it. But you may ,if needed.
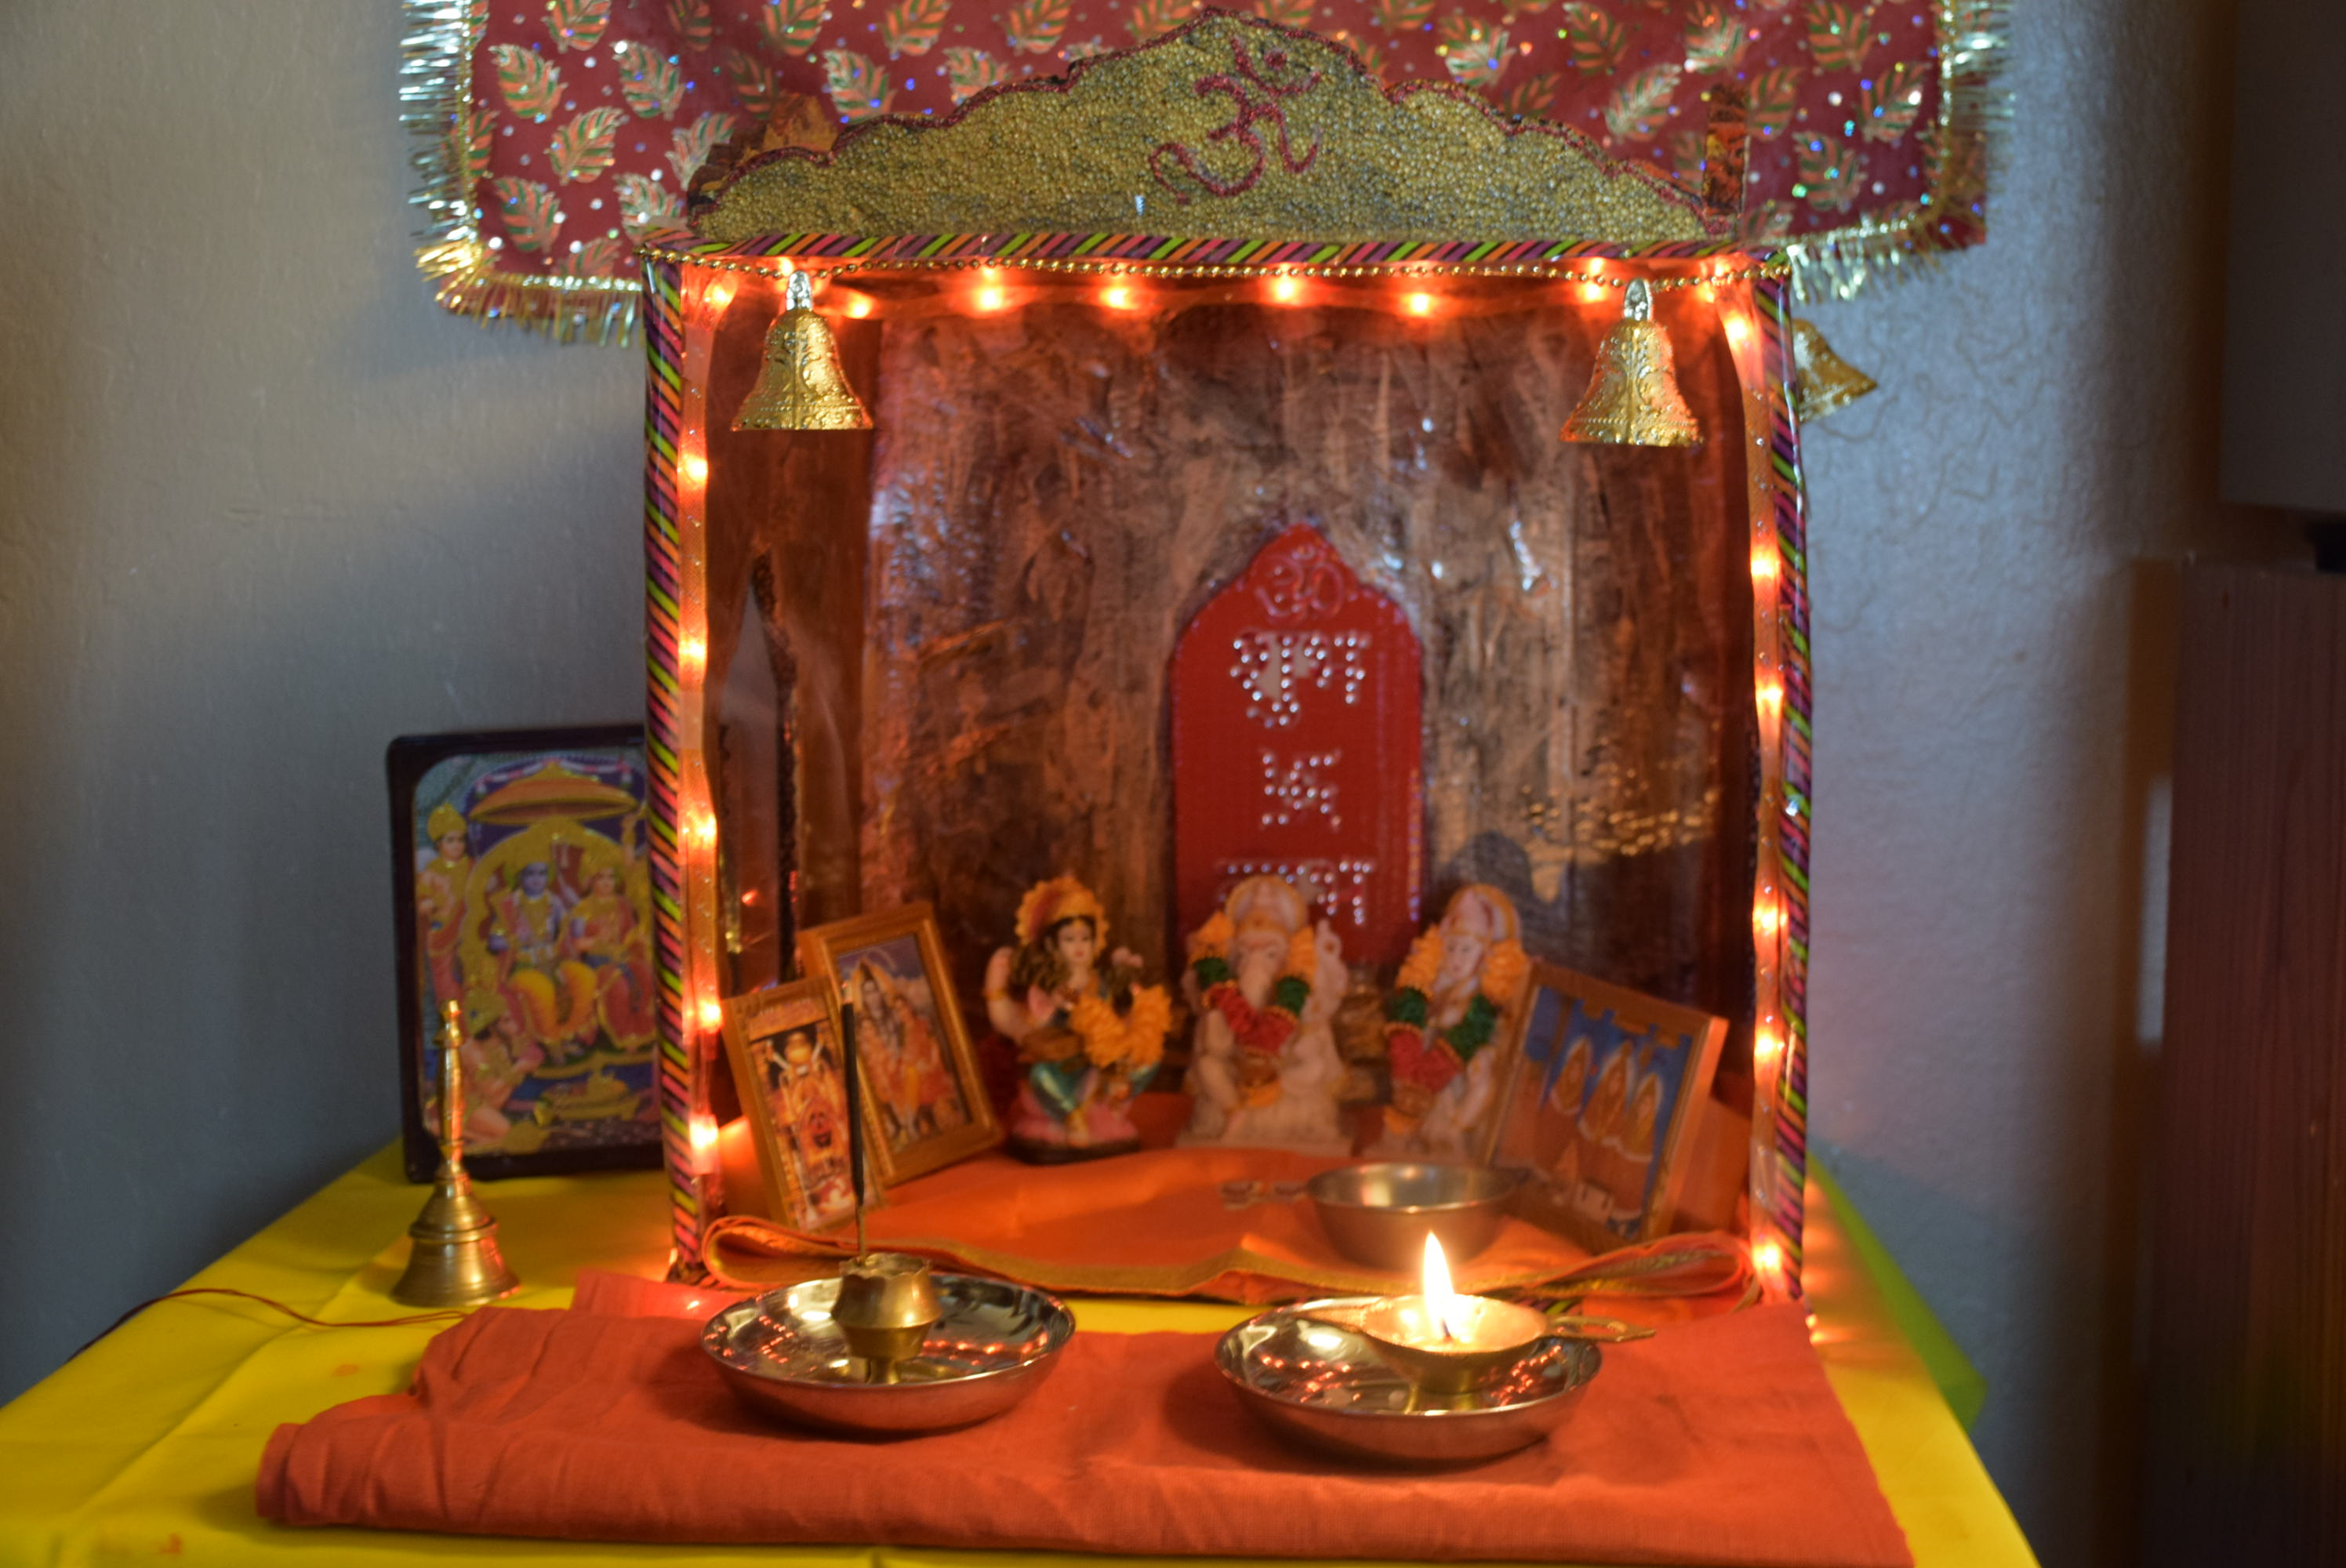
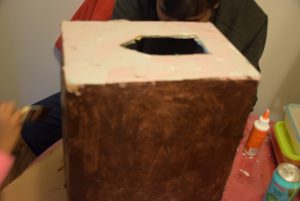
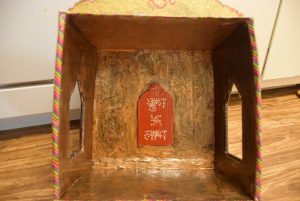
12. Next we noticed the uneven black ridges of the crowns. So we painted them red to get a finish. We decorated the borders of the crowns with a red sparkle and wrote “Om” with it and leave it to dry.
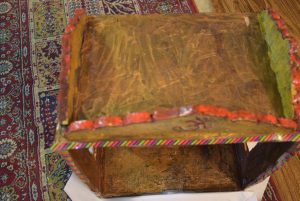

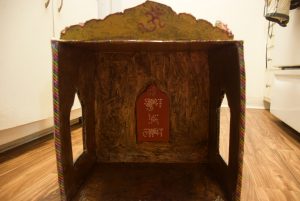
13. Now start applying Varnish all over the dried painted walls to get the final glossy touch . We need 2 thin coats of varnish. So after applying the first coat leave it to dry for at least 3 hrs. Then finish off with the last coat and leave it to dry.
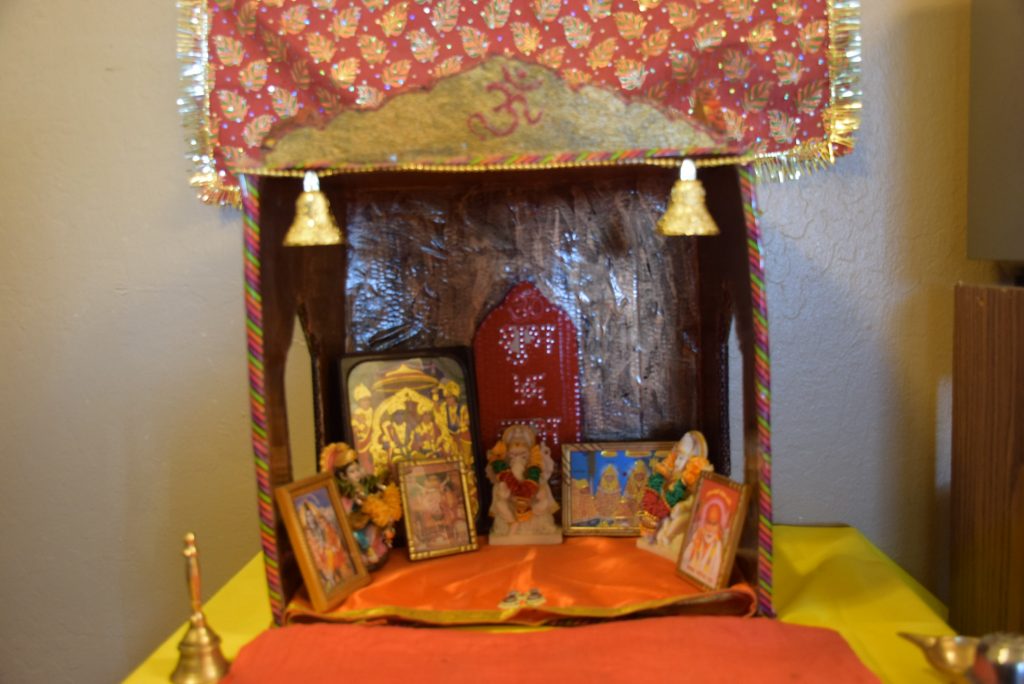
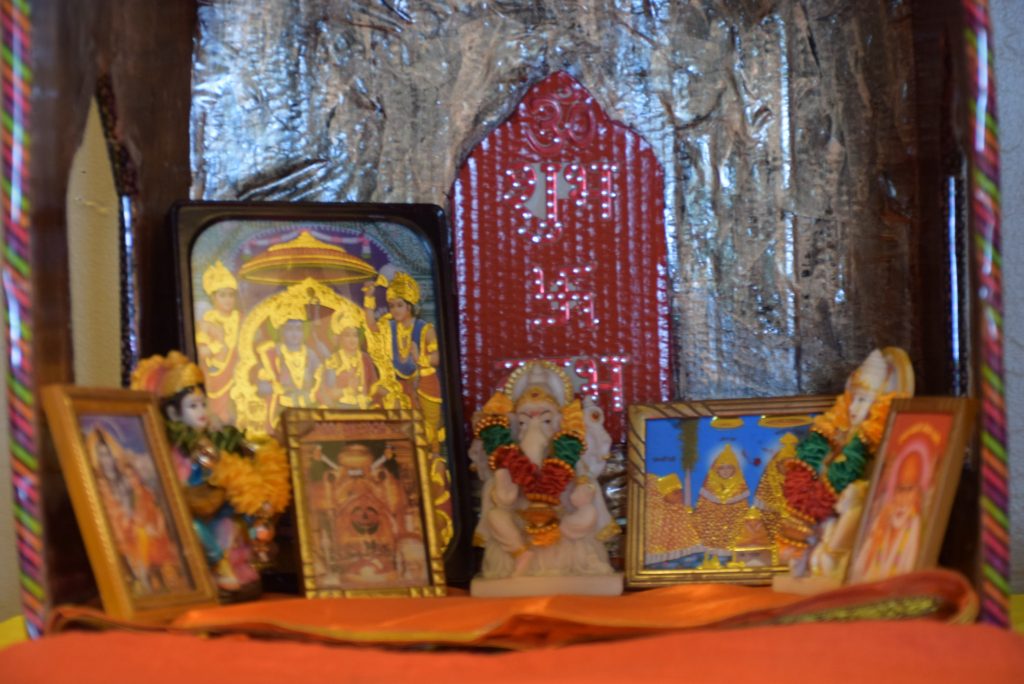
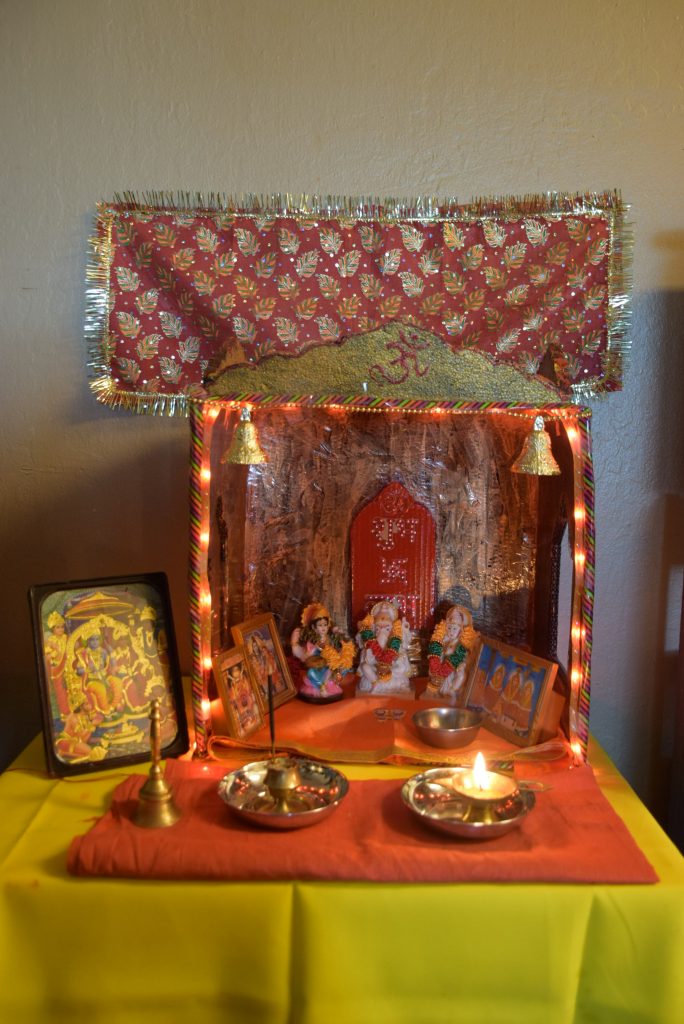
14. In the end, hide all the trimmed uneven edges using a decorative tape or lace. We used our scotch tape to stick the colored tape on the edges for the finish. You may use a string, a wool or any satin laces for the borders. Decorate it as you wish. We used our stickers, tapes, bells string for the final touch.
Hope you all start the new Year with a kick-start and stay healthy and blooming !!
Please feel free to share your doubts ,concerns, suggestions, if any!
Thank you for reading this with patience!