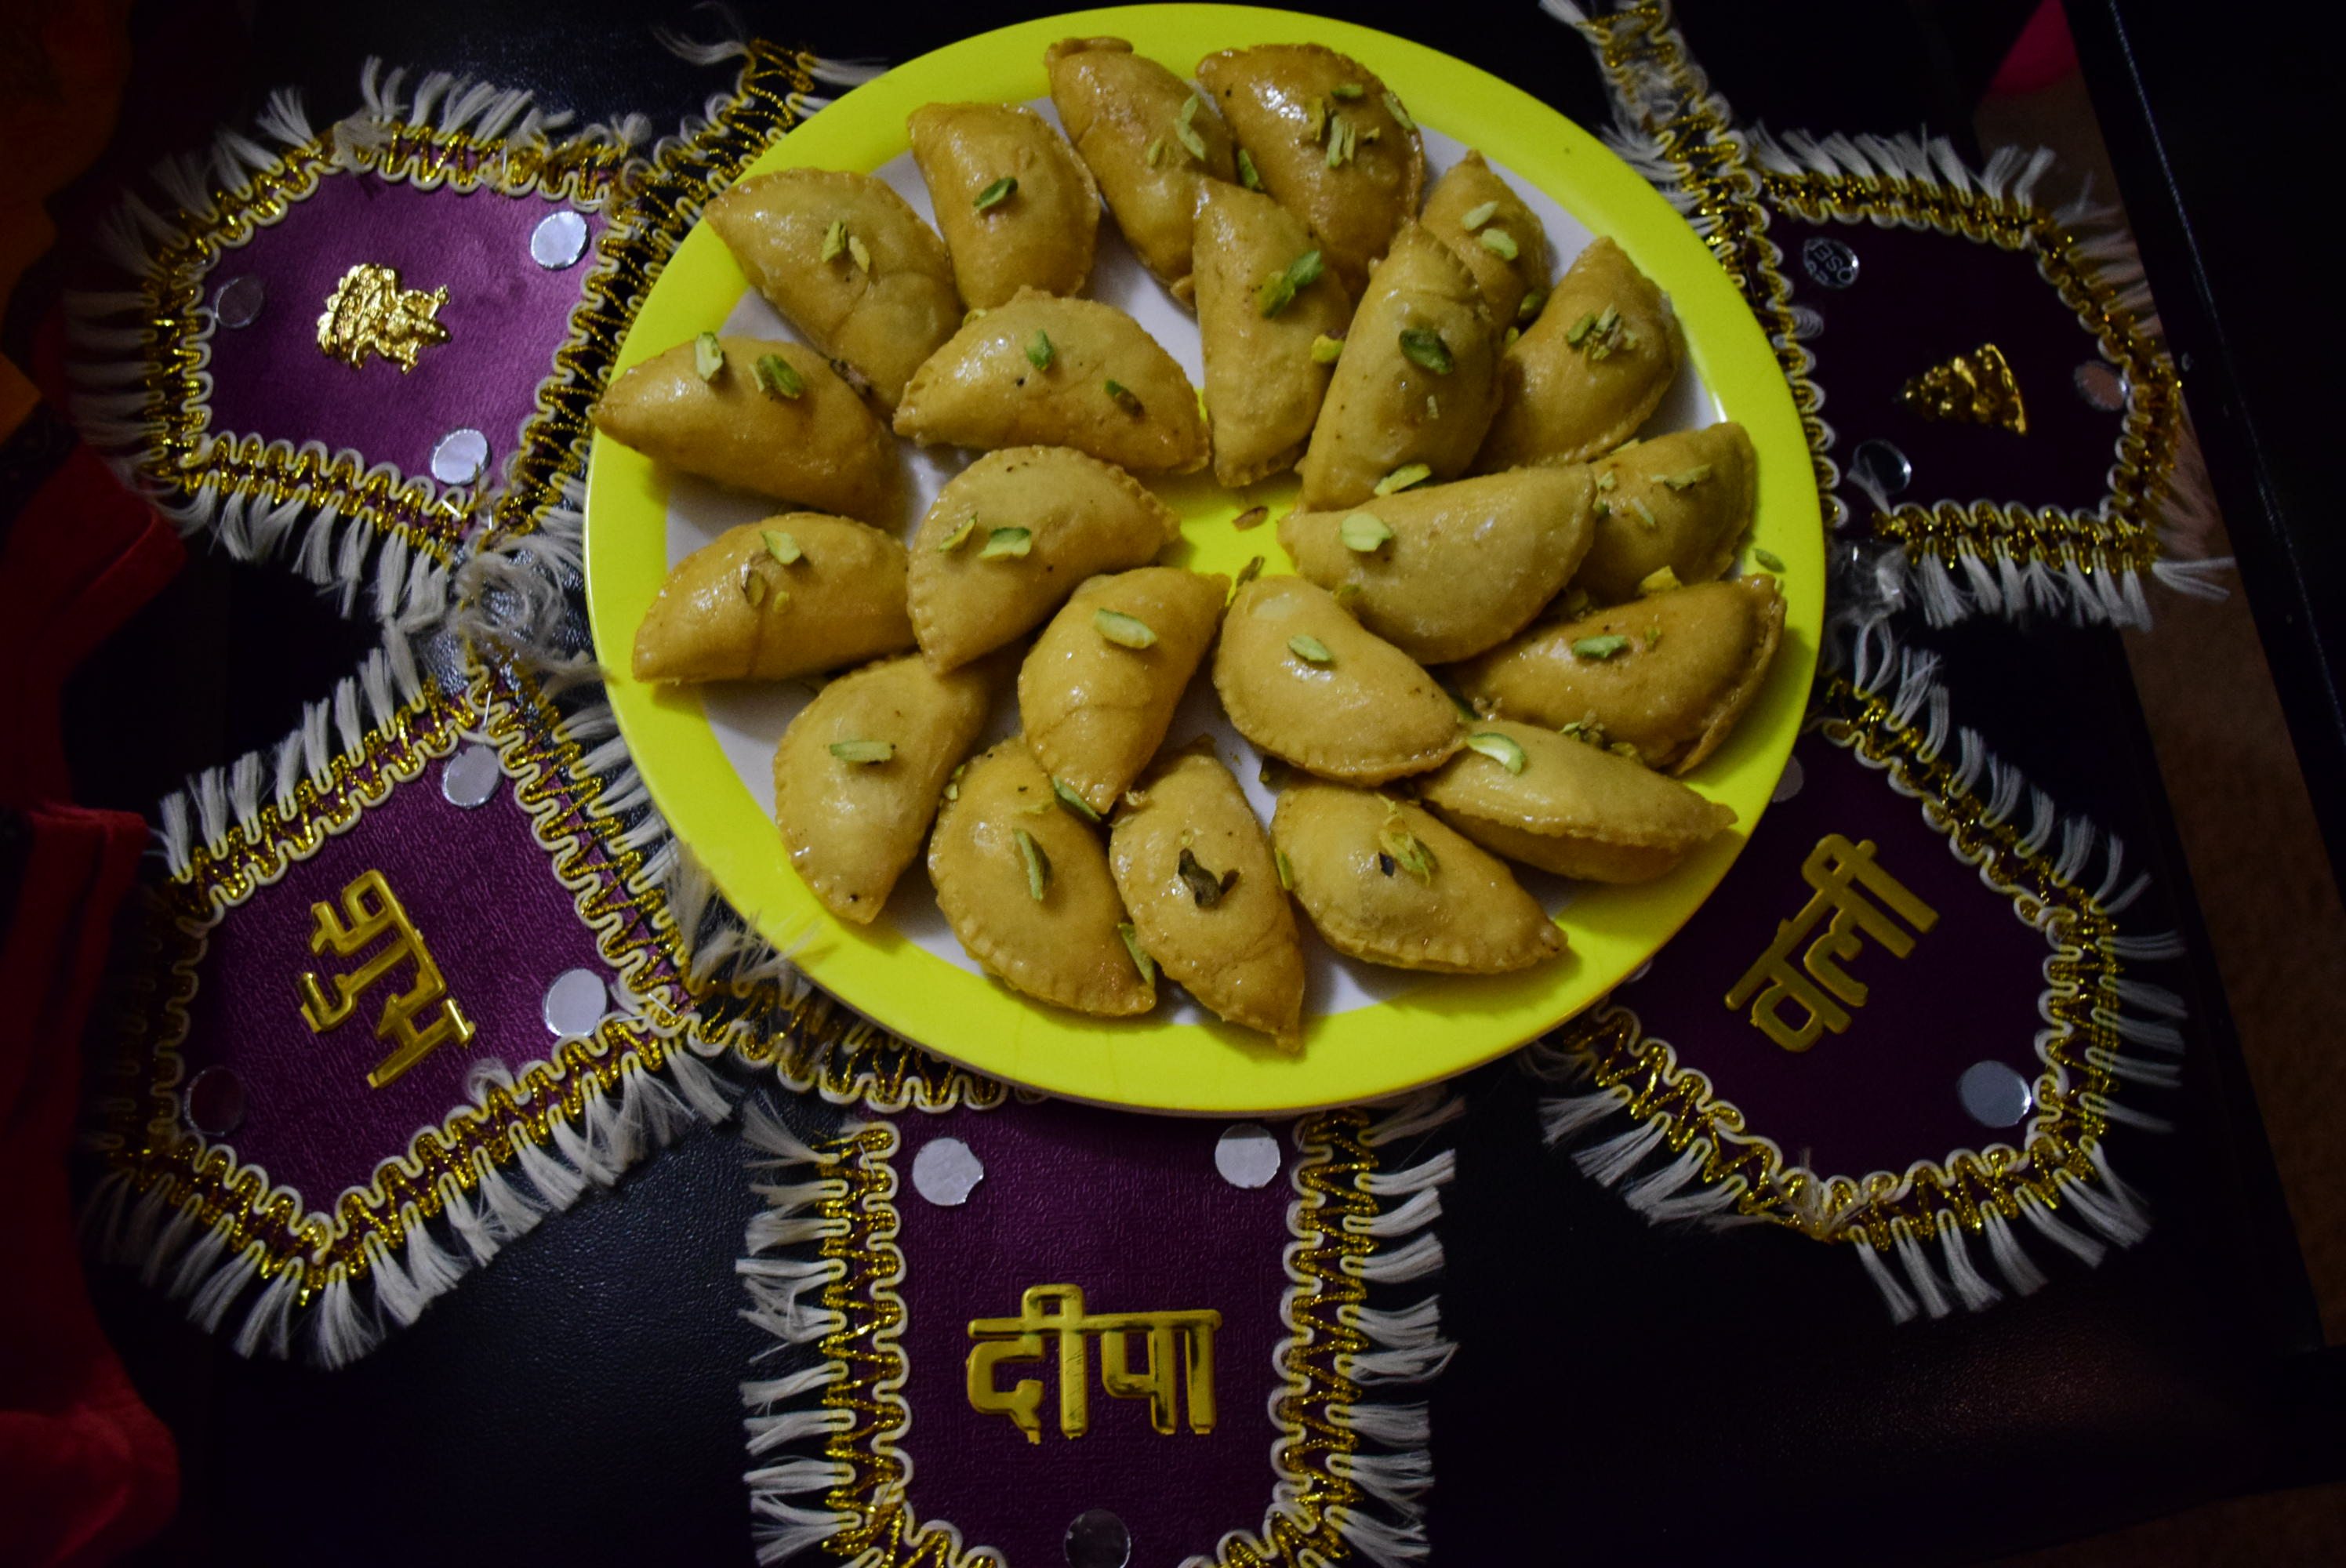
Desi Ghee evam Chashni sahit Gujia
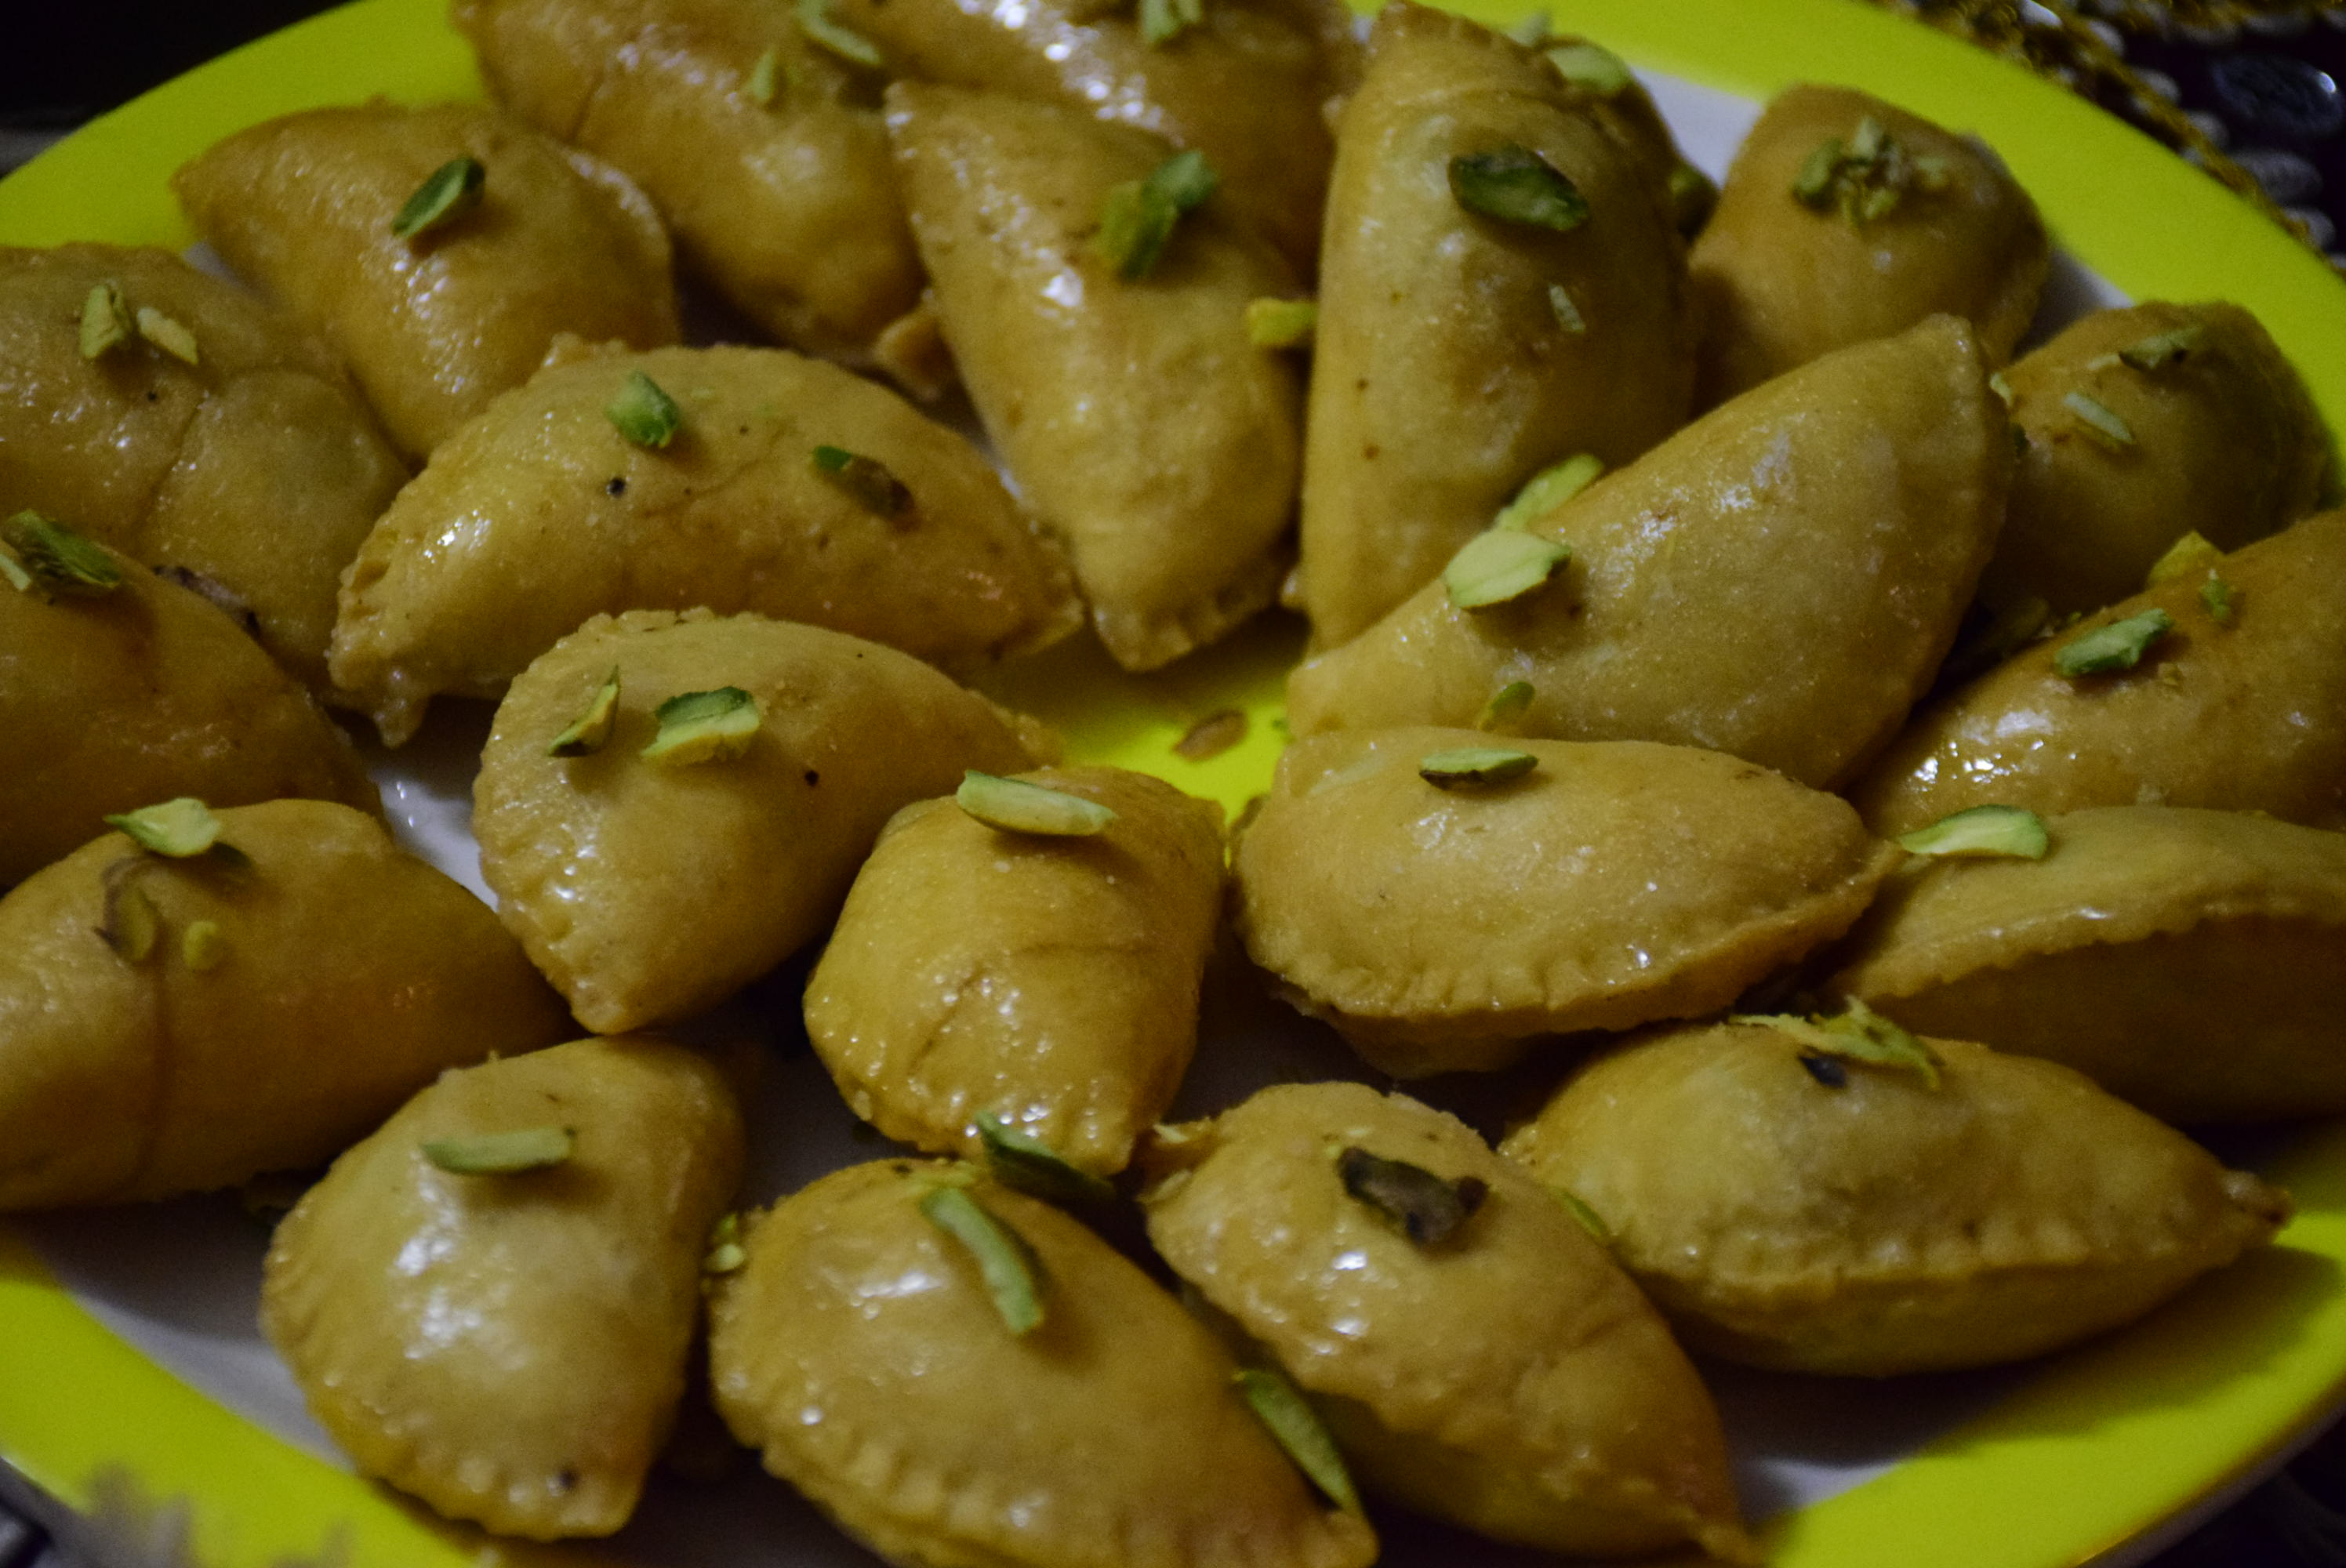
Hello Friends !! I hope all are busy in preparations for the festivals .. ..
I started my preparations with cleaning ,dusting and washing. Yes you guessed it right ! We call it “Safai Abhiyaan” in India. 😀 .It is the preliminary step for any festival. But since Hindu mythological year begins with Diwali , this cleaning spree is in full vigor during this time. 😉
Amidst these chores, I found myself craving for a perfect-crust Gujia dipped in sugar syrup. I have had these tasted in my friends'(Shipra) home and in Sweet-shops (like Bikaner). Although I had made Gujia several times, but these were unforgettable. I wanted to recreate the magic at home. So set off with some recipes and tips online, I started my work.
Some of you might be wondering what does the recipe title mean?? 😀 so let me share that with you :Desi Ghee = Clarified butter
Evam = And
Chashni = Sugar syrup
Sahit = with
Gujia = Crescent shaped Indian sweet
Full meaning = Indian sweet fried in Clarified butter coated with sugar syrup. 🙂This time I am making all sweets in pure Desi Ghee. This not only adds the perfect taste to them, I have started believing that they are much healthier(Healthier than the refined oil-fried ) too. But if you prefer low fat, you may check my recipe for Baked Gujia .
Thanks to my hubby Rajat Jindal, who helped me in frying these Gujias !!
INGREDIENTS:
Coating:
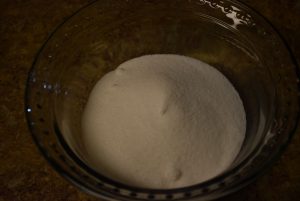
1. All Purpose Flour/Refined flour (Maida) – 2 cups
2. Clarified butter (Desi ghee) – 4 tbsp to 5 tbsp + 1.5 cups(for deep frying)
3. Water – 1/2 cup or less
Filling :
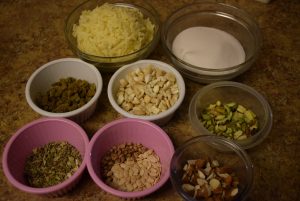
1. Milk solids (Mawa/Khoya) – 1 cup
2. Cashewnuts (Kaju) roughly chopped – 2 tbsp
3. Indian raisins (Kishmish) roughly chopped – 2 tbsp
4. Chironji /Charoli (Indian sweet nut spice) – 1 tbsp (optional)
5. Coarsely ground cardamom (Elaichi dane) – 1 tbsp
6. Melon seeds (kharbuje ke beej) – 1 tsp
7. Almonds (Badam) roughly chopped or silvered – 2 tbsp
8. Sugar (white granulated /Bura ) – 1/2 cup
9. Clarified butter (Ghee) – 1 tbsp
10. Pistachios (piste) silvered – 2 tbsp (for garnishing)
Sugar Syrup :
1. Sugar (white granulated) /Indian crystal sugar – 1 cup
2. Water – 1/2 cup
3. Lemon juice – 1 tsp (to prevent crystallization)
METHOD:
| Preparation time: (5 +30) mins | Cooking time : 50 mins | Makes 31 small mold size Gujia |
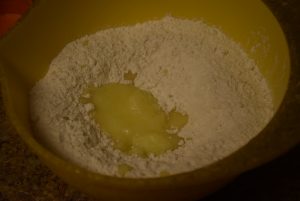
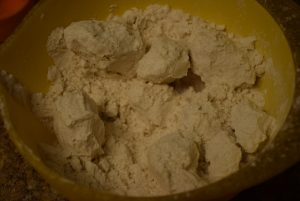
1. To begin with, we knead a tight non-elastic dough for the covering or coating of Gujia. For making the dough, make a well in the center of the flour in a tureen(paraat). Ghee should be enough to make bread-crumb kind of dough. Add ghee in the proportion of nearly 1/5 th to 1/4th. Not more than 1/4th,since that will make the dough too crumbly. Not less than 1/5th or it will make a loose or soft dough. Having said that, knead a dough by adding little water (1 tbsp at a time) . I used almost 3/8th cup of water just less than 1/2 cup.
flour like bread-crumb
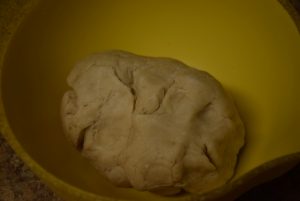
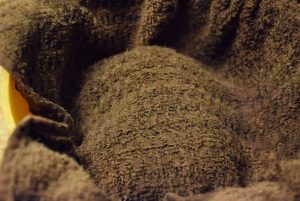
2. Cover it with a damp cloth and allow it to rest for 30 mins. In the meanwhile ,we will prepare the stuffing.
Stuffing/Filling:
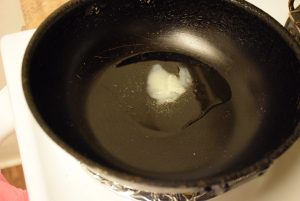
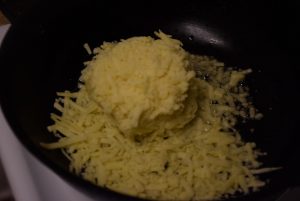
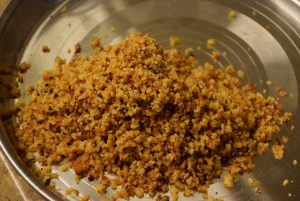
3. For the stuffing, take a wok(kadhai) and add ghee in it. When it melts, add the grated khoya/mawa in it. Stir them together on medium heat. Lower the heat ,when it starts changing color. Keep stirring till all the khoya has been roasted . Turn off the heat.
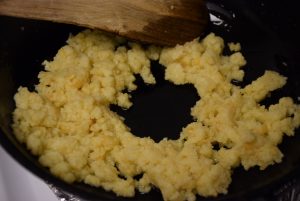
4. Empty the roasted mawa in a thali (platter) so that it cools down quickly. Allow it to cool for 5 mins. Then add the nuts in it and mix them well.
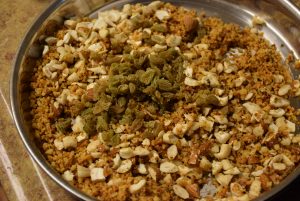
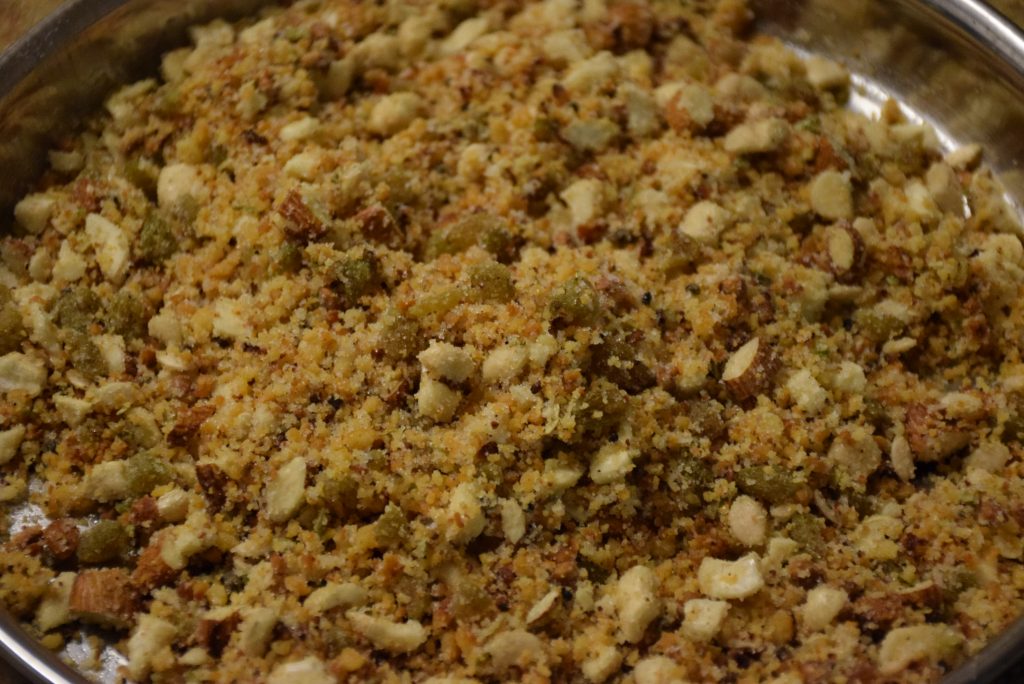
5. Next goes in the sugar/bura. Before adding sugar, make sure the mawa is cool to touch, or it will melt the sugar and the stuffing will get sticky or gooey. We need a dry stuffing for easy filling and less spillin in the ghee while frying.
For molding :
6. Uncover the dough, you will see the dough is set. Now roll a log and pinch some lemon size pedhas(loi) from the dough. I made the roti-sized loi for it.
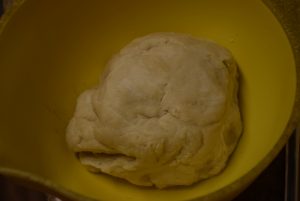
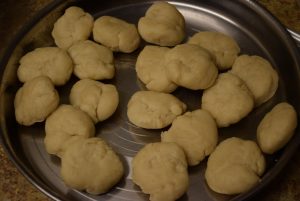
7. Roll the pedha (loi) in a thick 4″- 5″ diameter round. Thickness is almost more than that of the puri. If it is rolled too thin, the gujia will develop bubbles on it while frying.
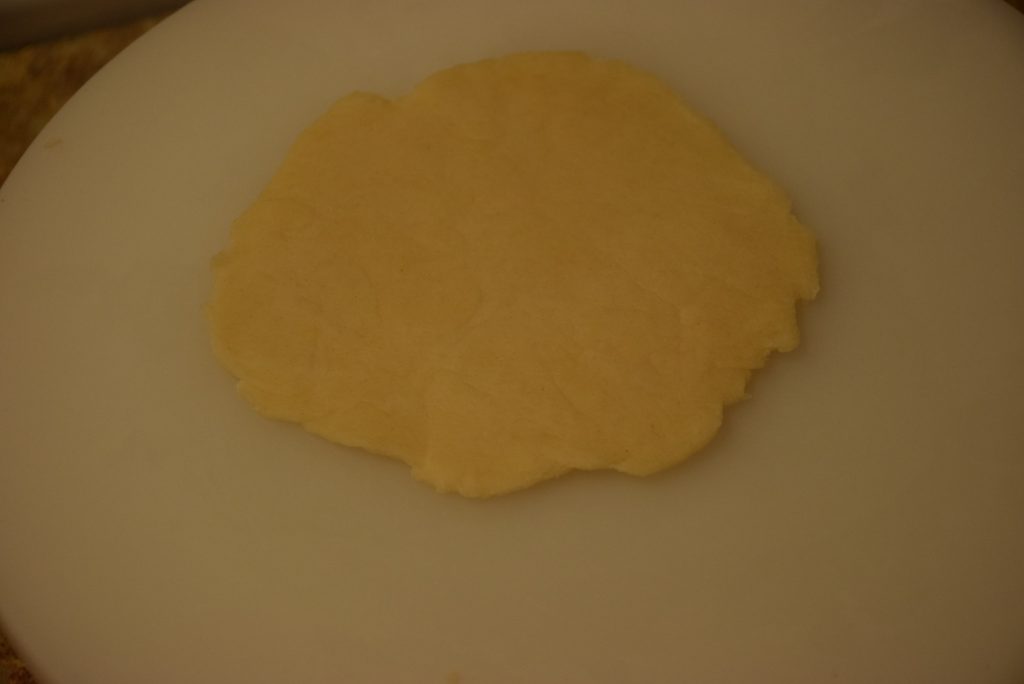
8. This time I am making Gujias using a mold. So I rolled it bigger than the mold’s diameter. Place it in the
mold and add a spoonful of stuffing in the center such that it fills the bottom cavity.
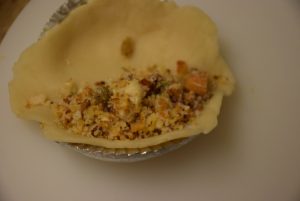
9. Dip your fore-finger in water and smear water at the lower edge of the gujia’s covering. Snap the upper portion on the lower portion and close tightly the open ends of the gujia.
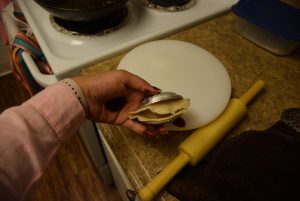
10. Trim the excess dough using a knife for a good finish. Add the trimmed dough back to the pedhas. Hence my pedhas increase in number . 😉
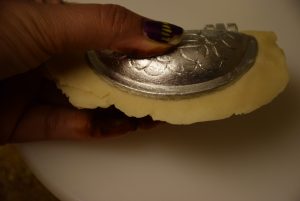
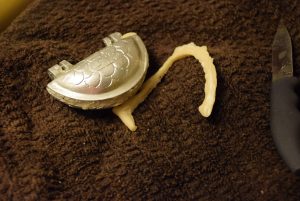
11. Demold the Gujia gently and keep it covered with a damp cloth ,until it is ready for deep frying.
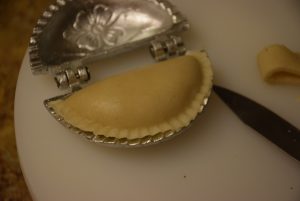
12. Similarly make at least 4 to 5 Gujias and keep them ready for frying.
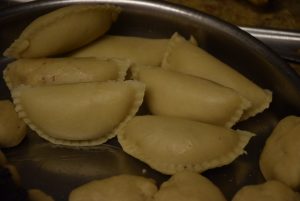
For Frying :
13. Heat desi ghee in a wok at medium heat such that when you keep your hand above it ,you feel the warmth. It shouldn’t fume though. Check the ghee by dropping a piece of dough. If it sizzles and comes up to the surfae after 20 secs , the ghee is ready.
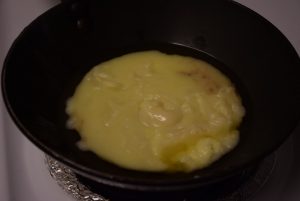
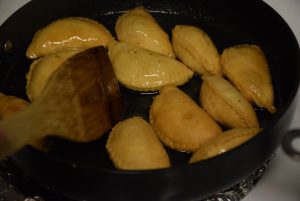
14. Now on the simmer heat (mine was on no.2 ) , add the molded Gujia one by one and let them sizzle and fry on low heat. If the heat is high, they will get browned quickly ,but their core will remain uncooked. So we need to fry them on low heat such that they get crispy and hard from the outside.
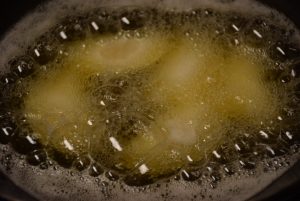
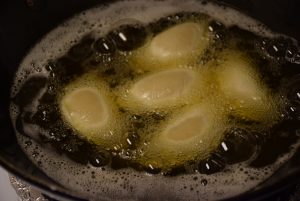
after 2 mins
15. Each batch of Gujia (4 to 5) will take approximately 15 mins to fry on both sides. Once they float up to the surface and develop a coating, turn them with a slotted spoon(poni) and let them fry on both sides ,till they are golden brown in color. Leave them untouched for 5 mins or until you see their color-change.
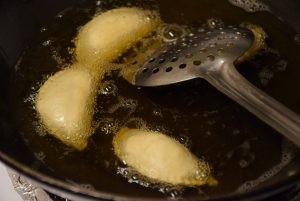
after turning on one side
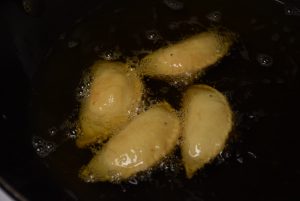
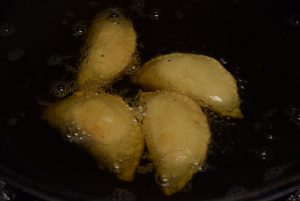
16. Prepare all the other Gujia by rolling the pedhas, stuffing ,sealing ends and molding them in the meanwhile.This is how they look when they are almost done. Start taking them out by draining the excess ghee back into the wok one by one.
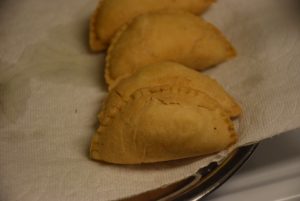
17. Once done, take them out in a paper-towel lined plate.
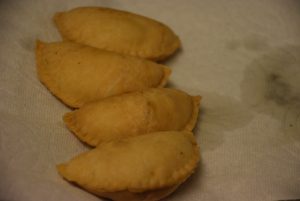
18. Similarly fry all the Gujia.
For Syrup:
14. Once you add your 2nd last batch in the wok for frying, add sugar and water in another pan. Bring it to a boil on high heat.
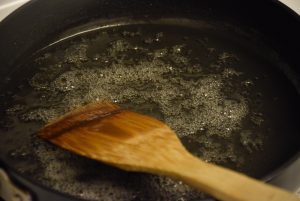
15. For clearing the sugar syrup, add 1 tsp of milk. Filter out the bad lather formed at the edges of the pan with a spoon.
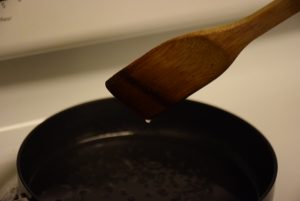
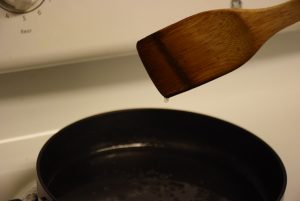
16. Check the consistency of the syrup. We need a 1-thread consistency. So take a cool drop of syrup between your fore-finger and thumb and stretch it to check the single thread. If you see that ,turn off the heat or lower it to minimum. Add lime or lemon juice to prevent crystallization of sugar.
Final coating and garnishing:
17. Now dip the fried Gujia in the syrup and turn them all around in the syrup to get a shiny syrup coating on all sides. Dip as many as the pan can accomodate while turning them around in the pan.
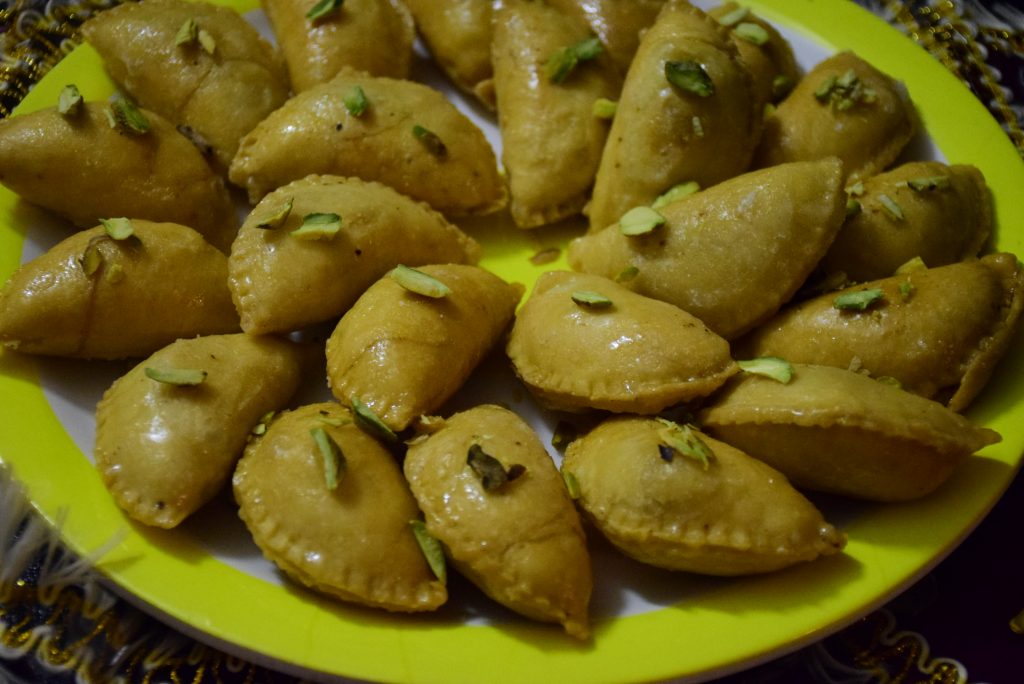
18. Take them out once they are coated on all sides and garnish them with pistachios or nuts of your choice.
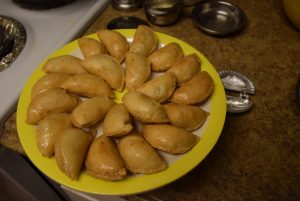
Offer them to God and indulge in the sweetness of these Gujia !
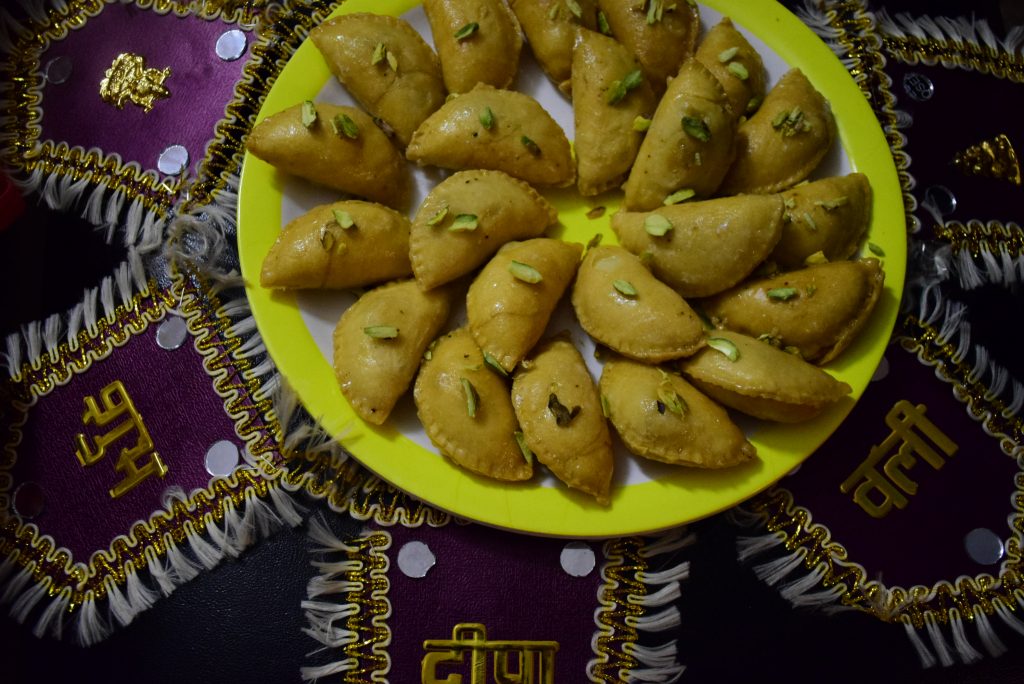
The speciality of this sweet is it could be prepared beforehand. So you can store them in air tight containers once they are cooled. Relish them and enjoy the festivals with your near and dear ones. Since they are deep fried , they have longer shelf life than the baked ones.
Notes:
-
[
1. I have added less sugar in the filling ,because we are coating them in sugar syrup.
2. Roll them thicker than rotis/chapatis ,so that you get a layered coating of Gujia. Also while dipping in the syrup, they won’t abosrb much syrup then.
3. Fry on low heat so that you get a crispier coating. High heat won’t help here.
4. The ghee should not be cold either or they will get hardened. If the ghee does not sizzle at all even after 1 min of adding the Gujia, you need to raise the temperature of ghee.
5. Fry in Desi ghee for a richer taste and texture.
6. Seal the edges tightly such that they don’t open up in the lukewarm ghee. If they open up , remove them promptly and fry them at the end, so that the Ghee doesn’t turn filthy. You may bake the open ended gujia in a preheated oven at 200 degree C or 400 degree F. Check baked gujia for this recipe.
]
This is how they look inside out ! 😀
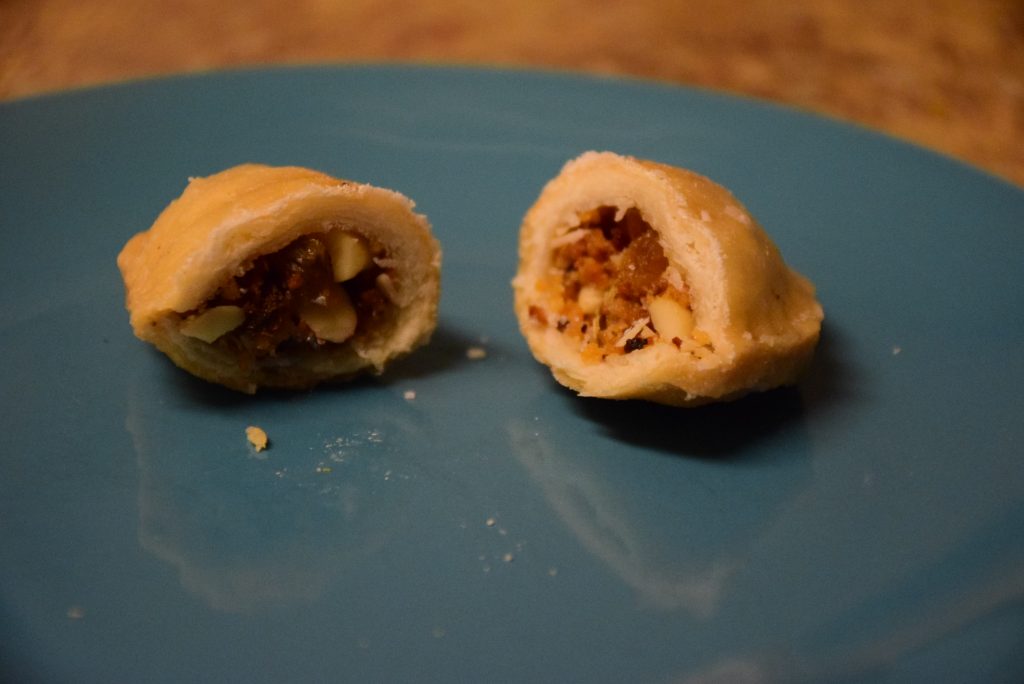
Inner beauty- see the layers!!
Hope you enjoy your festivals with a bang !! I thank whole-heartedly to my mom ,my elders and Nisha Madhulika for inspiring me to make these… 😀
Till then keep celebrating….
🙂

