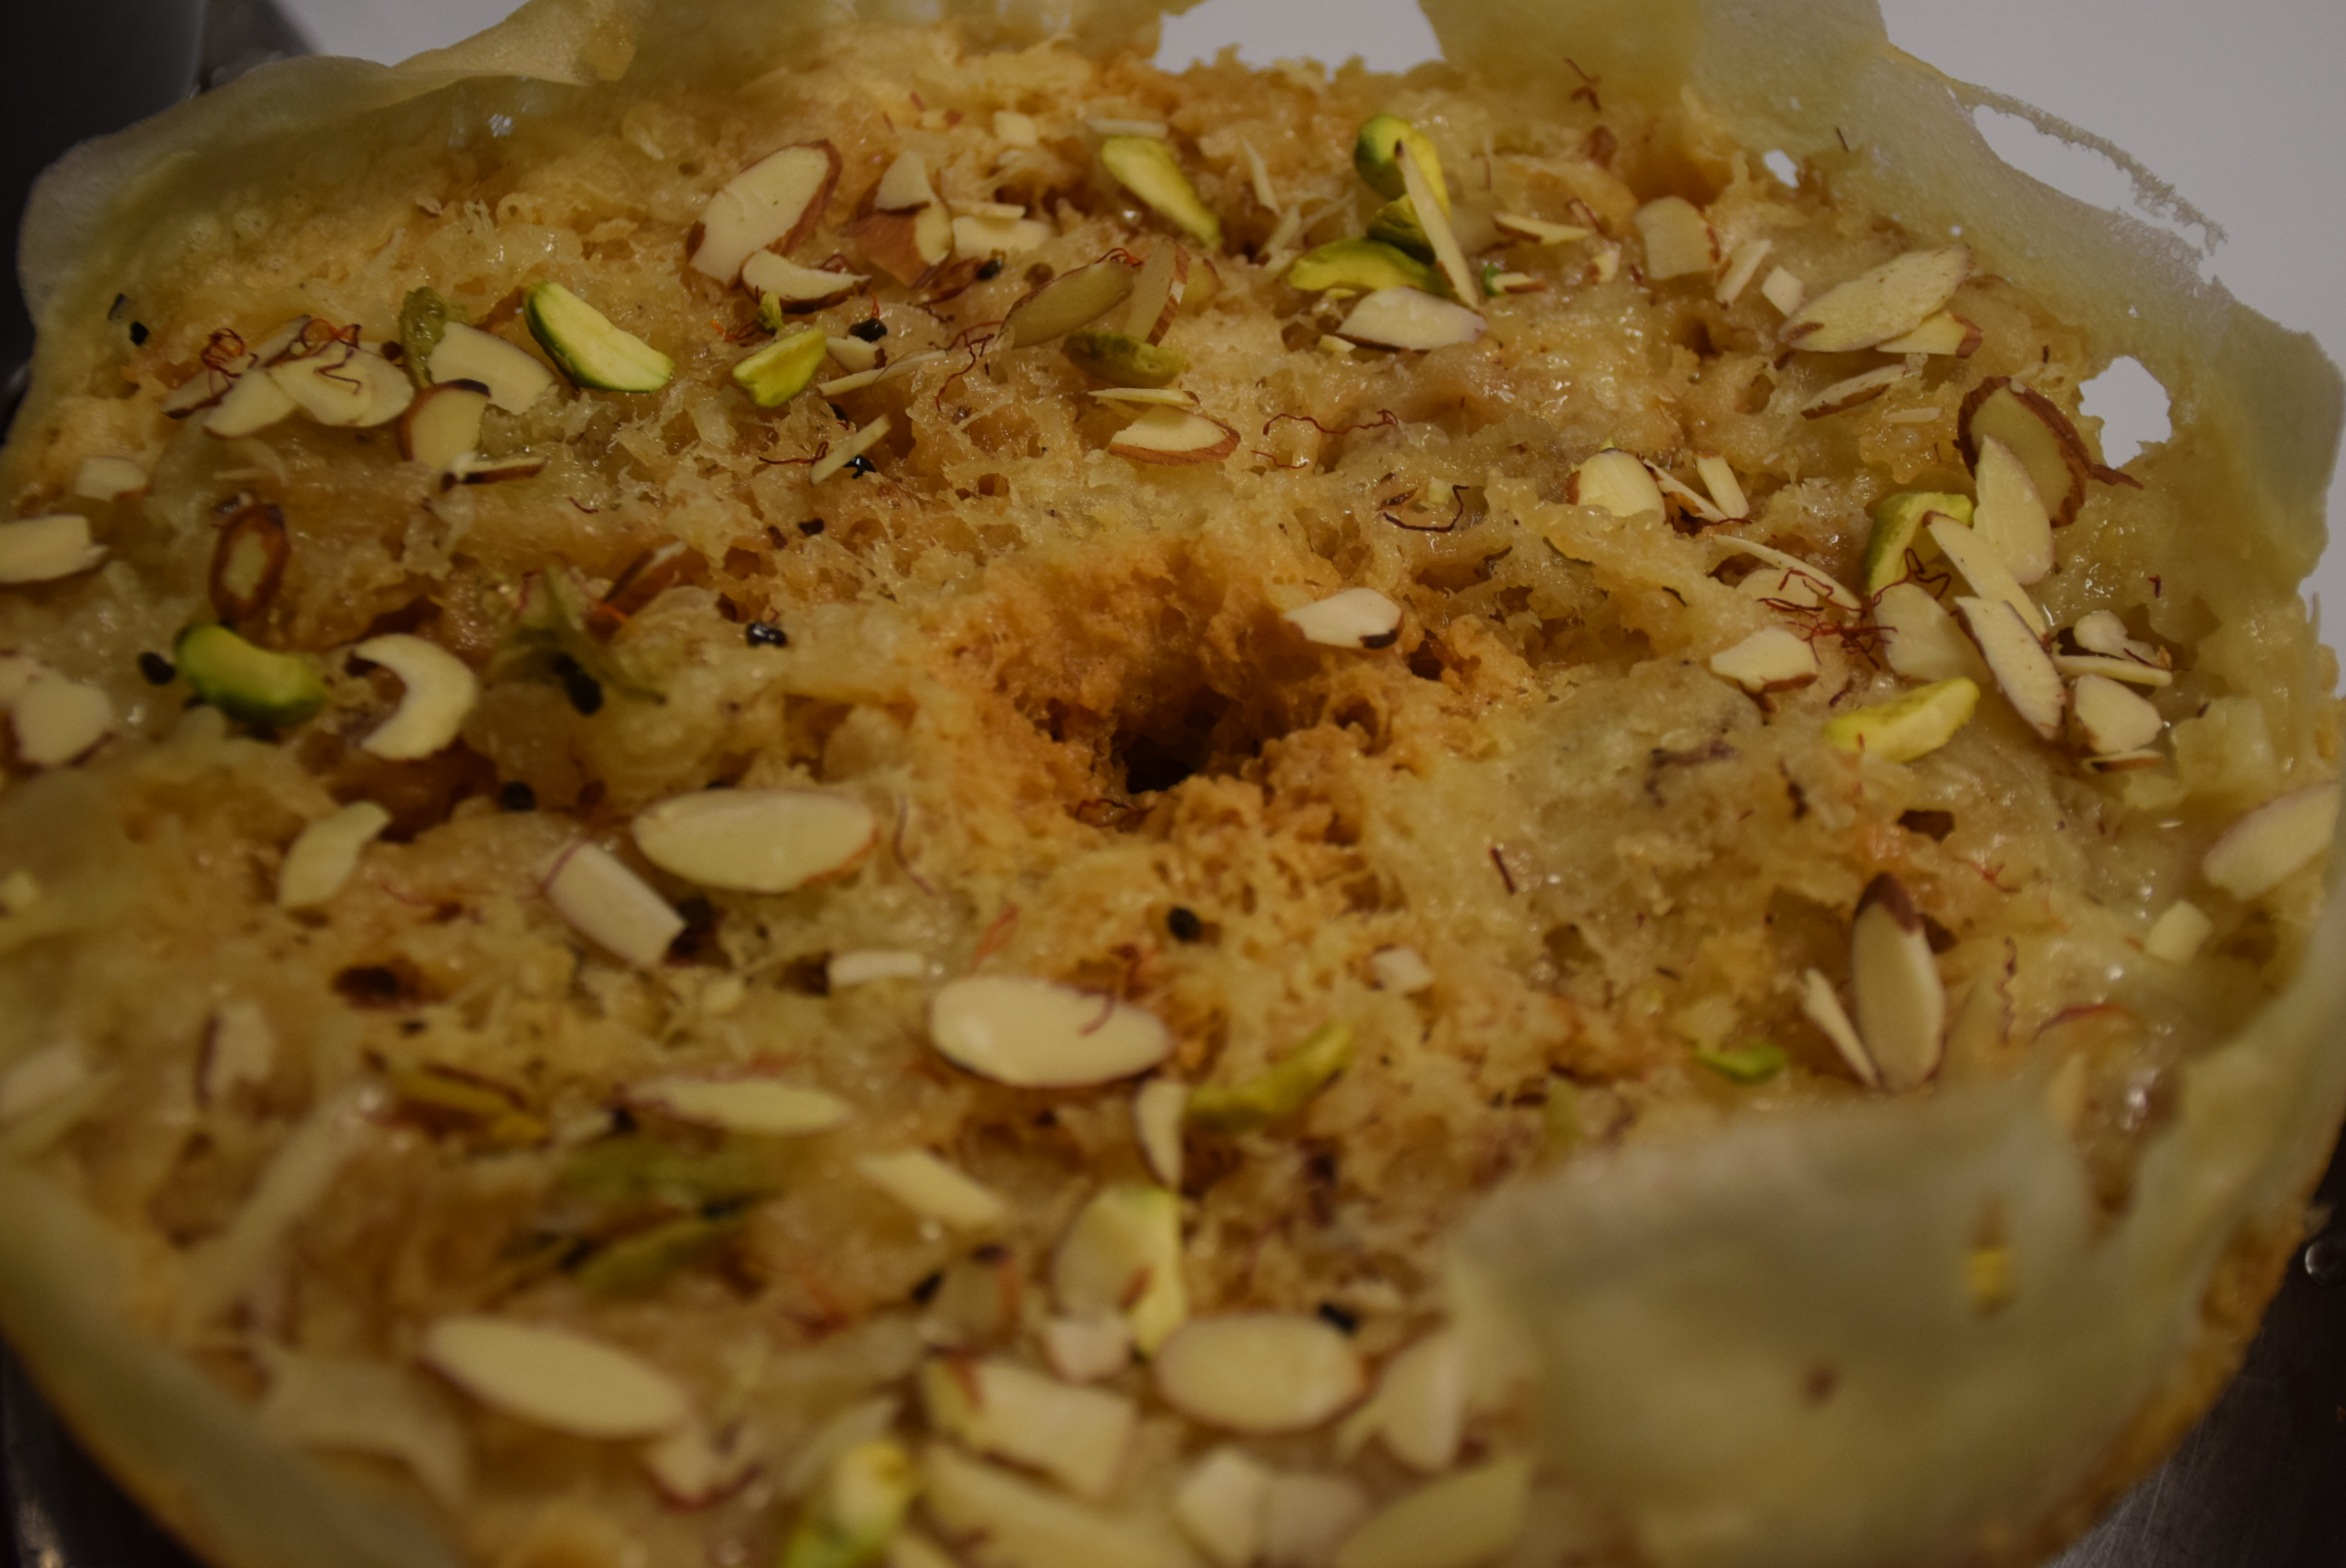
Ghevar
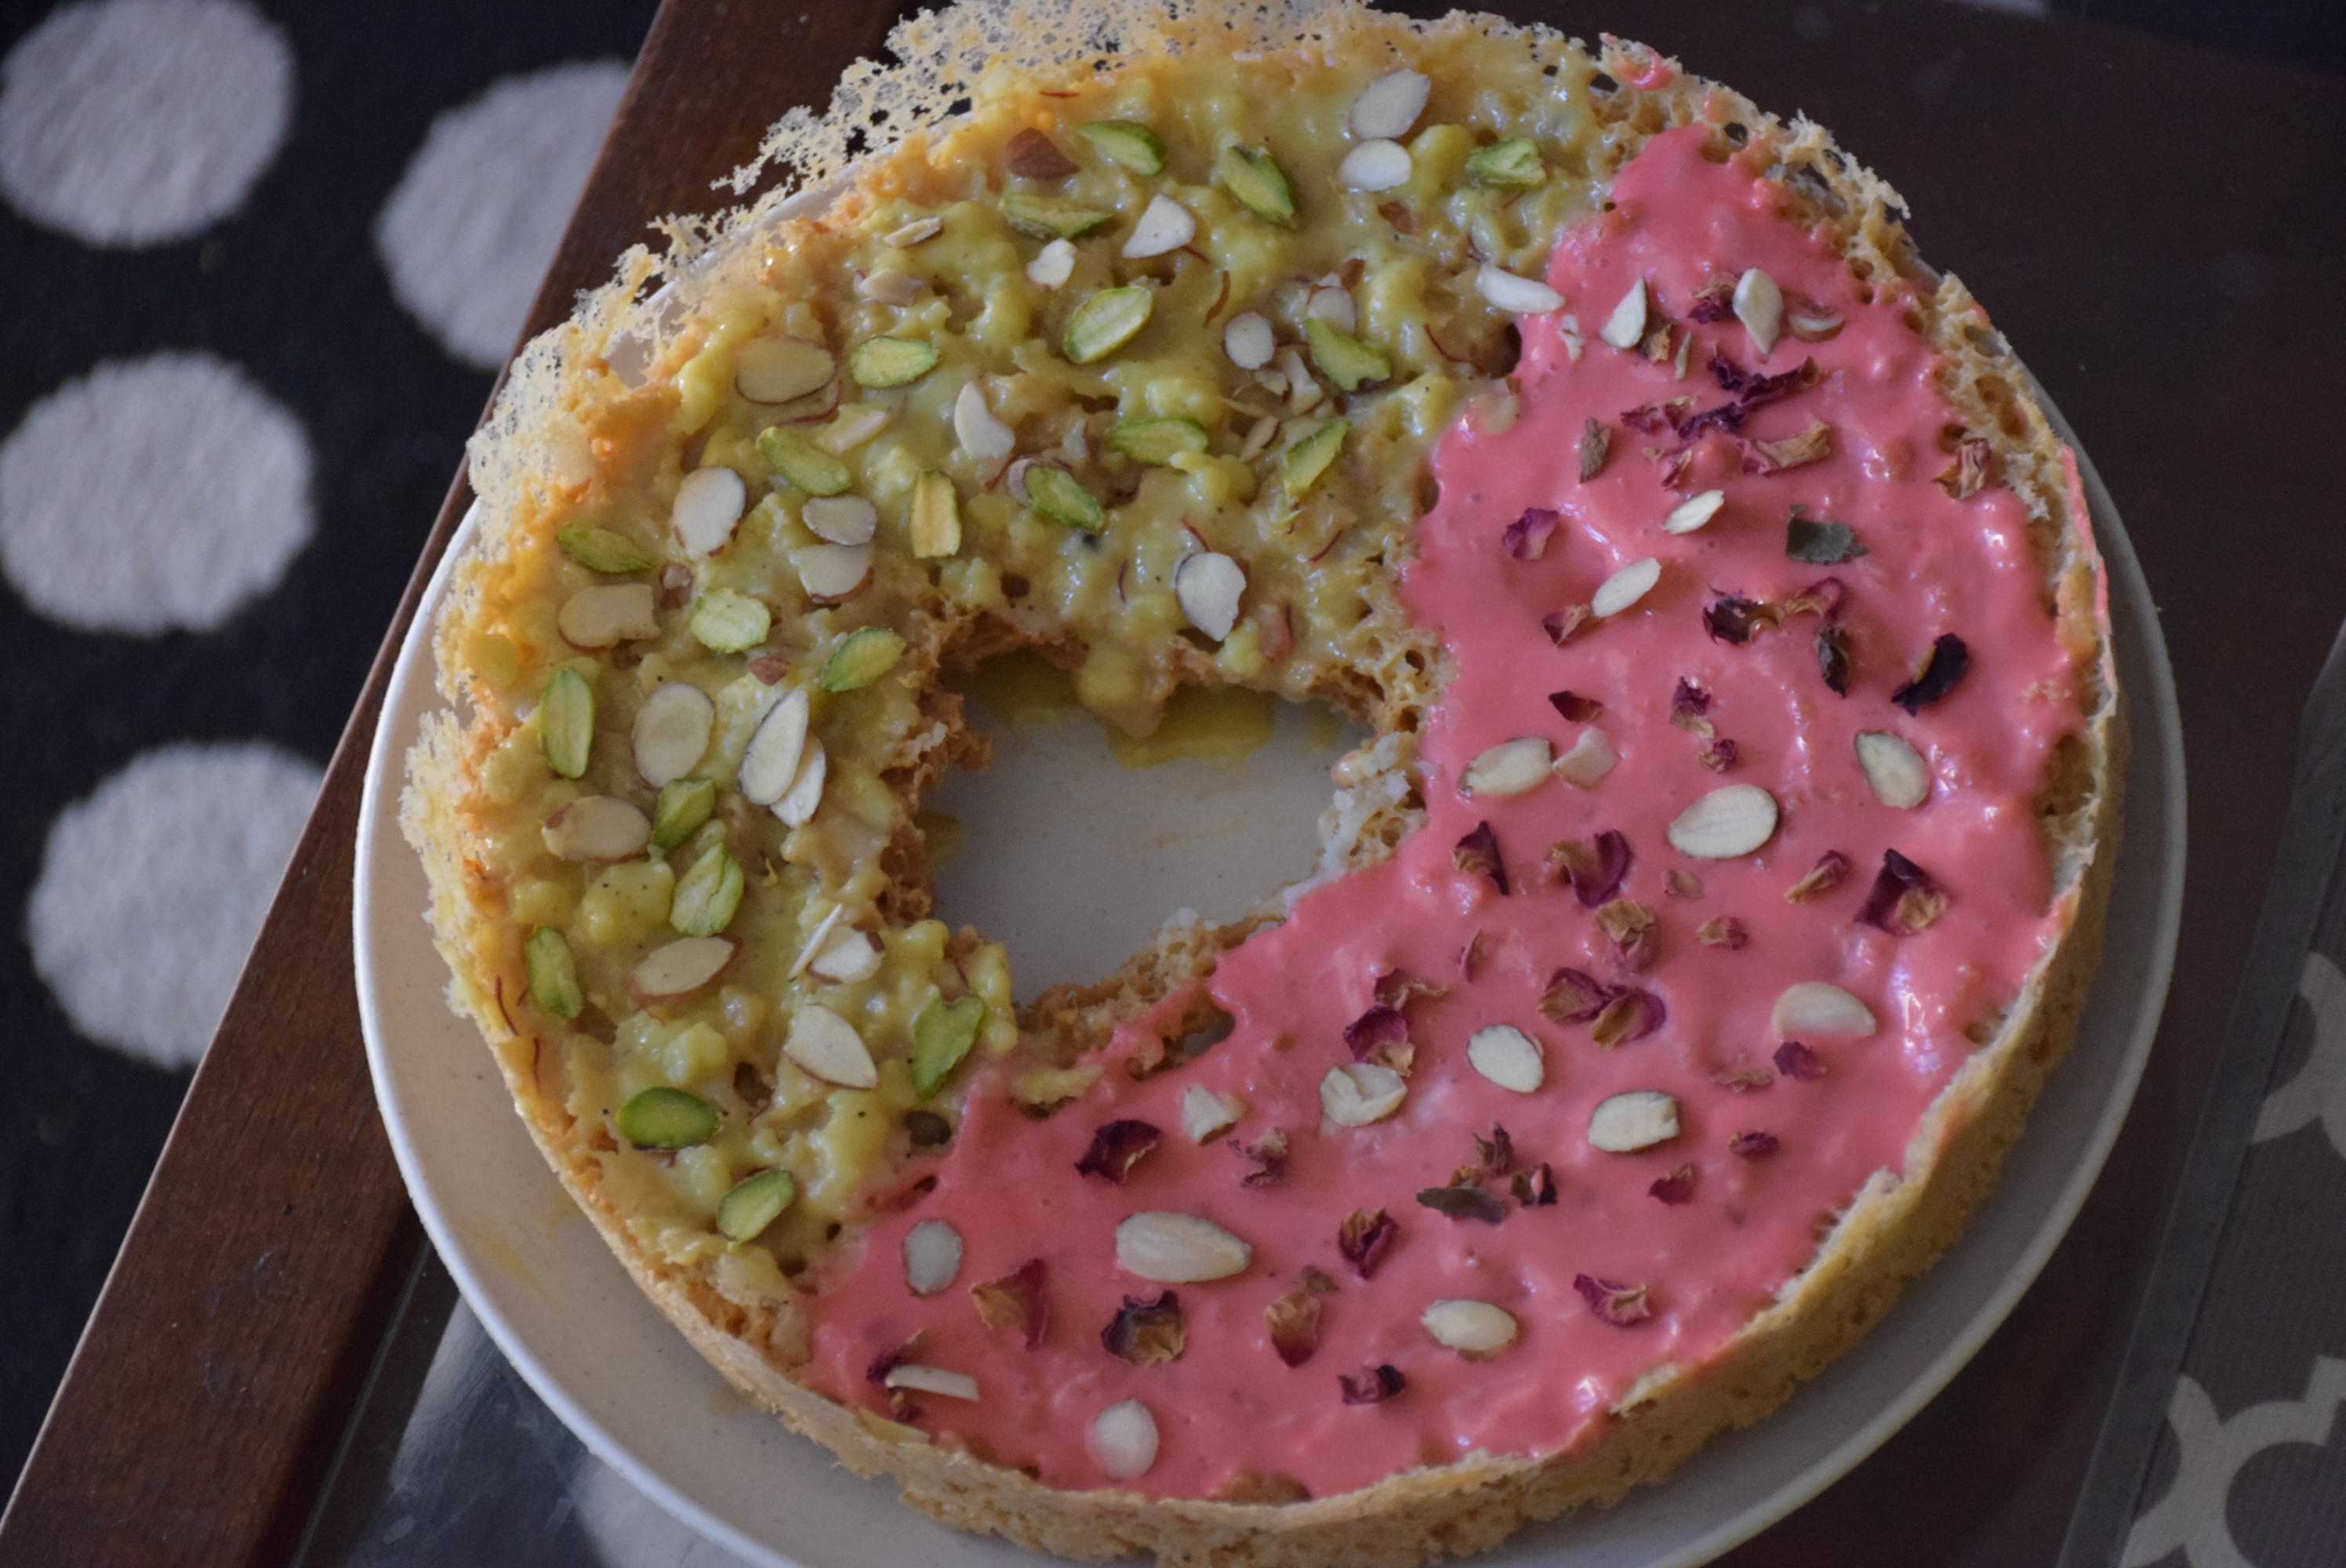
Strawberry and malai Ghevar
Finally after much speculation, wait and patience I tried this yummilicious recipe and it came out perfect. I followed Nisha Madhulika’s recipe , seriously Nisha ji you are the best. Almost all your recipes work and my craving is satisfied.. Ghevar is Indian sweet which is prepared especially during Monsoon (shravan month) on Teej and Raksha Bandhan. Although it originated in Rajasthan ,but has now spread to almost all of the north India. It is a sweet which is not found in US and so since 2 yrs I was in doubt whether to take the risk or not.
But thanks to the inspiration I got from the Fb groups like CCC and Eupohoric Delights, I was finally able to muster the courage of making this. To my and your amazement it is not at all that “difficult” as much as it is hyped. If you know how to fry Puris (Indian puffed bread) , you can do this as well.
Although being the first timers, I would recommend you to wear gloves while pouring the batter and be cautious while taking ghevar out of the wok or deep pan with a skewer or a long wooden stick.Lets proceed to the recipe first 😀
INGREDIENTS:
1. All purpose Flour (Maida) – 2 cups
2. Clarified Butter(ghee) – 1/4 cup
3. Milk (cold) – 1/4 cup
4. water (cold) – 4 cups
5. Clarified butter(ghee) – 1 kg or 6 cups for frying
6. Ice cubes – 6
7. Lemon juice – 1 tsp
For sugar syrup:
1. Sugar – 2 cups
2. Water – 1 cup
3. Cardamom powder (Elaichi) – 1 tbsp
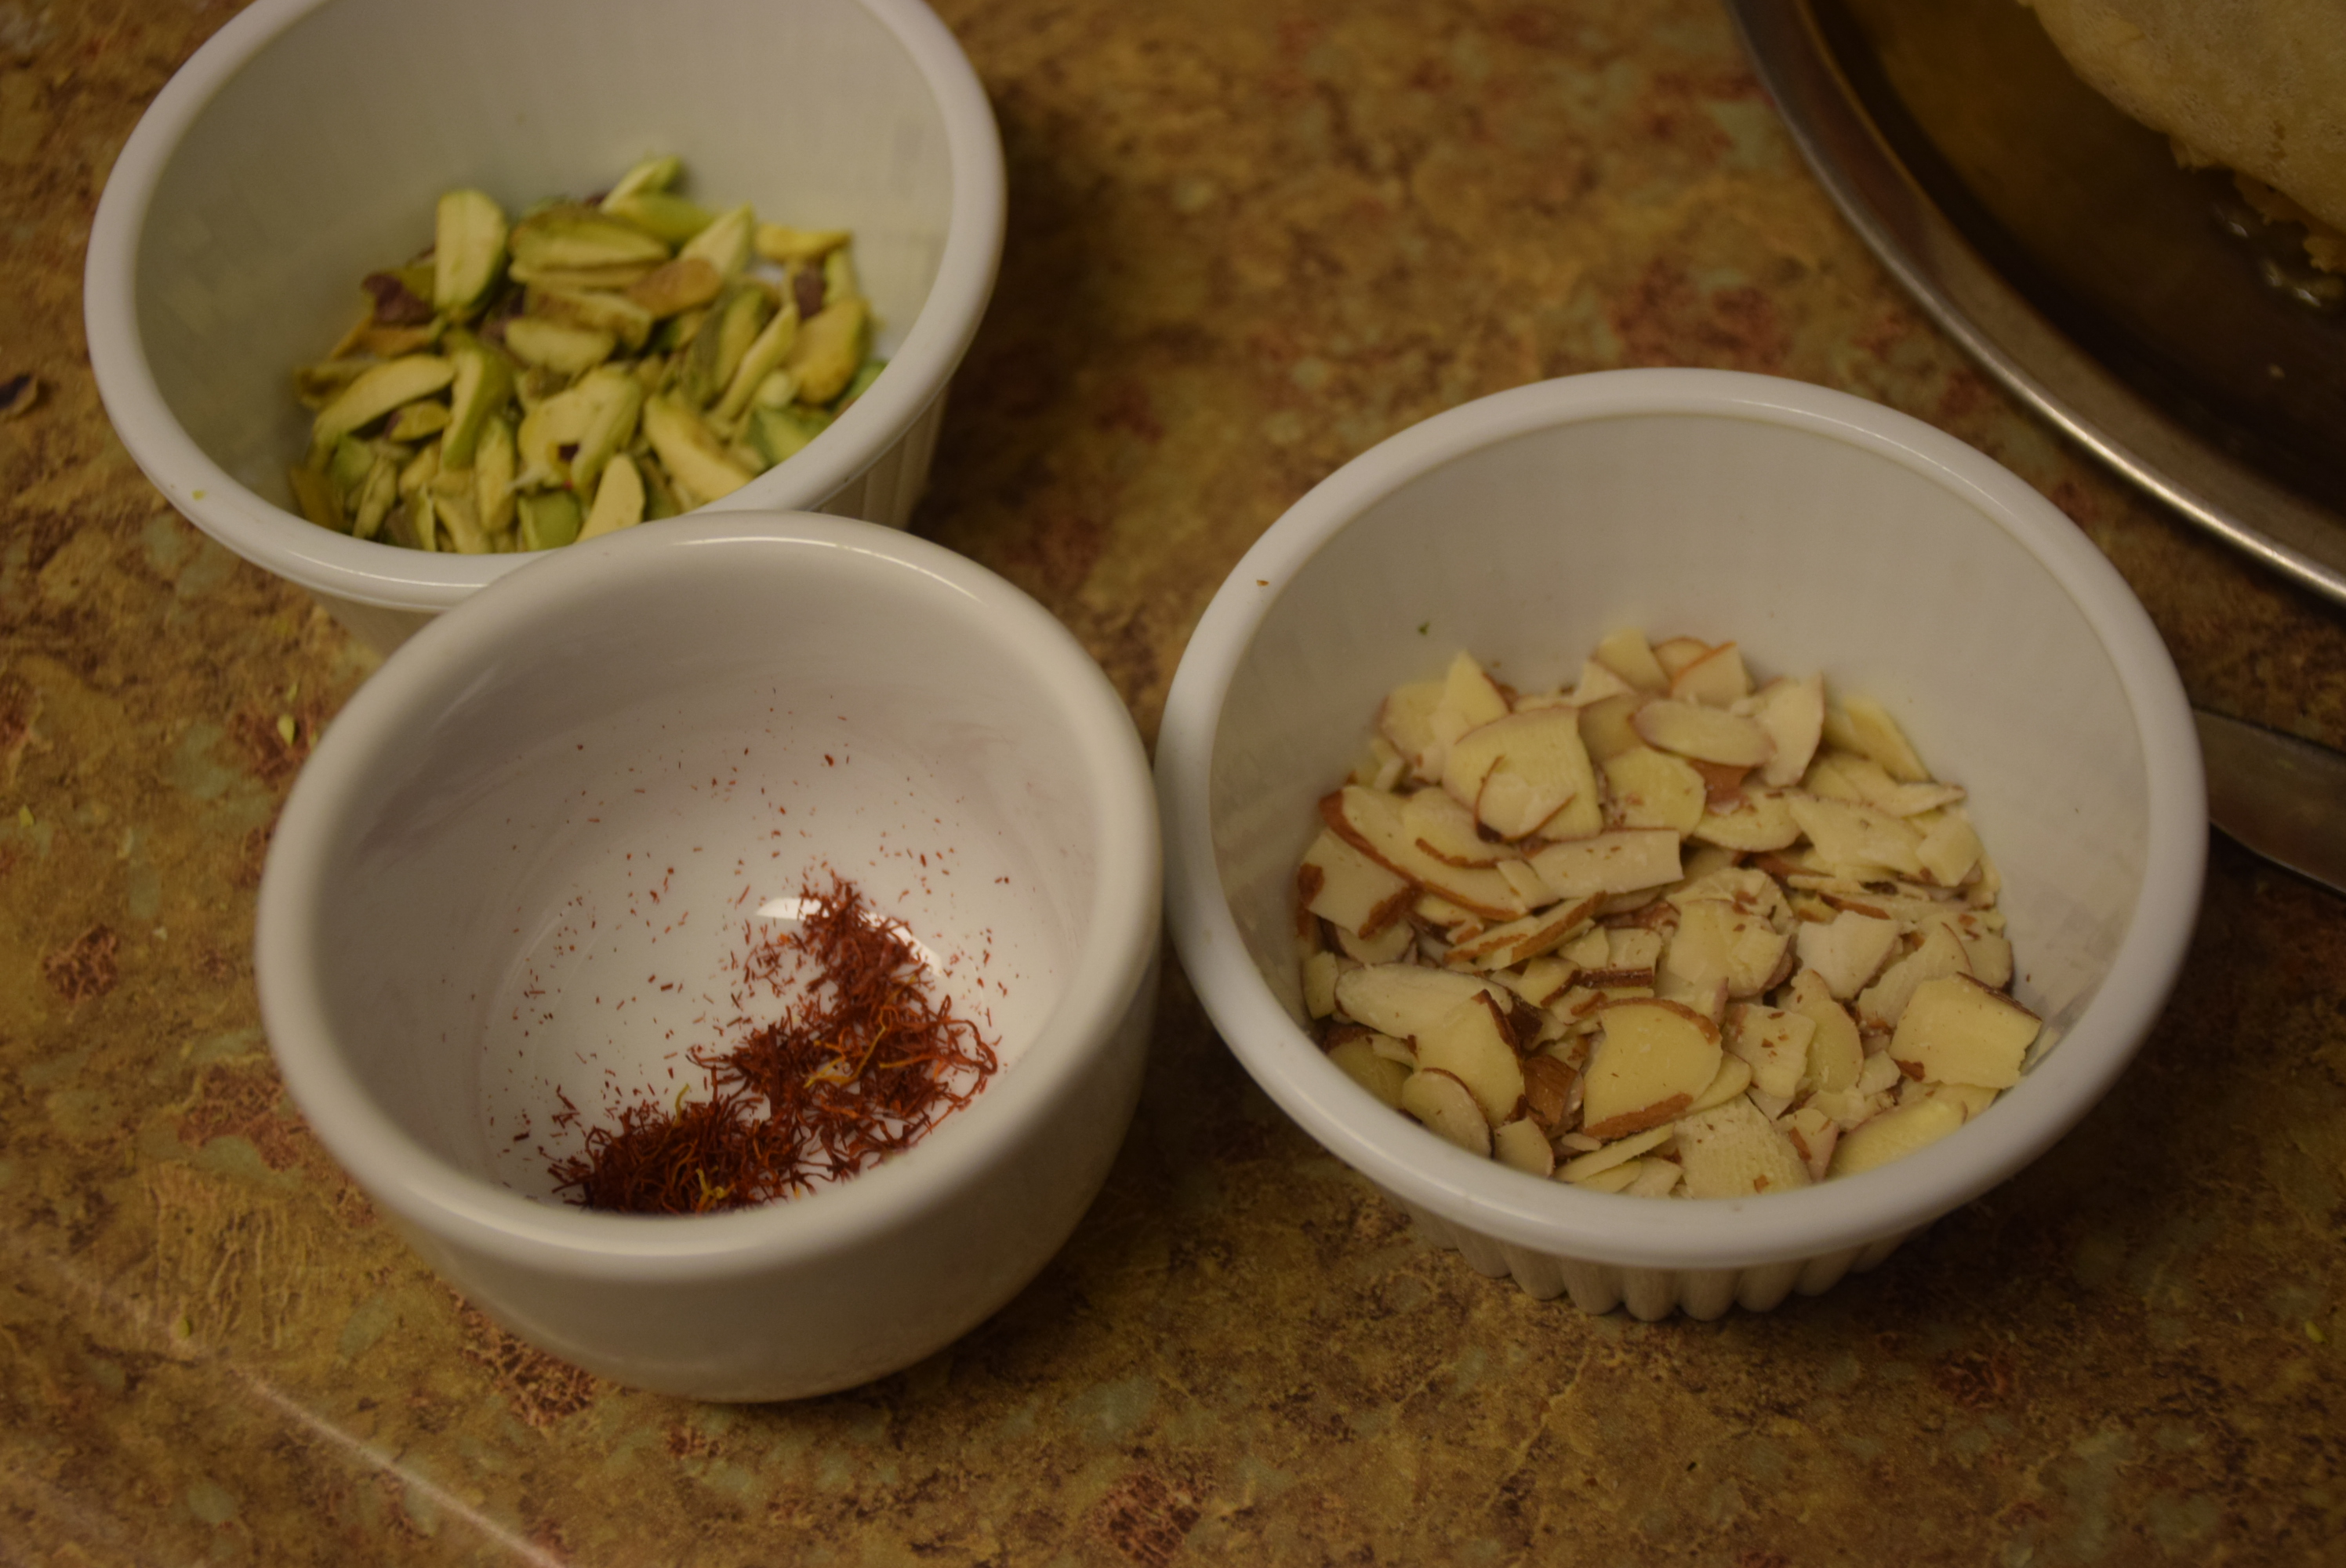
For Garnishing :
1. Silvered almonds – 2 tbsp
2. Silvered pistachios – 2 tbsp
3. Rabri – 1/2 cup(optional)
4. Silver foil (vark) – 2-3 leaves(optional)
Video Recipe:
METHOD:
| Preparation time : 30 + 10 mins | Cooking time : 30 mins| Makes 3 ghevars(depending on the diameter of vessel)|
1. Take Ghee at room temperature in a bowl and beat it till it gets soft and creamy.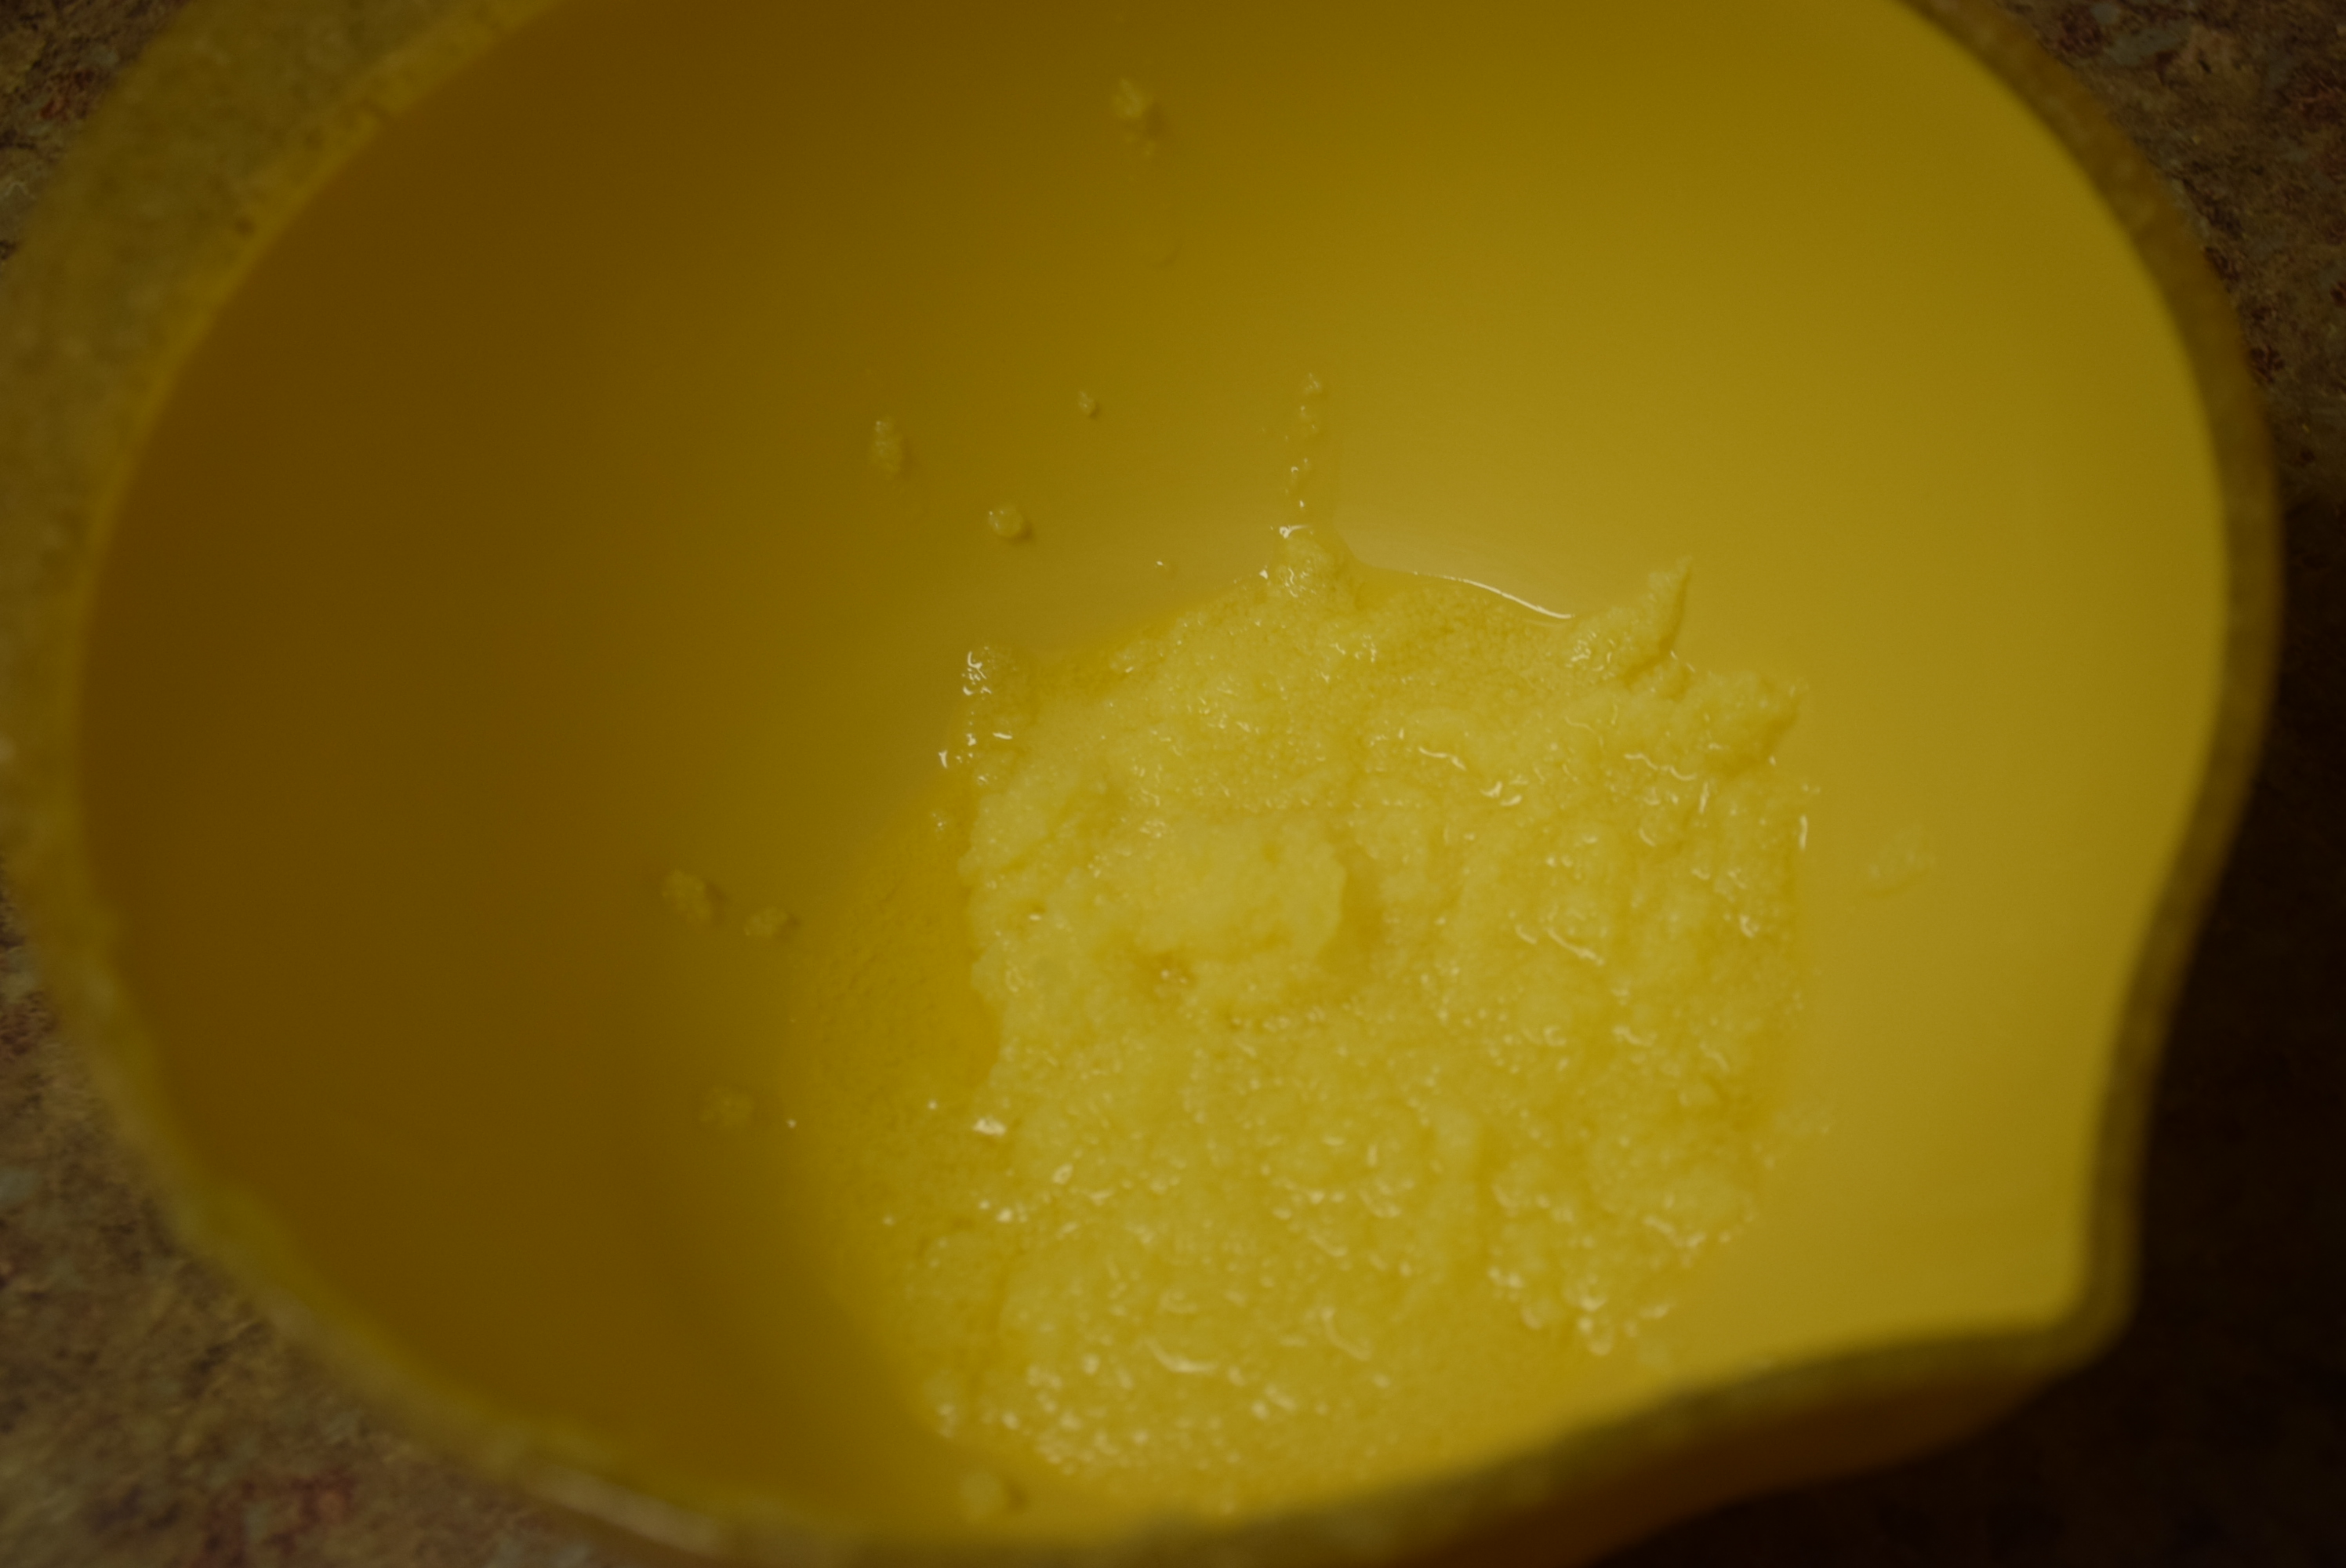
2. Add ice cubes in it to help the ghee turn whitish . Whisk it with hands since you will feel the particles of ghee. You need to whisk till all the particles vanish away.
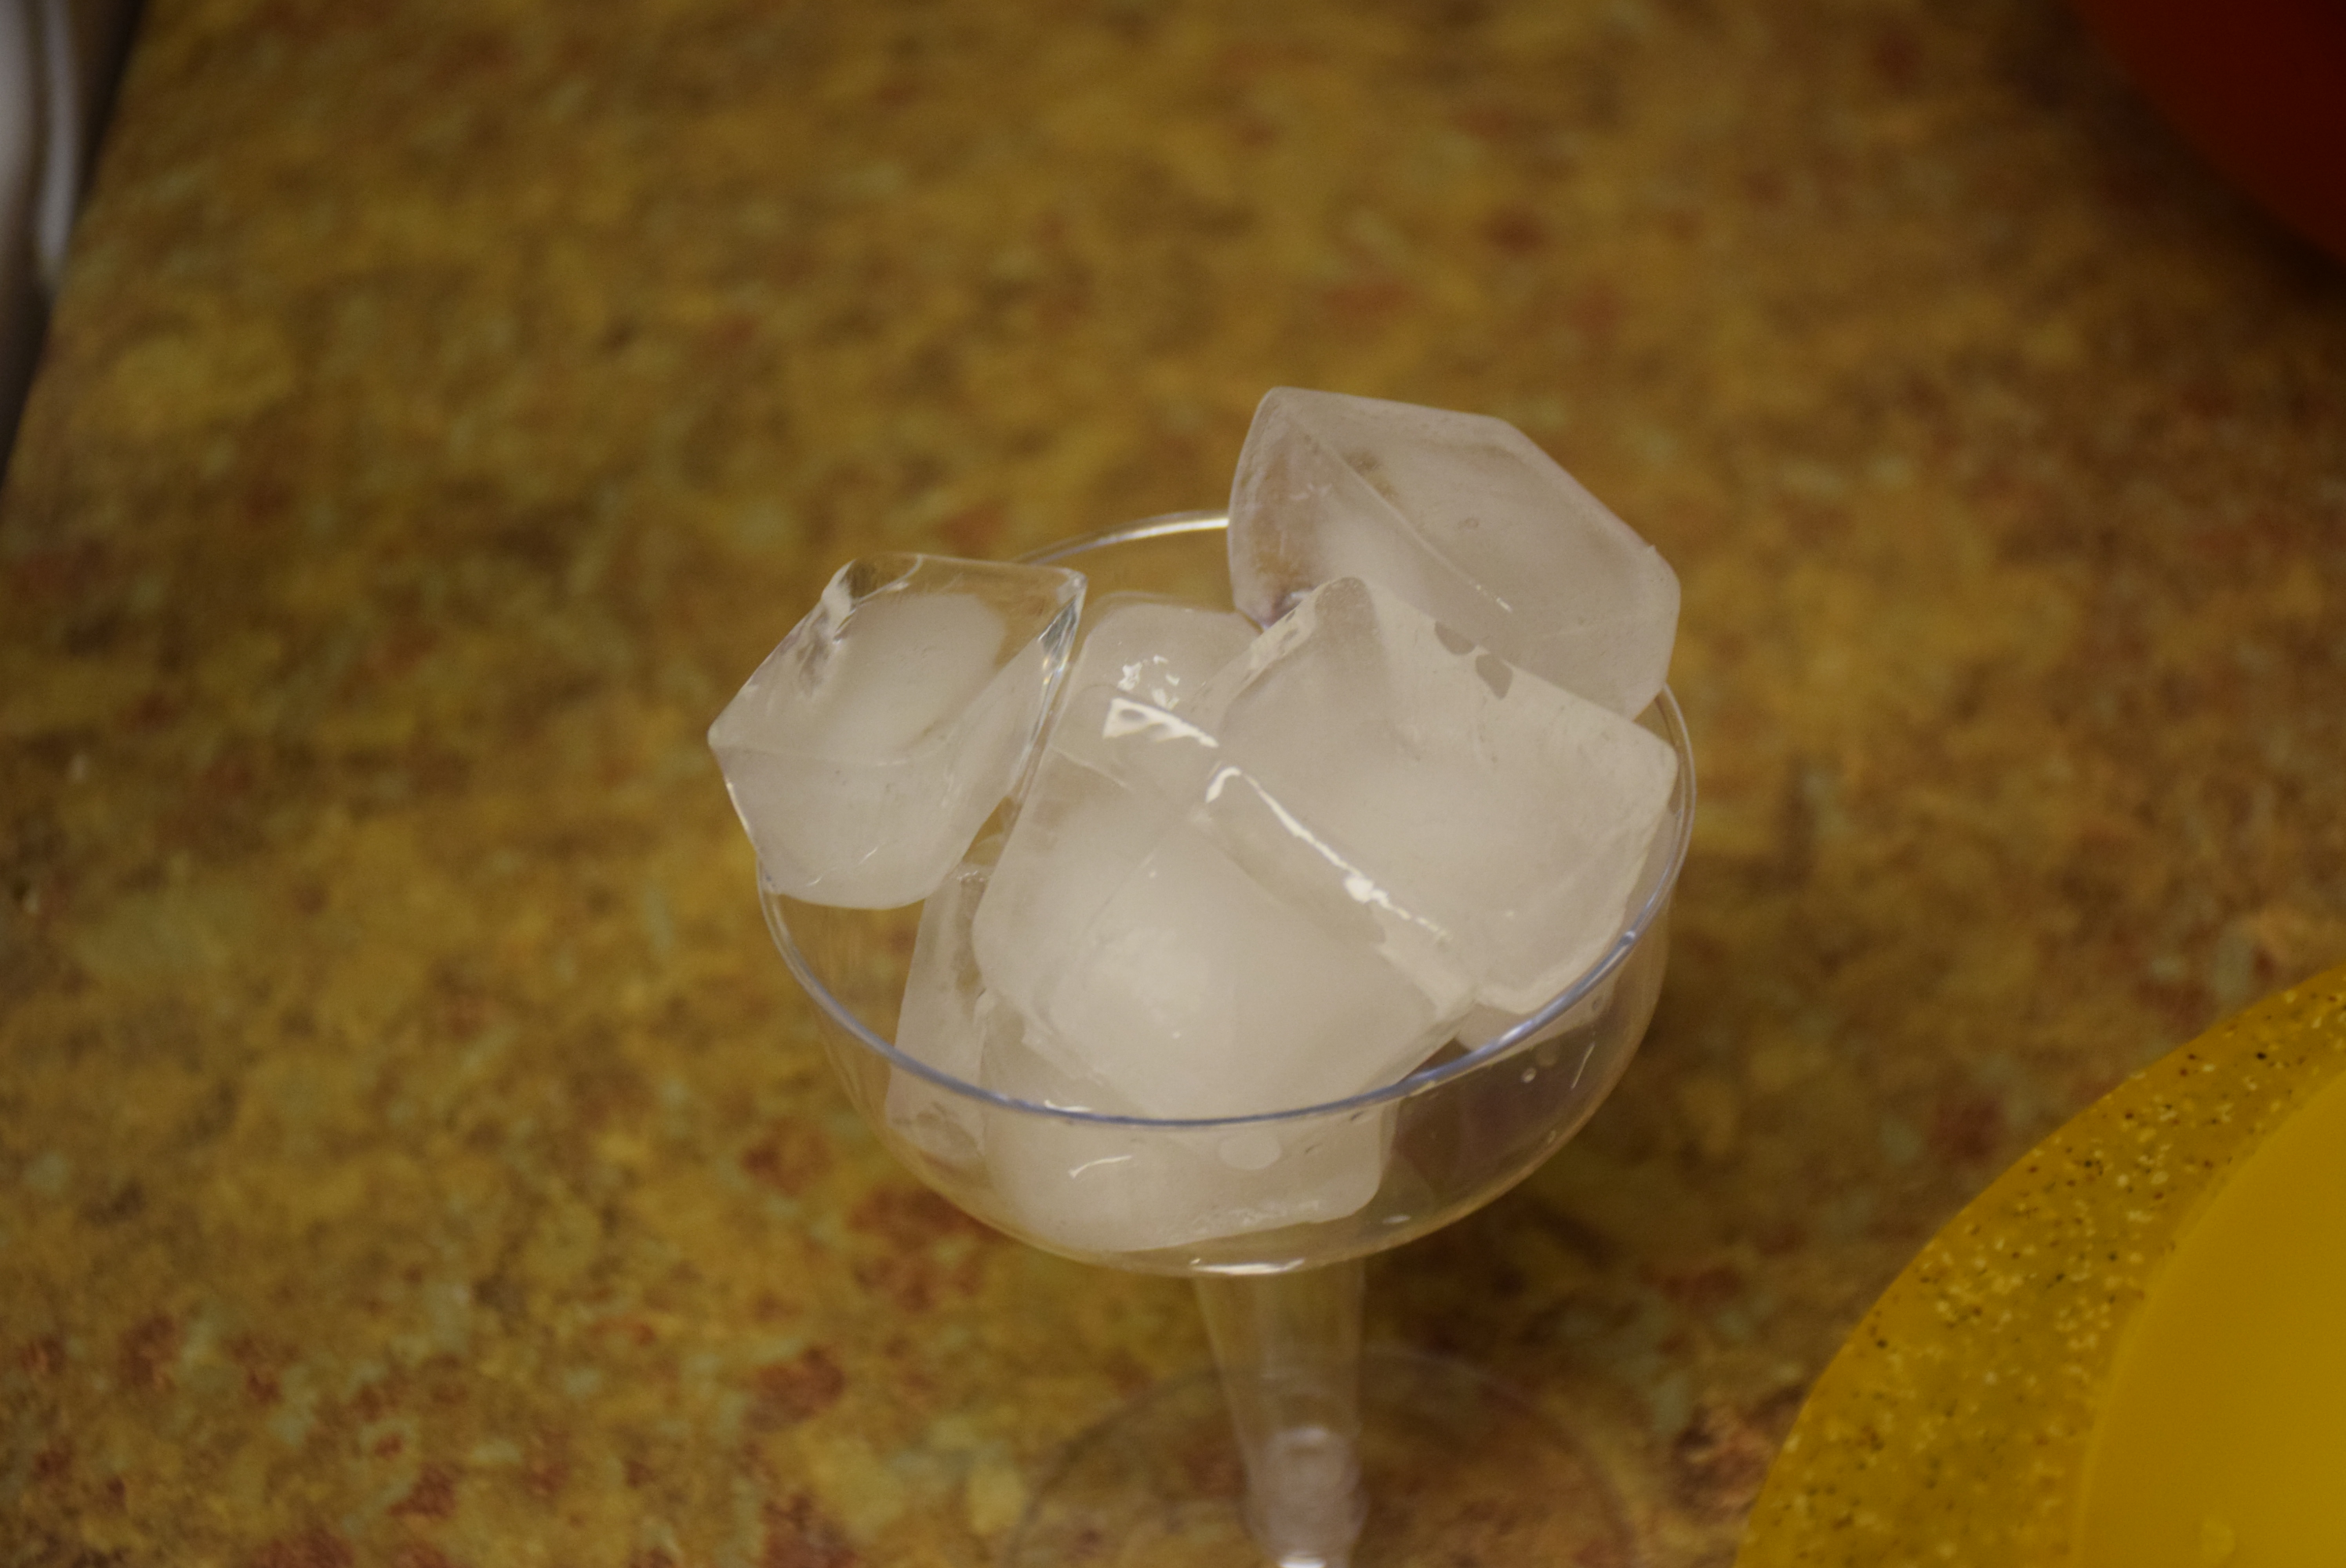
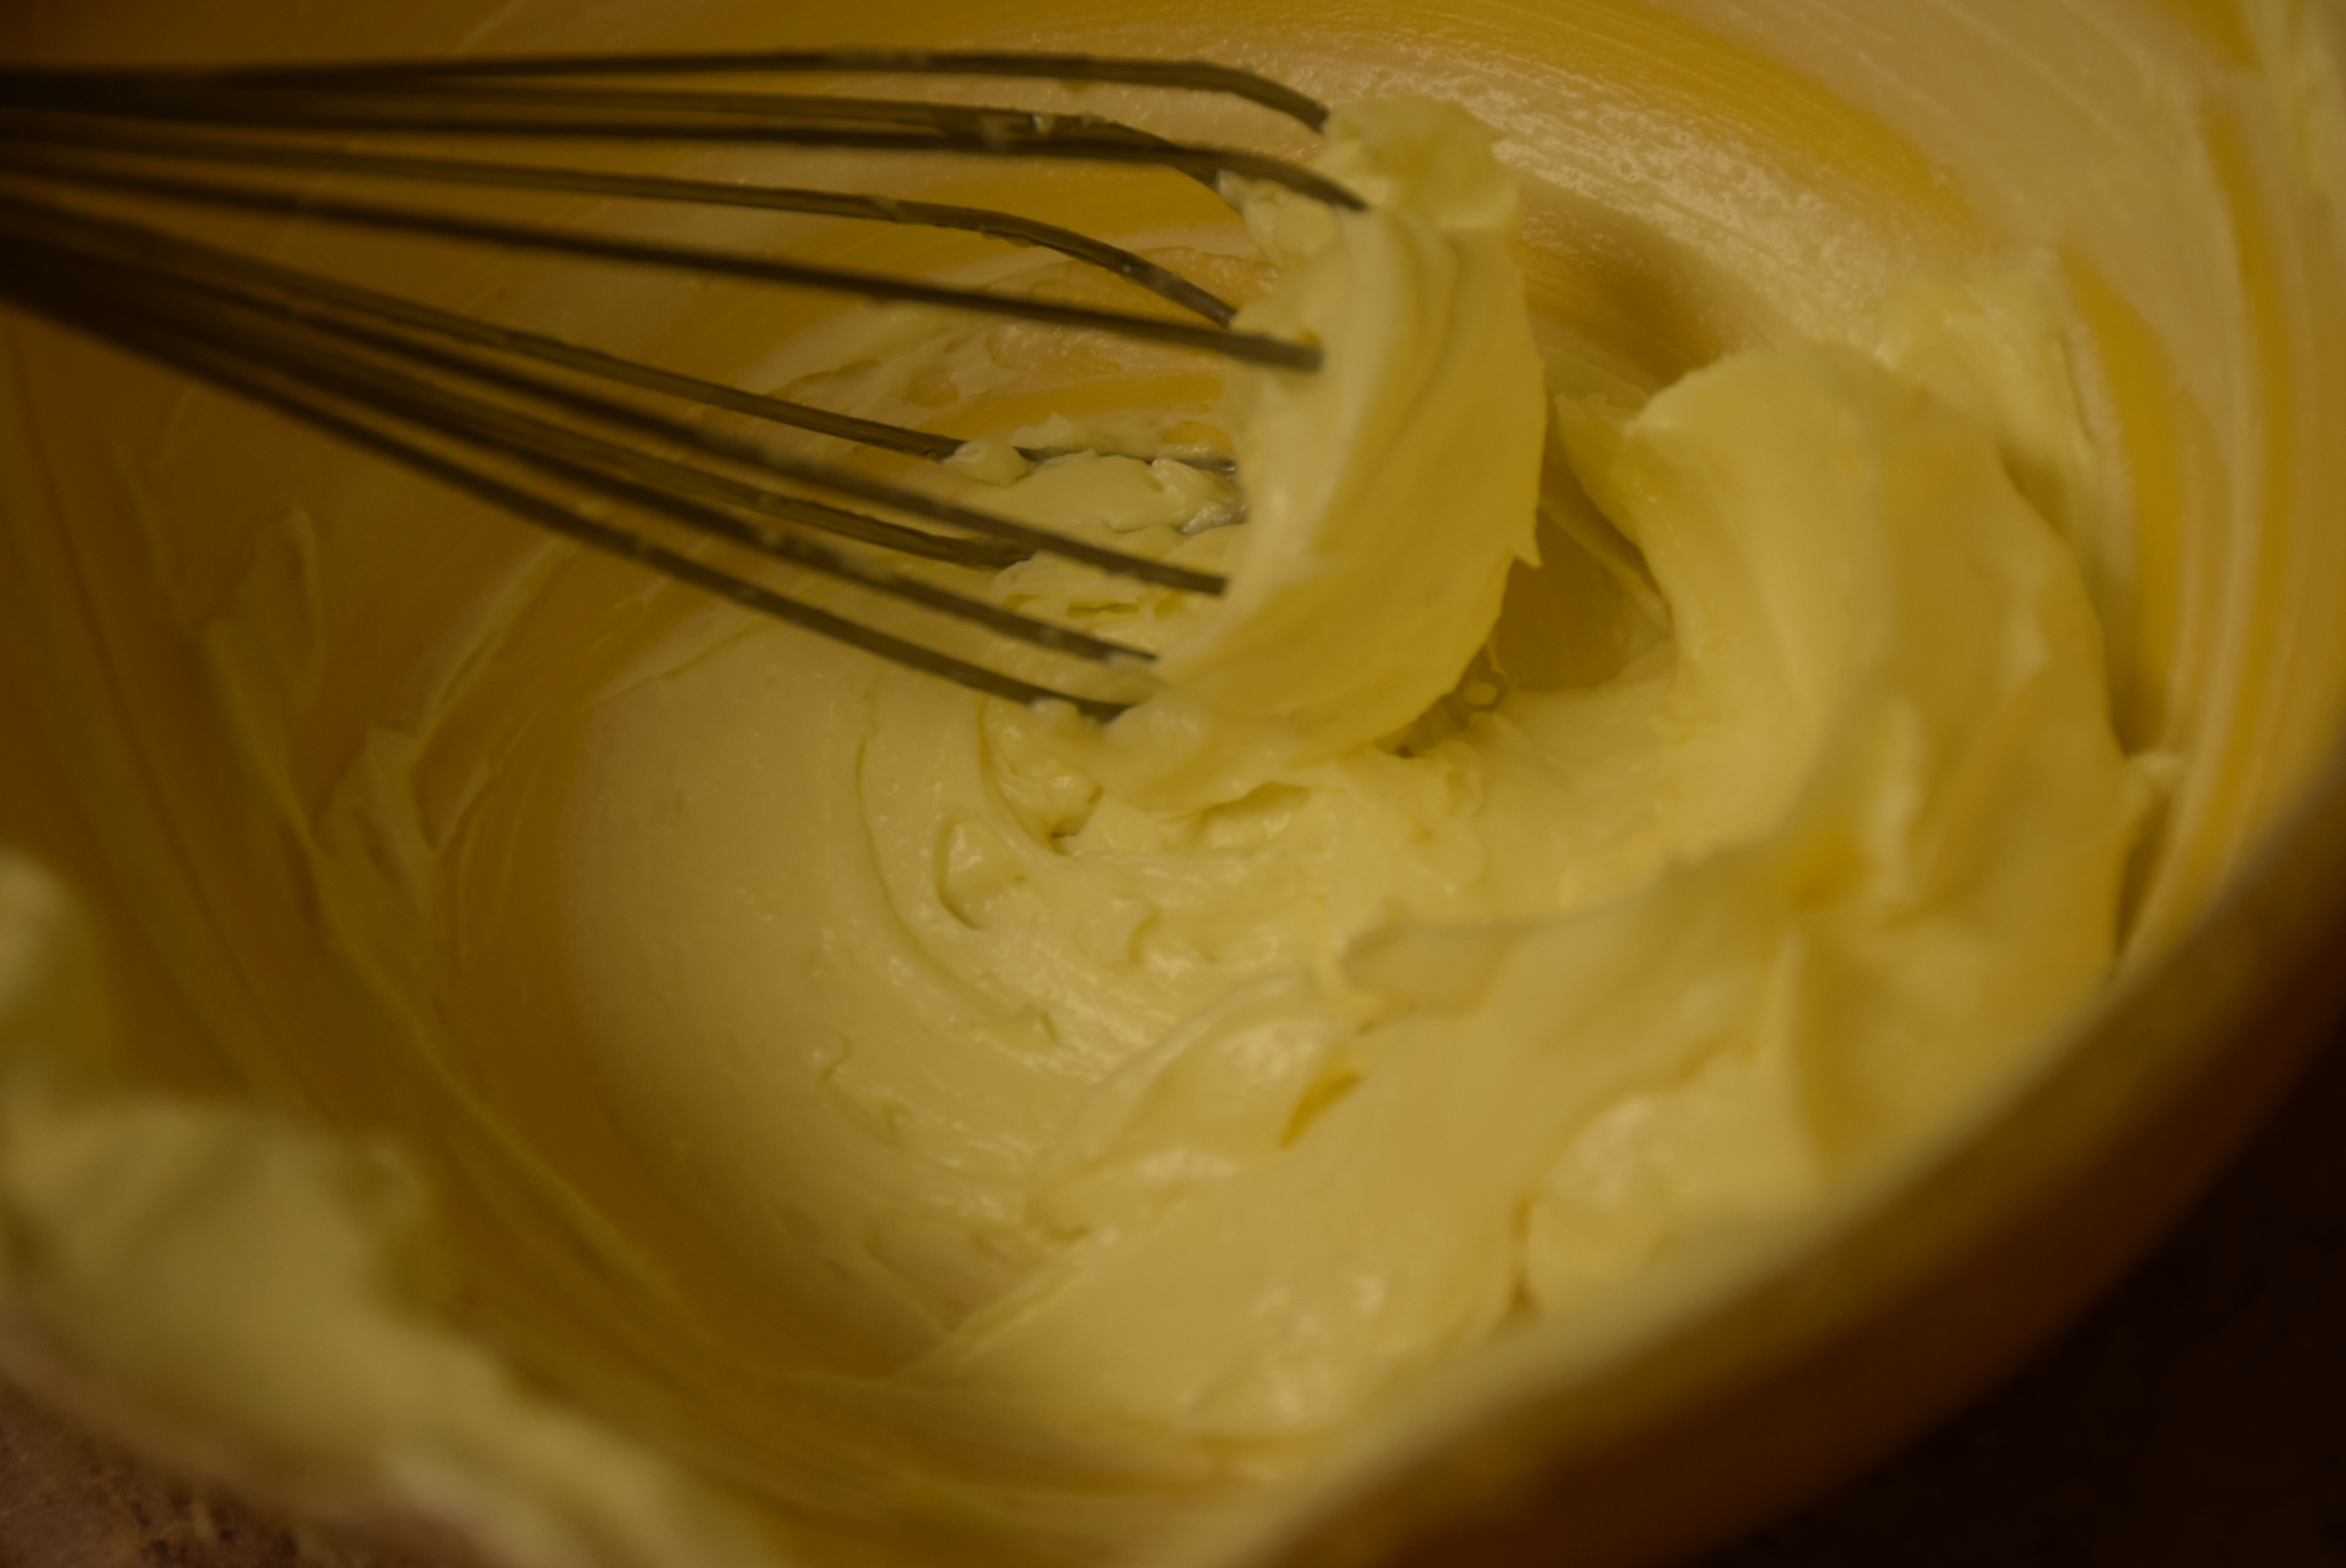
3. Take out the cubes from the ghee after 10 mins of whisking.Now whisk heavily with your hands till it gets light ,soft , whitish and creamy.
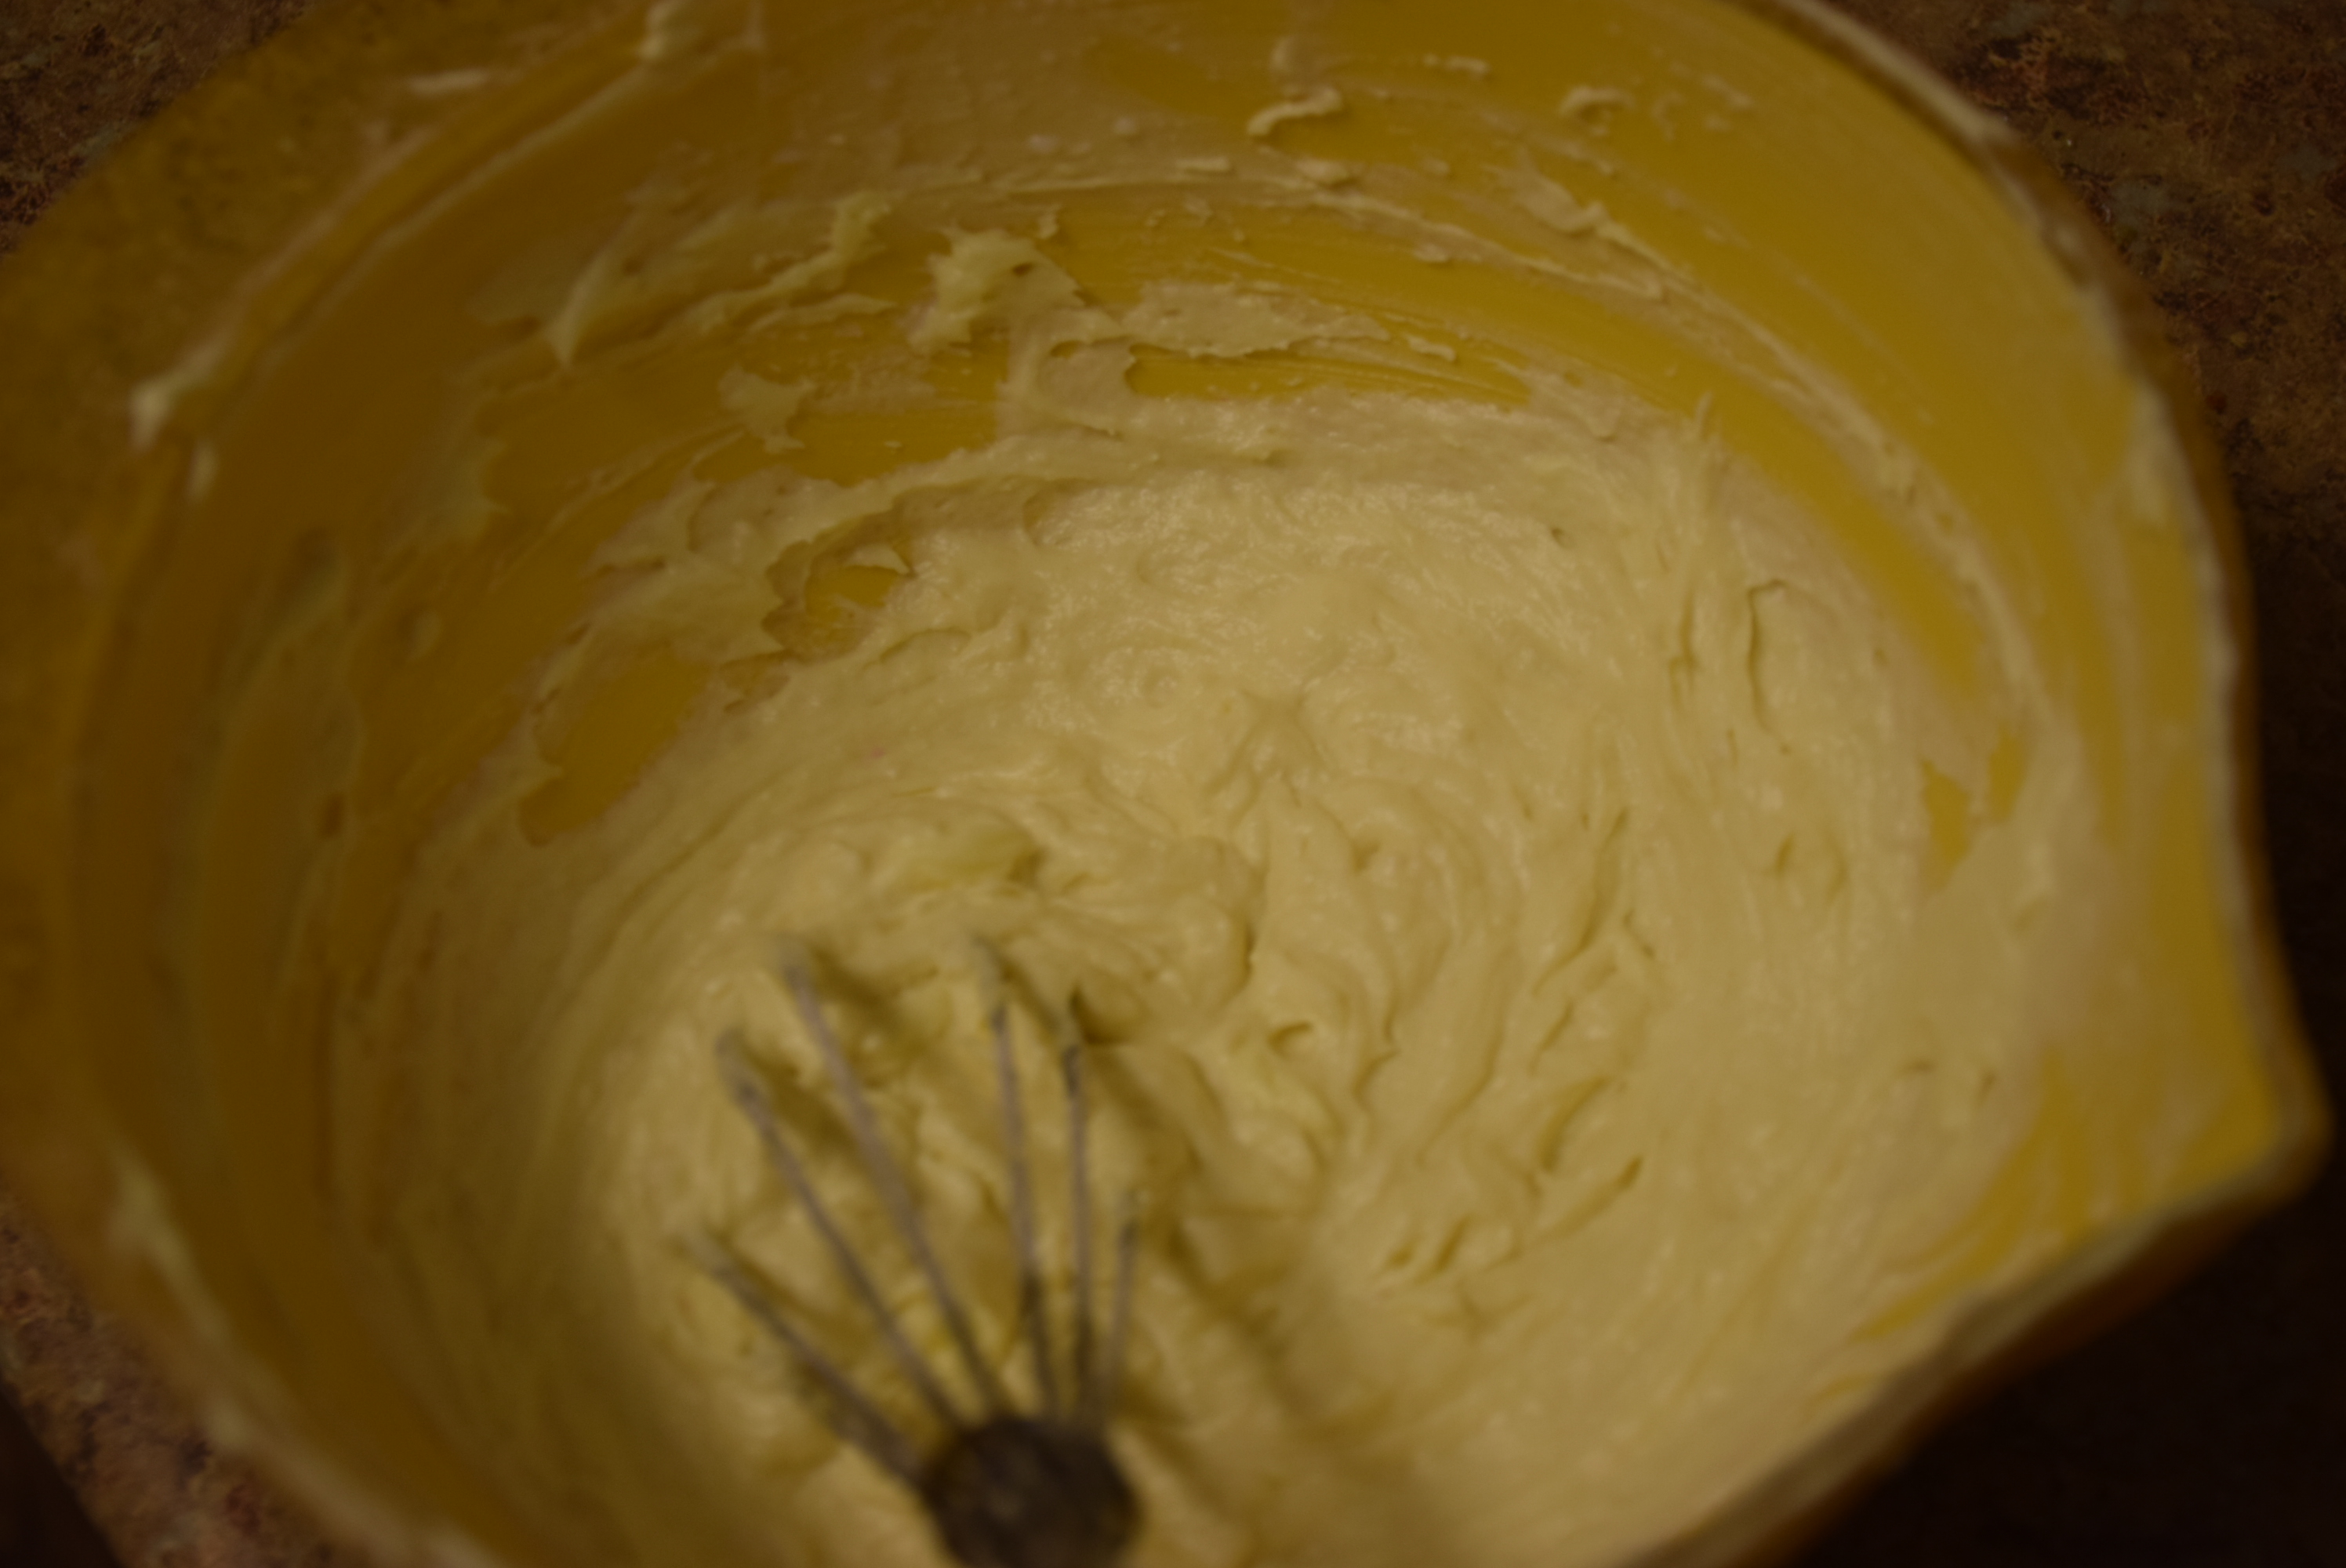
4. Once you see the white cream, add cold milk from the fridge to it. Whisk it again.
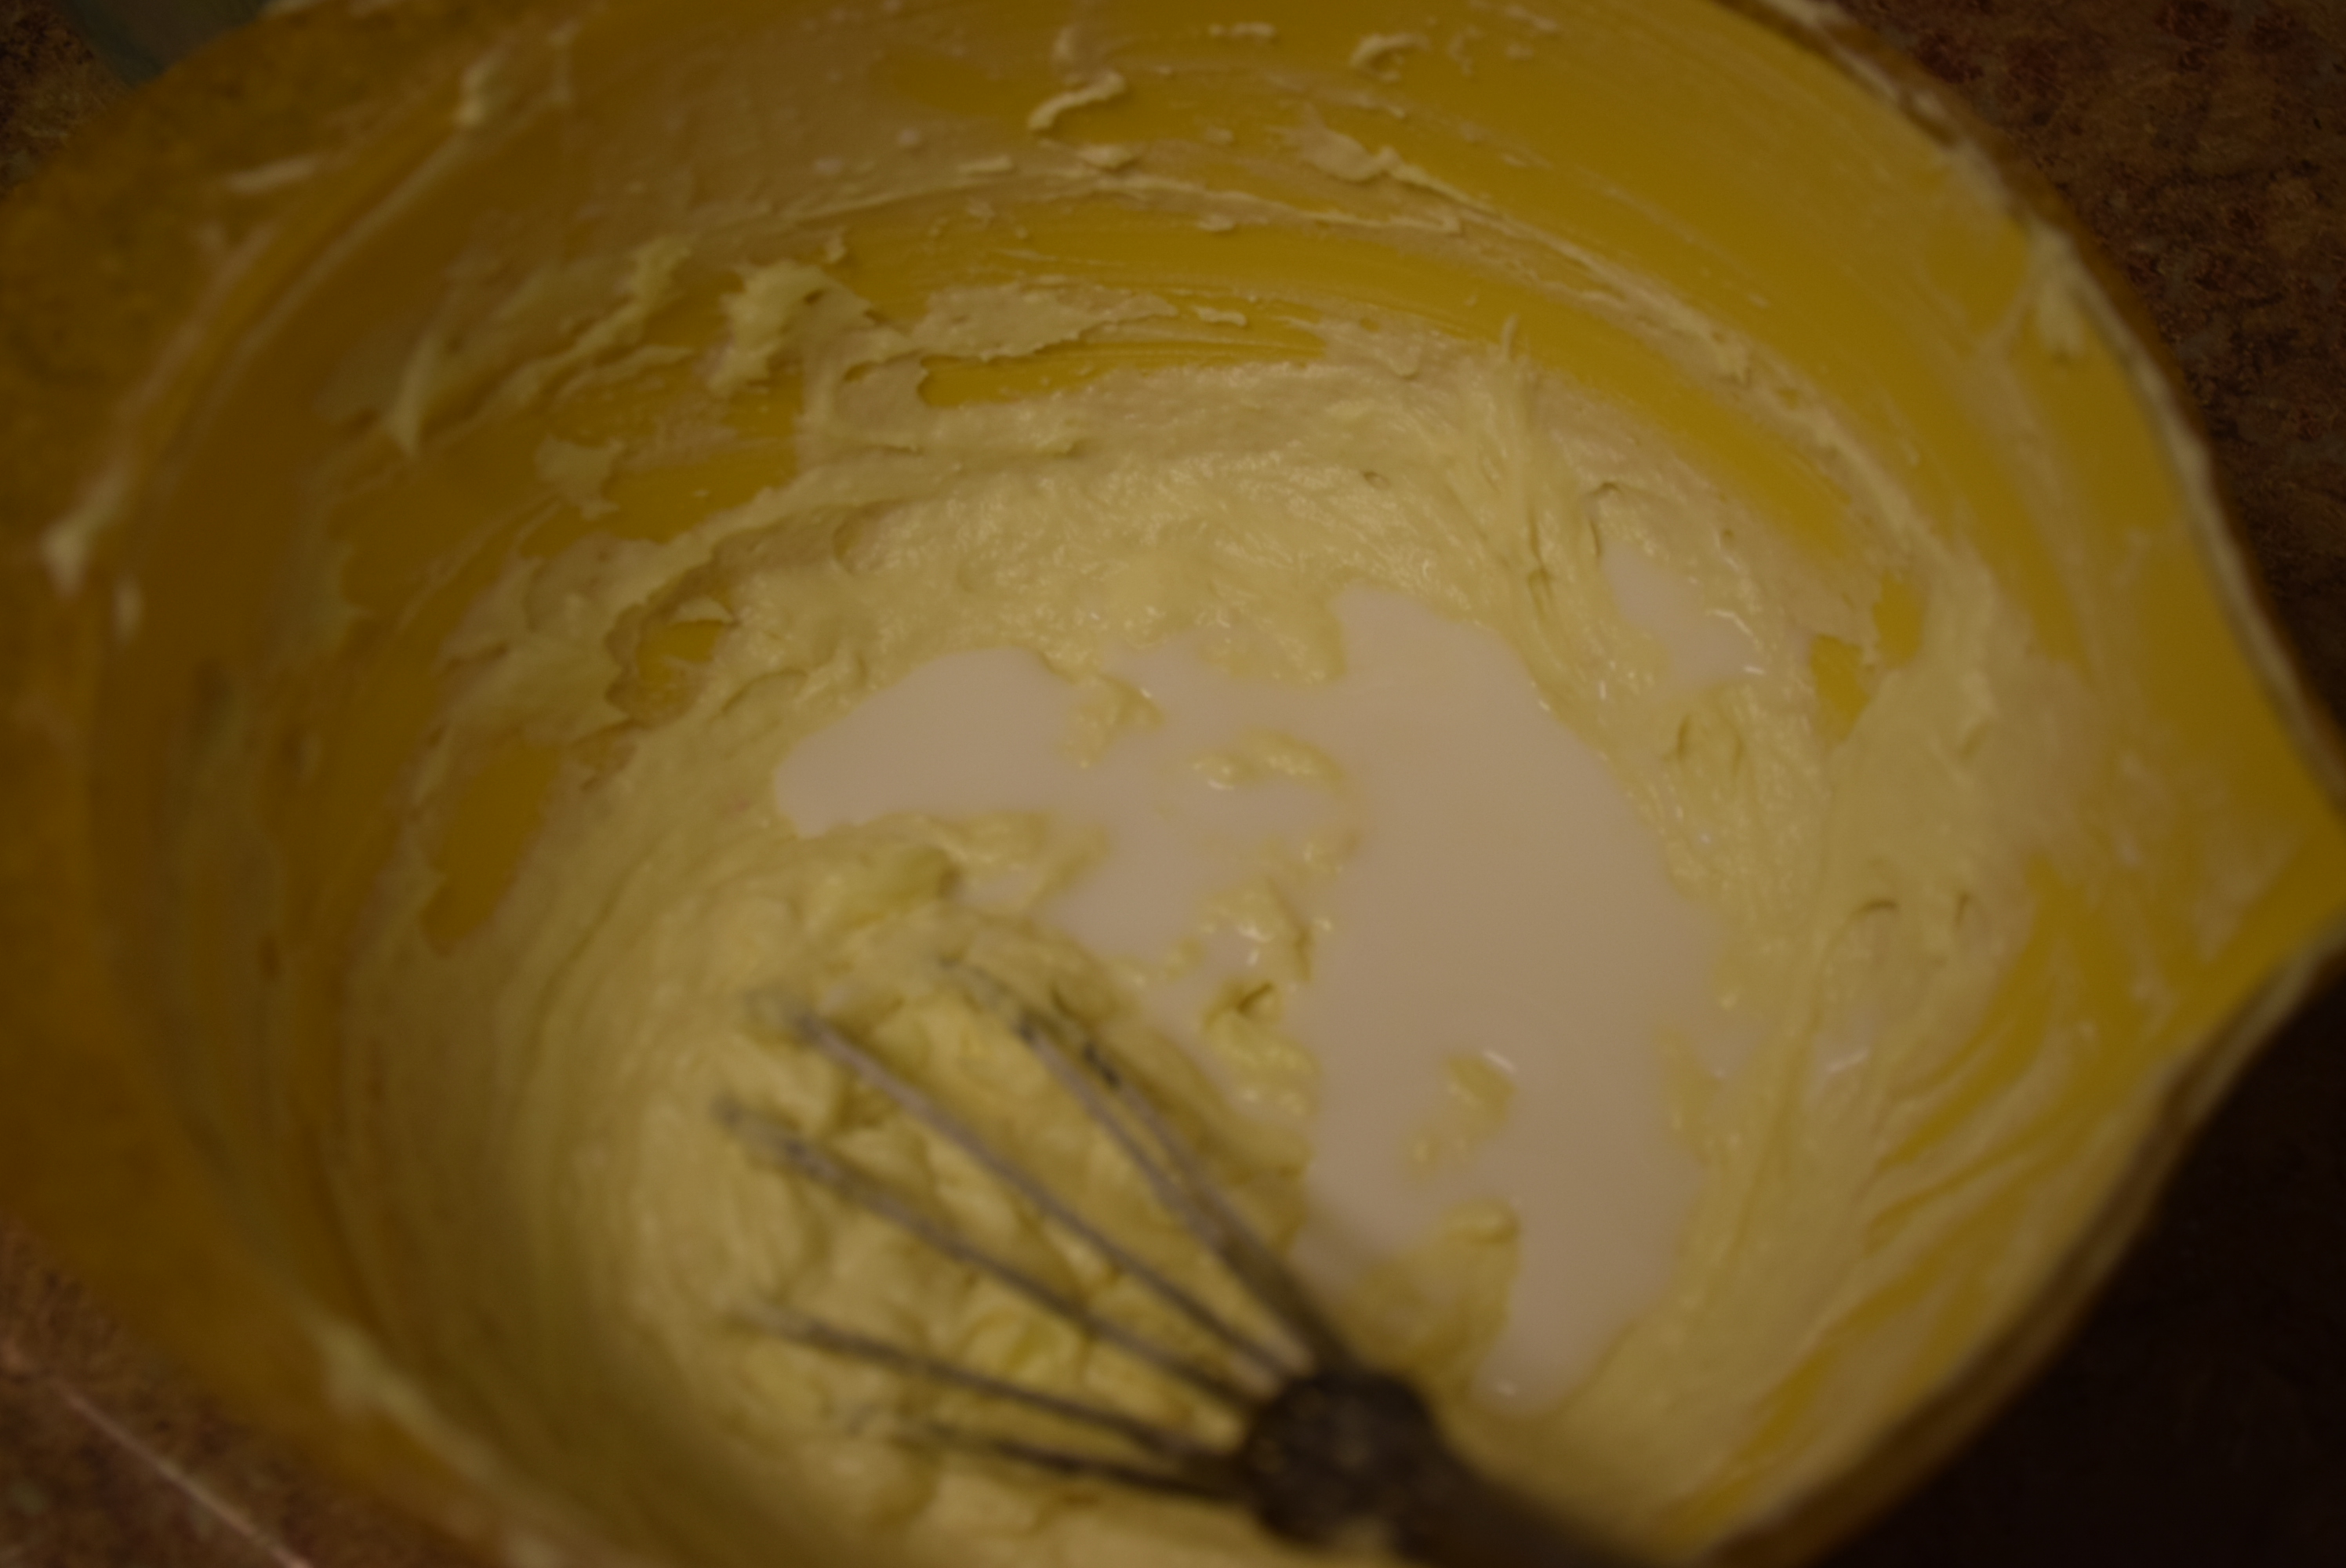
5. Start adding the maida 2 tbsp at a time and whisk or mix them together with whisk.

6. To help mixing add cold water slowly to the batter in between.
Here I had to transfer it to a larger bowl to avoid spilling and easy mixing. You may start your process in a large bowl only.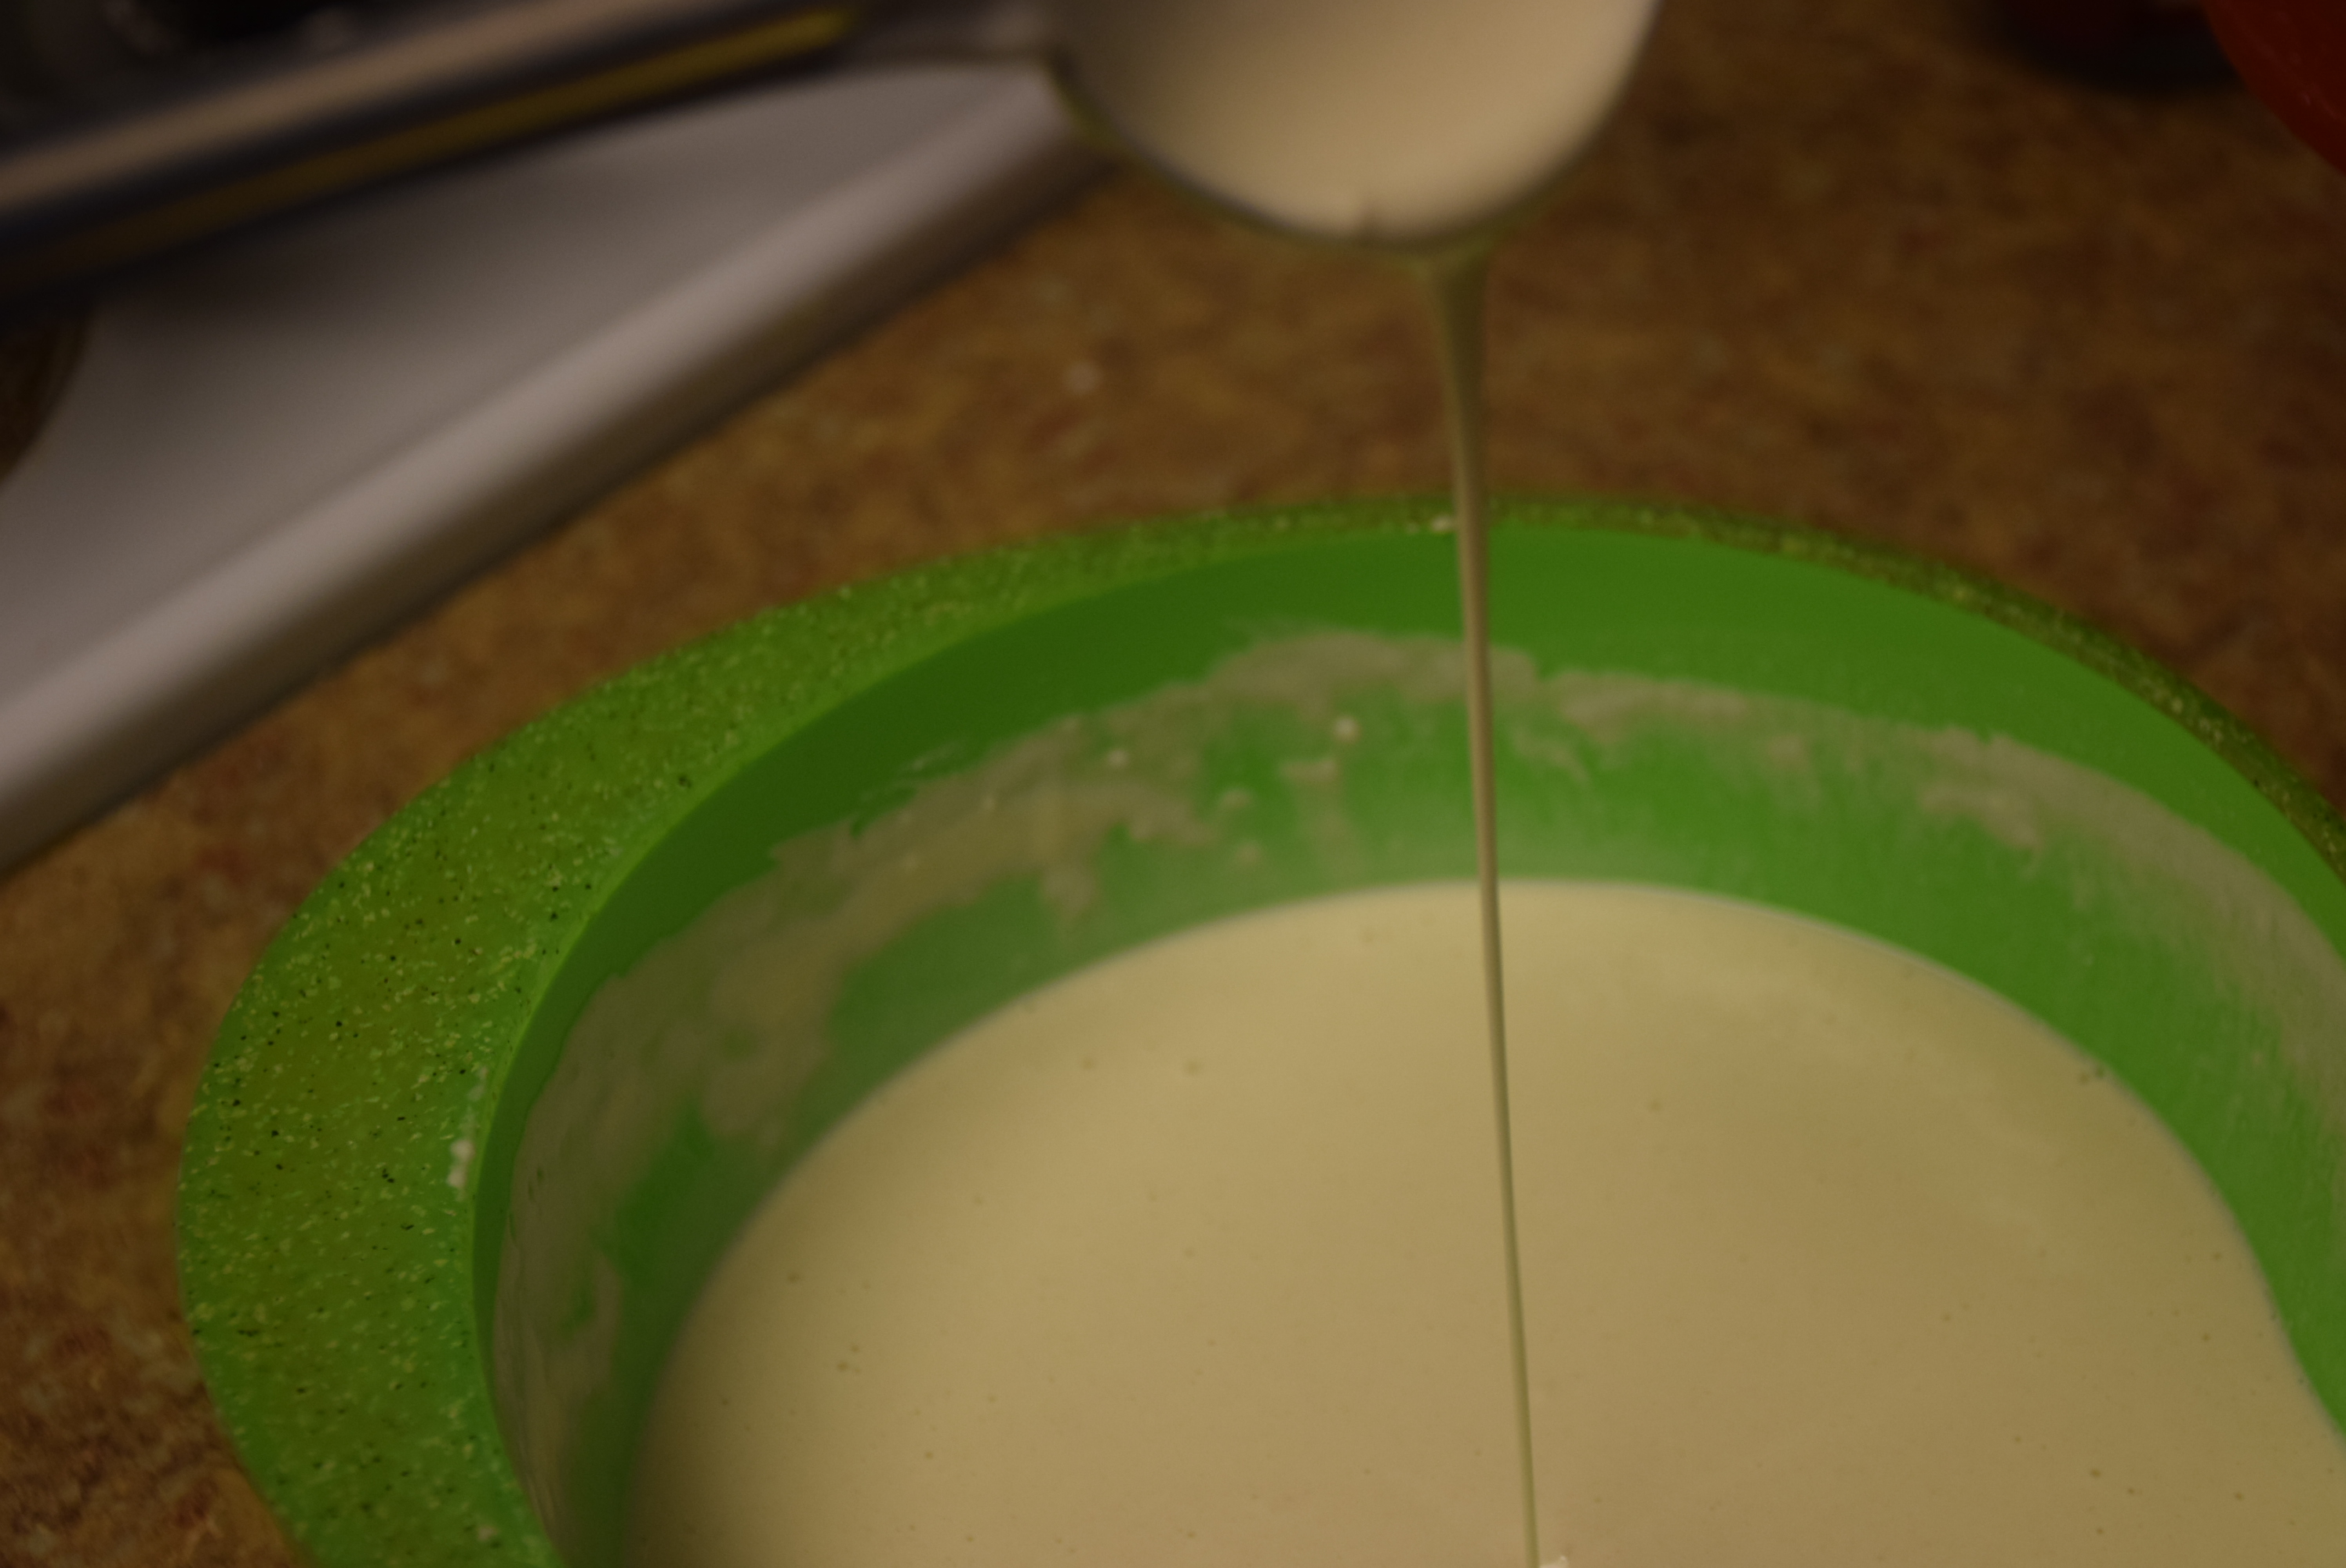
7. Similarly in parts mix all the maida and water completely to form a smooth , even pouring consistency batter.
8. The batter should be very thin (thinner than dosa batter) and smooth without any particles of maida visible.Mix maida slowly in parts with a whisk to avoid lumps in the batter. In the end add the lemon juice, it prevents the ghee from separting with the mixture.
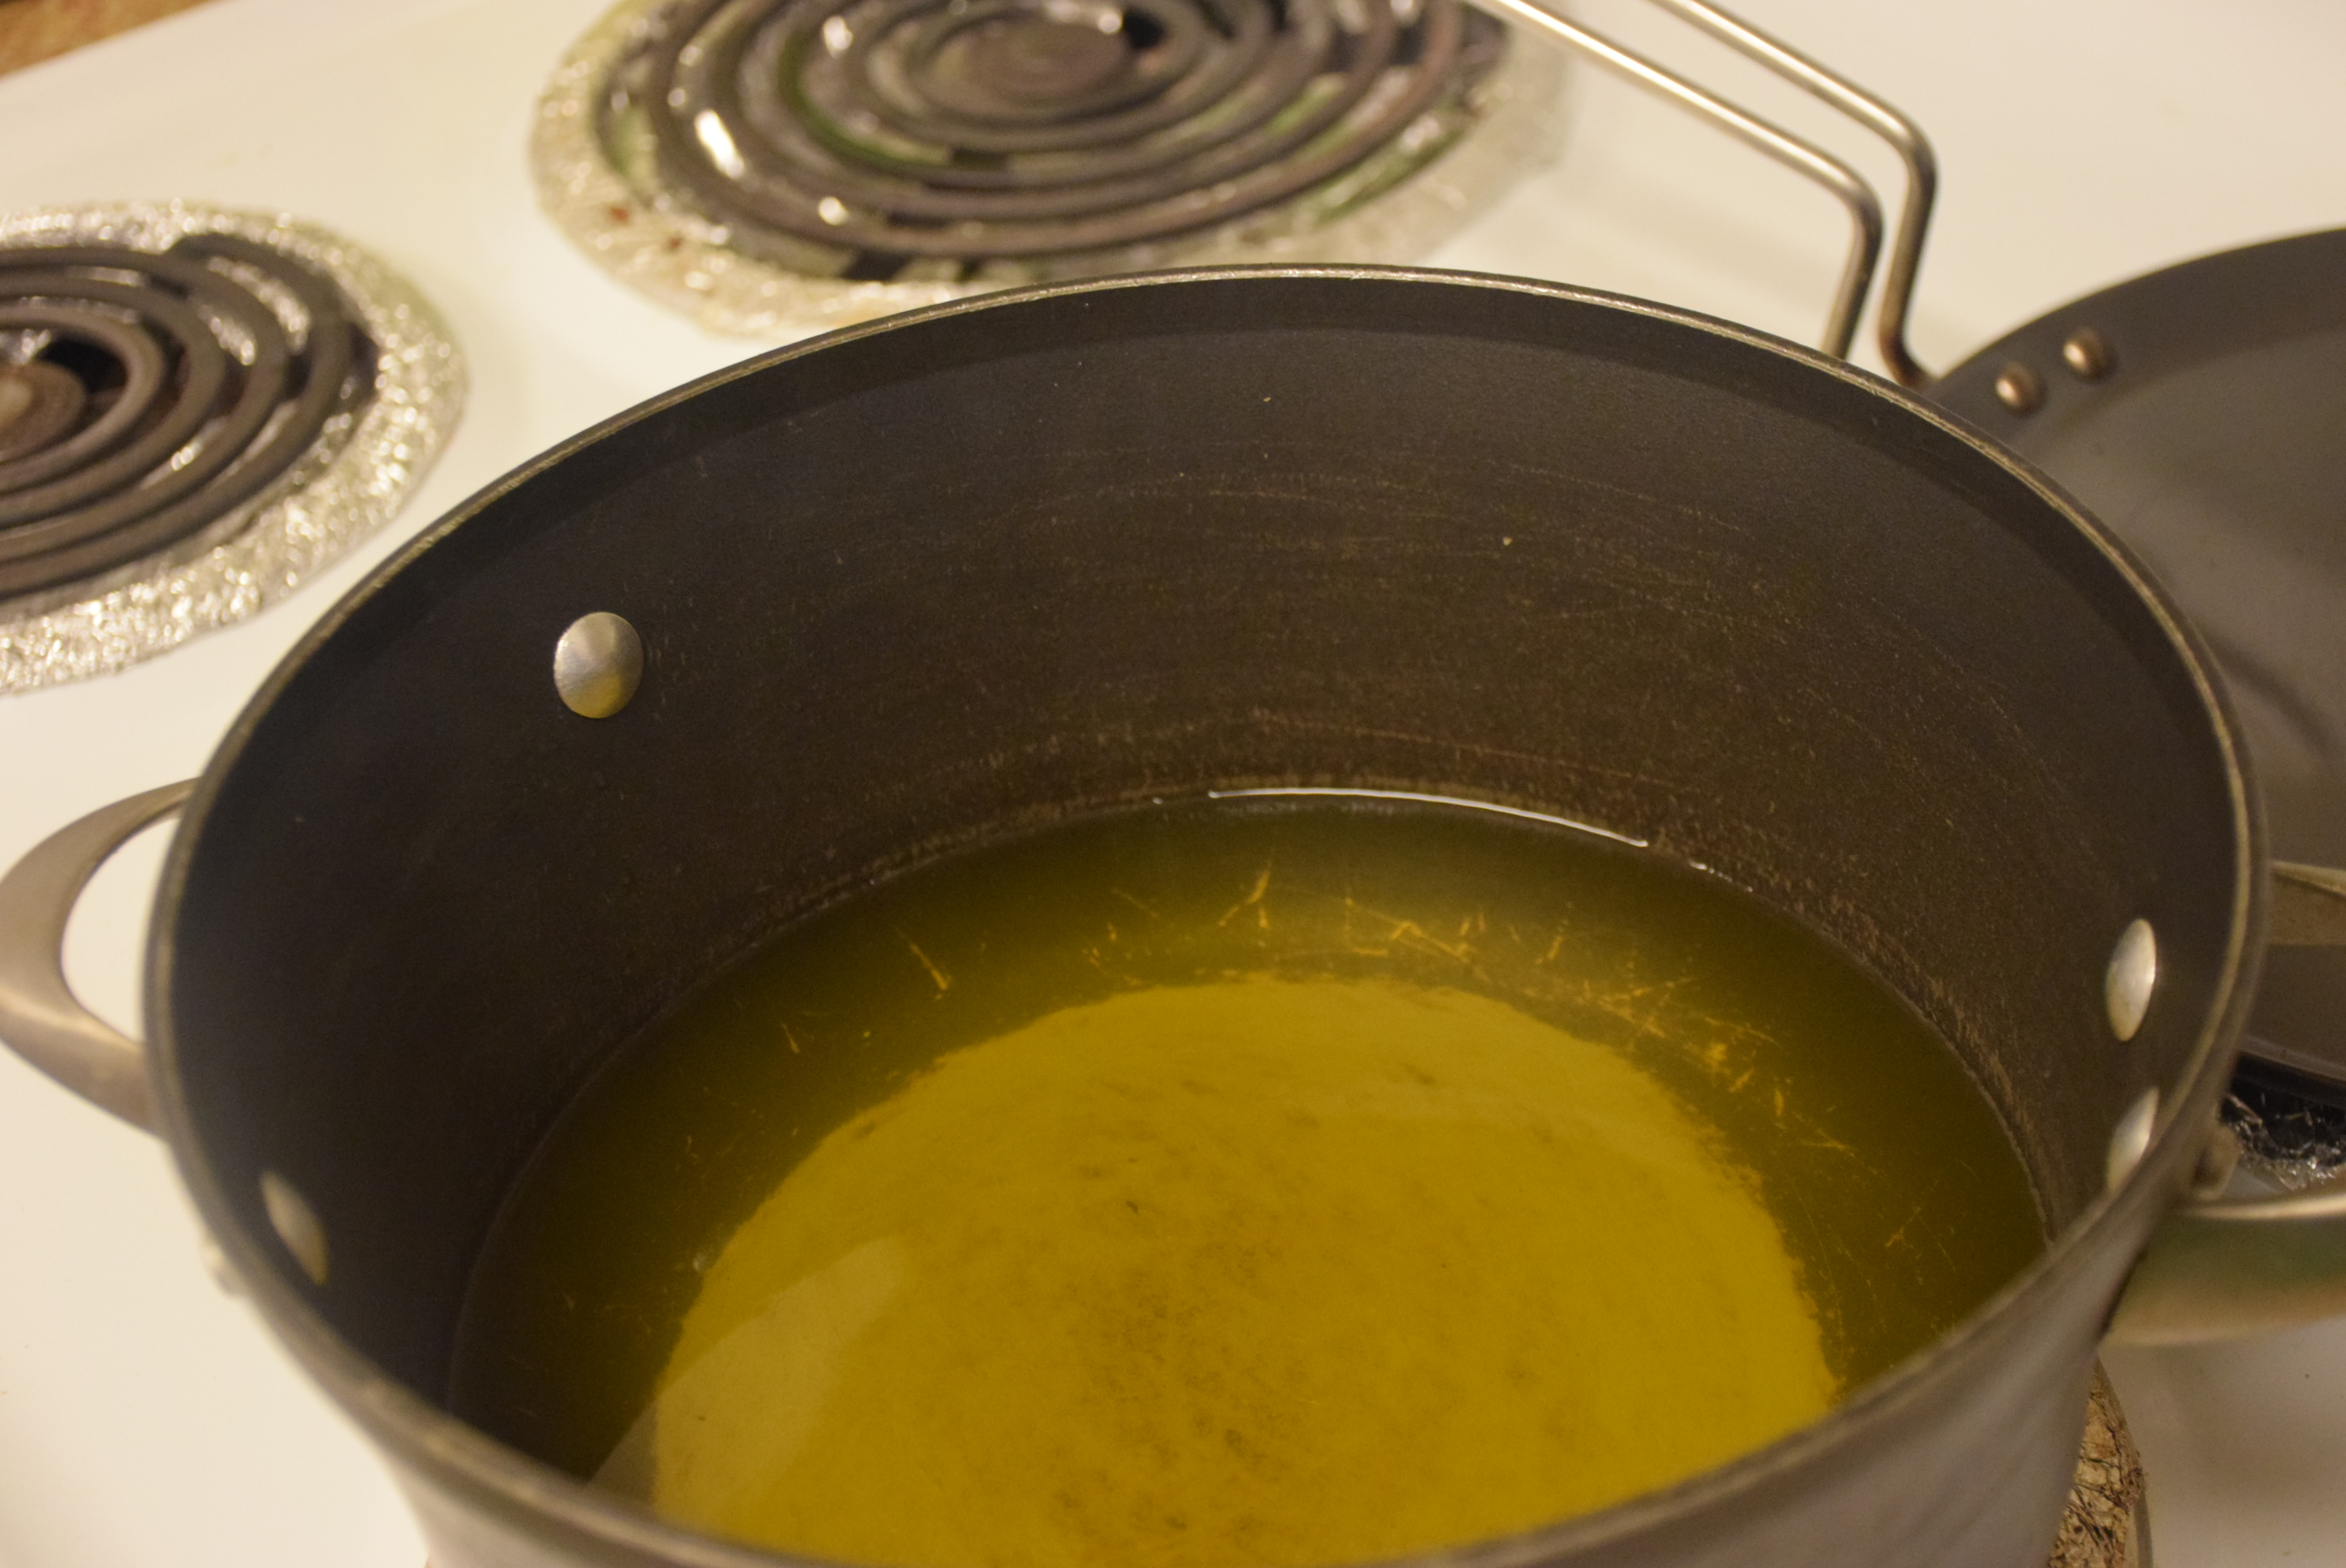
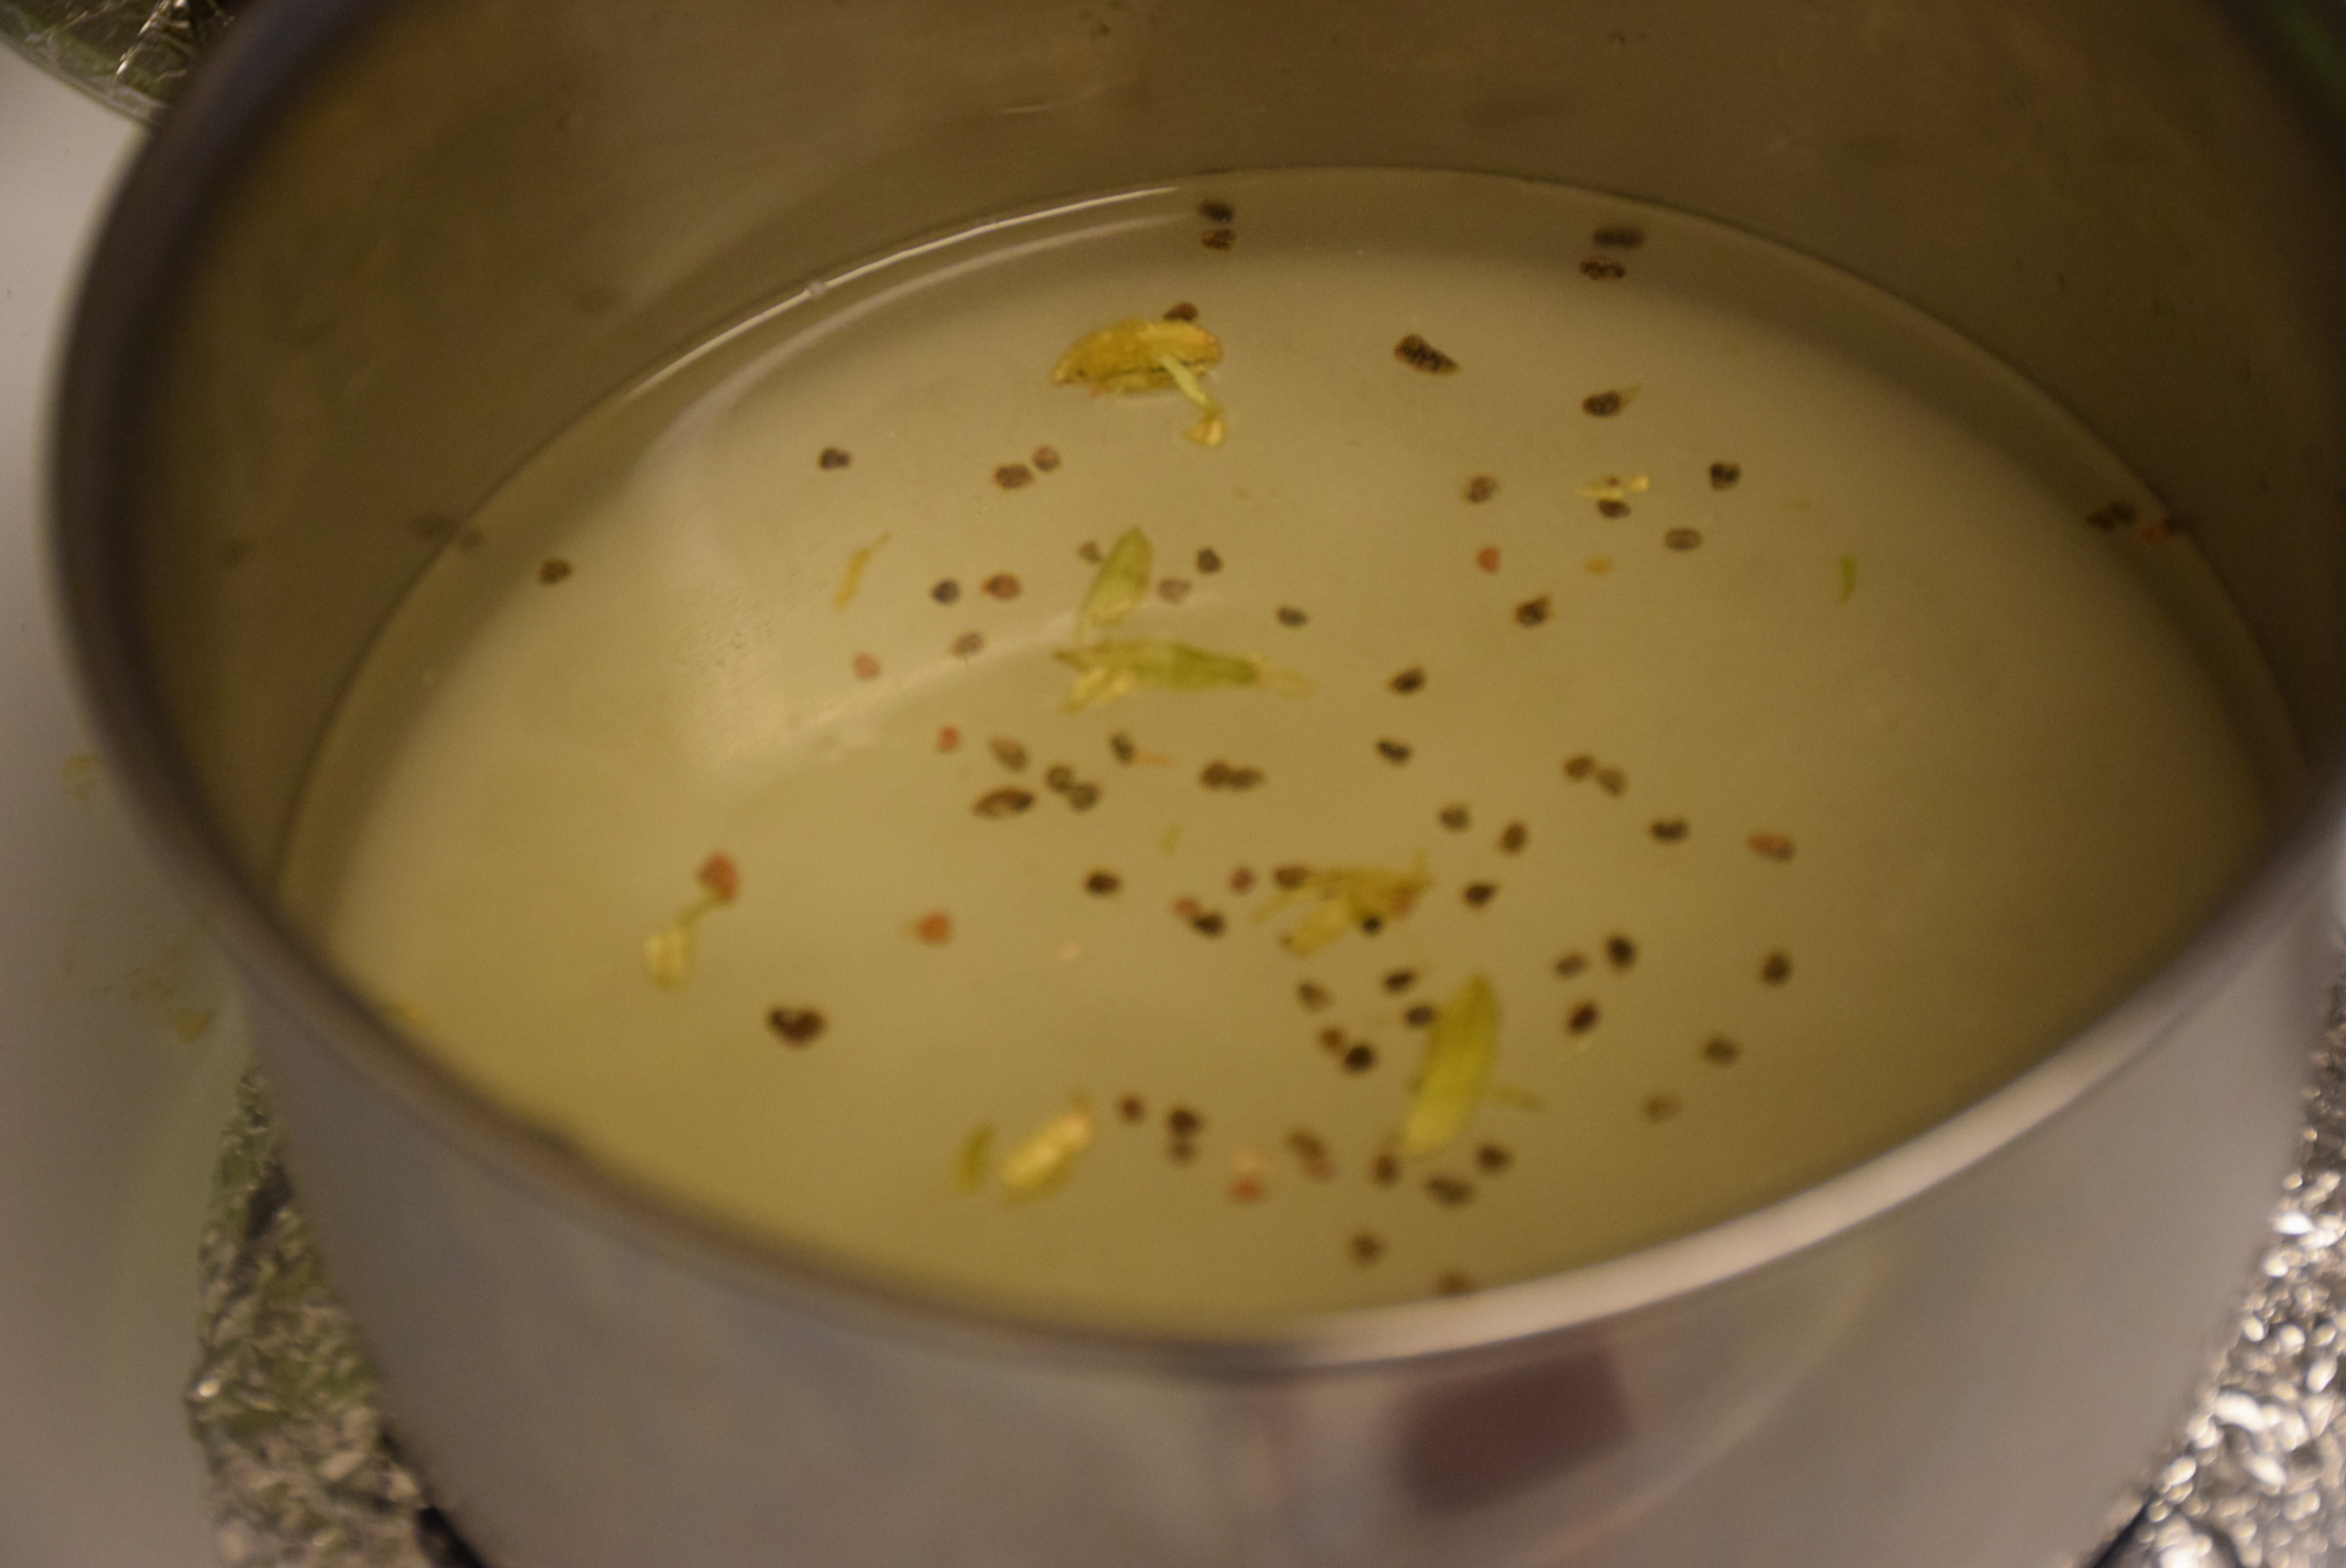
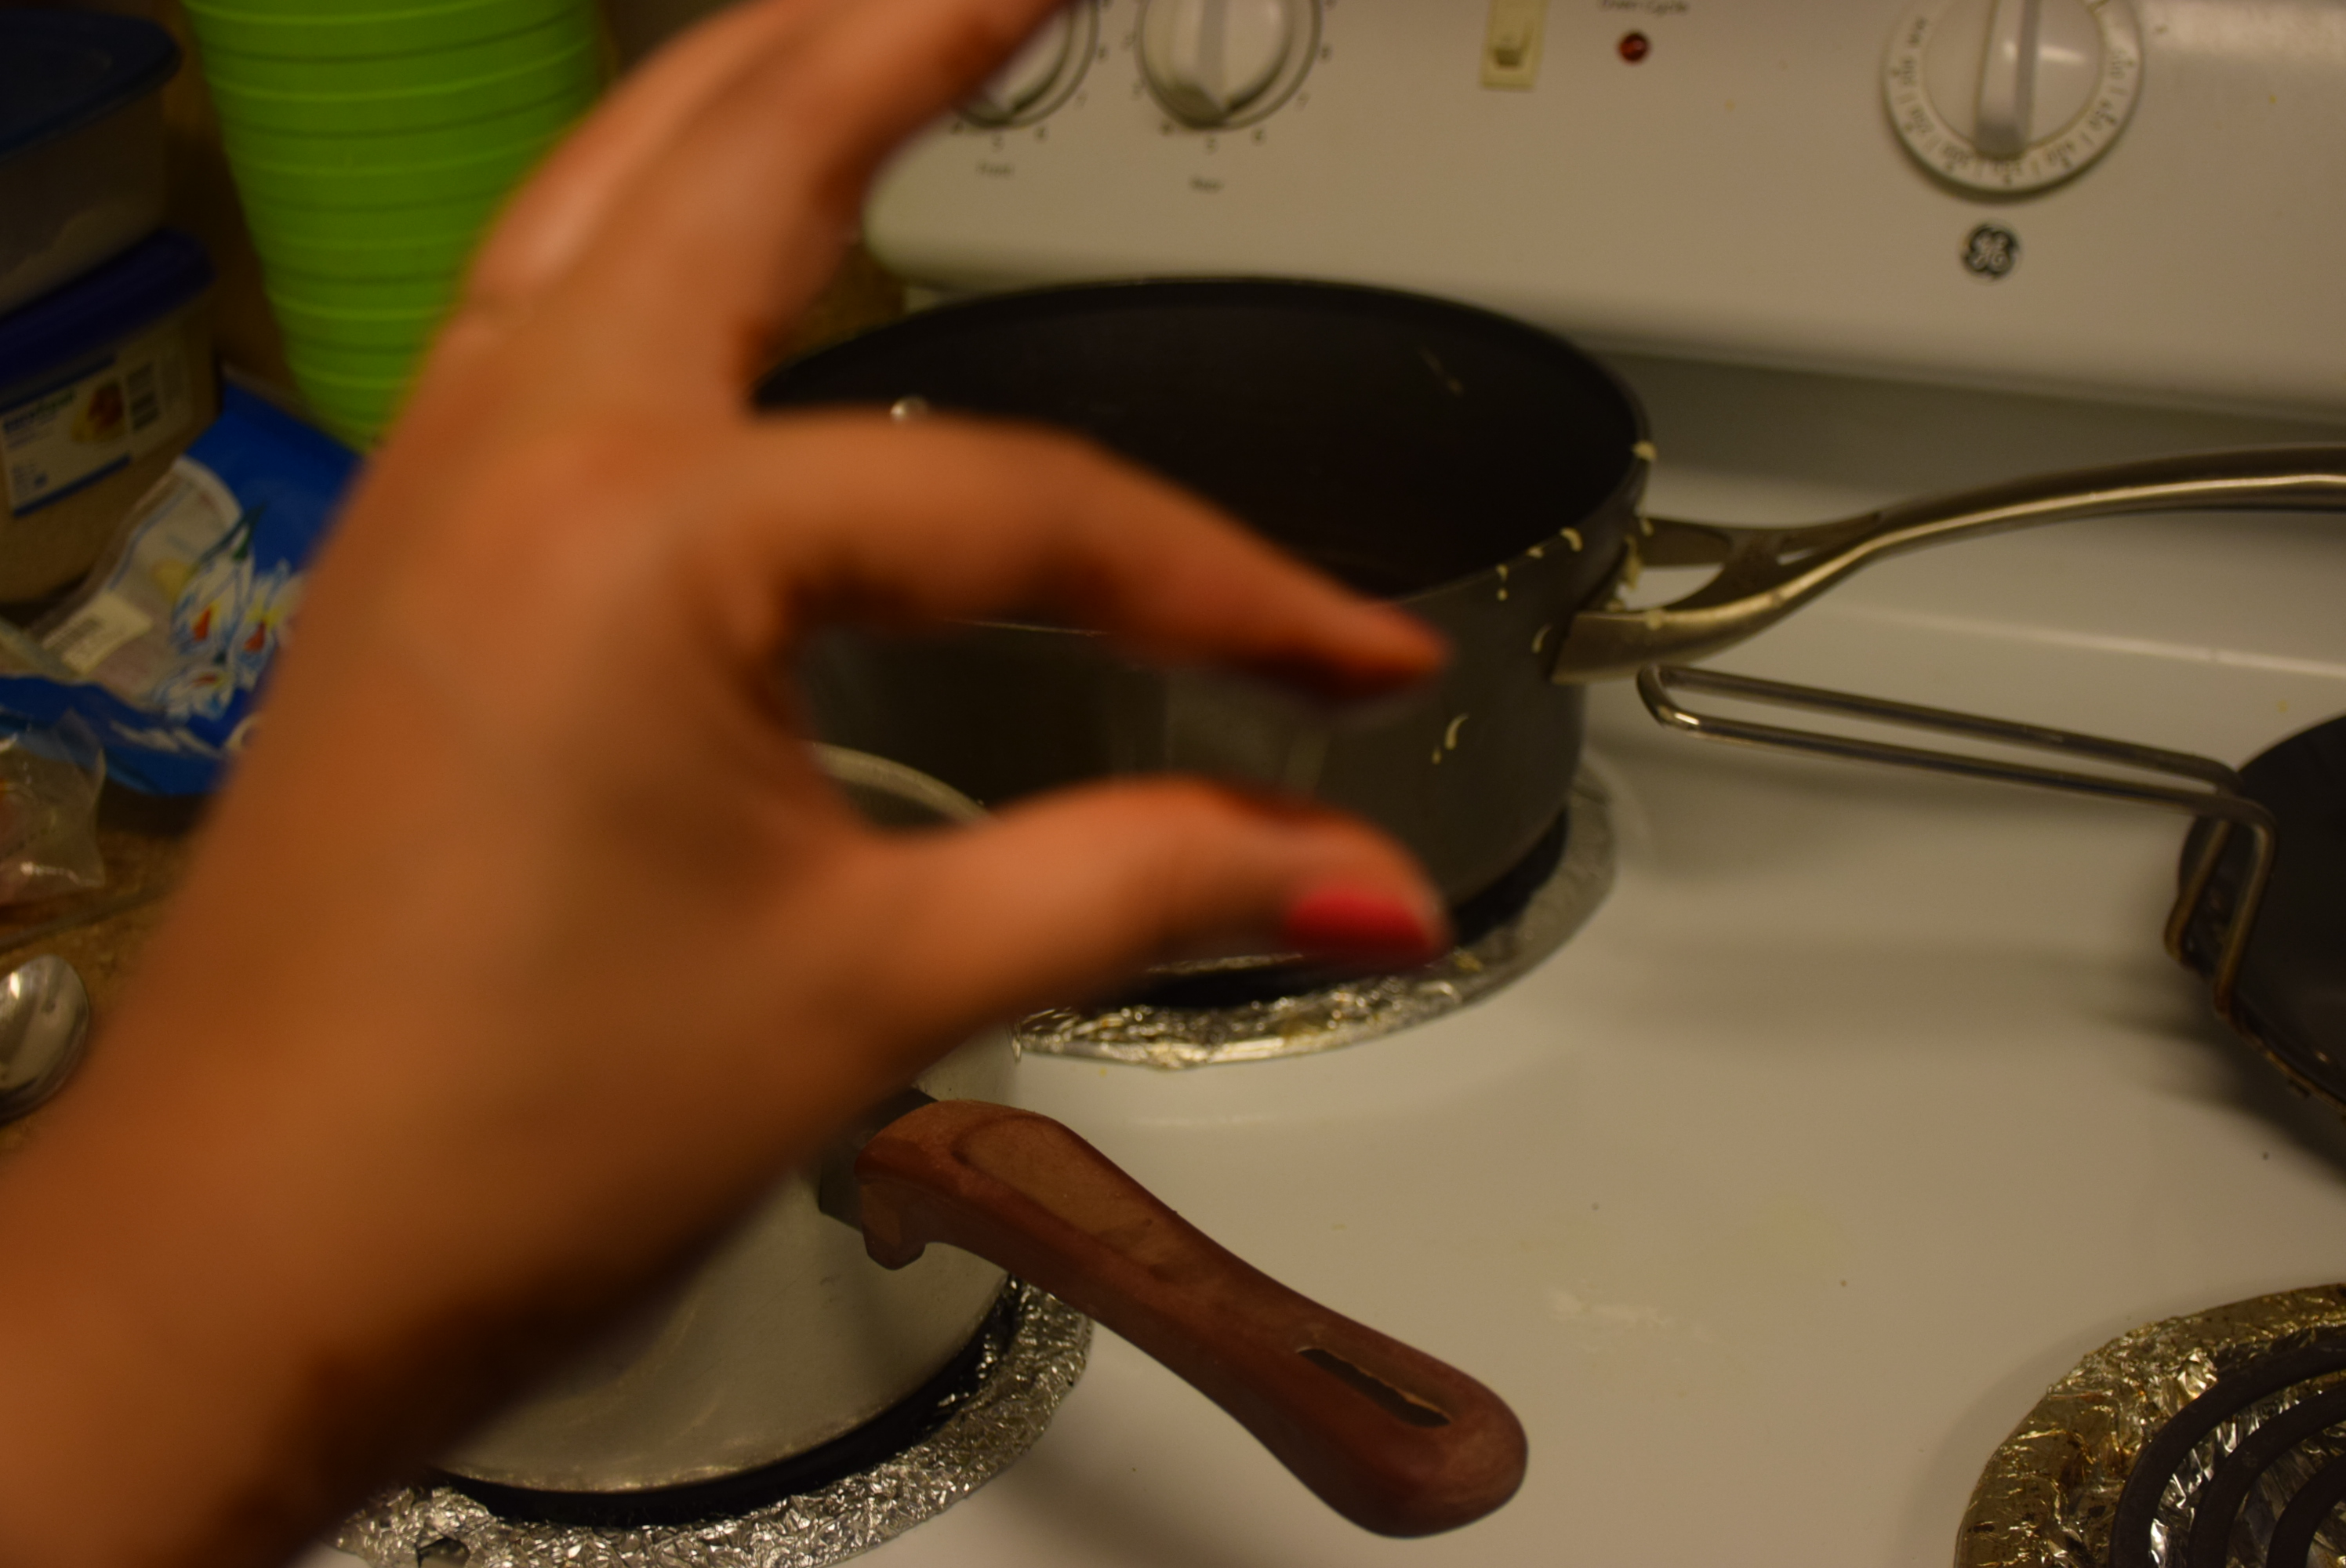
9. Heat the ghee on high heat for 10 mins. Once it is fuming and smoky hot,then you are ready to go.
10. For the first timers, wear your gloves and start pouring the batter in the center of the wok ladle by ladle. Since my wok was sufficiently large, I had to pour 3 ladles one after the other. However, it is always better to use a deep pan (at least 12″ deep and 5-6 ” diameter) with heavy bottom for making ghevars.
11. So if you are making in a deep pan, let one ladle-ful batter cook for 1-2 min or till the bubbling disappears and it settles at the bottom. Then make a gap again in the center and pour a long string such that when you pour the batter your ladle should move away from the pan high up.
12. For my ghevar I need to add this string of batter 6 times to get the required thickness.
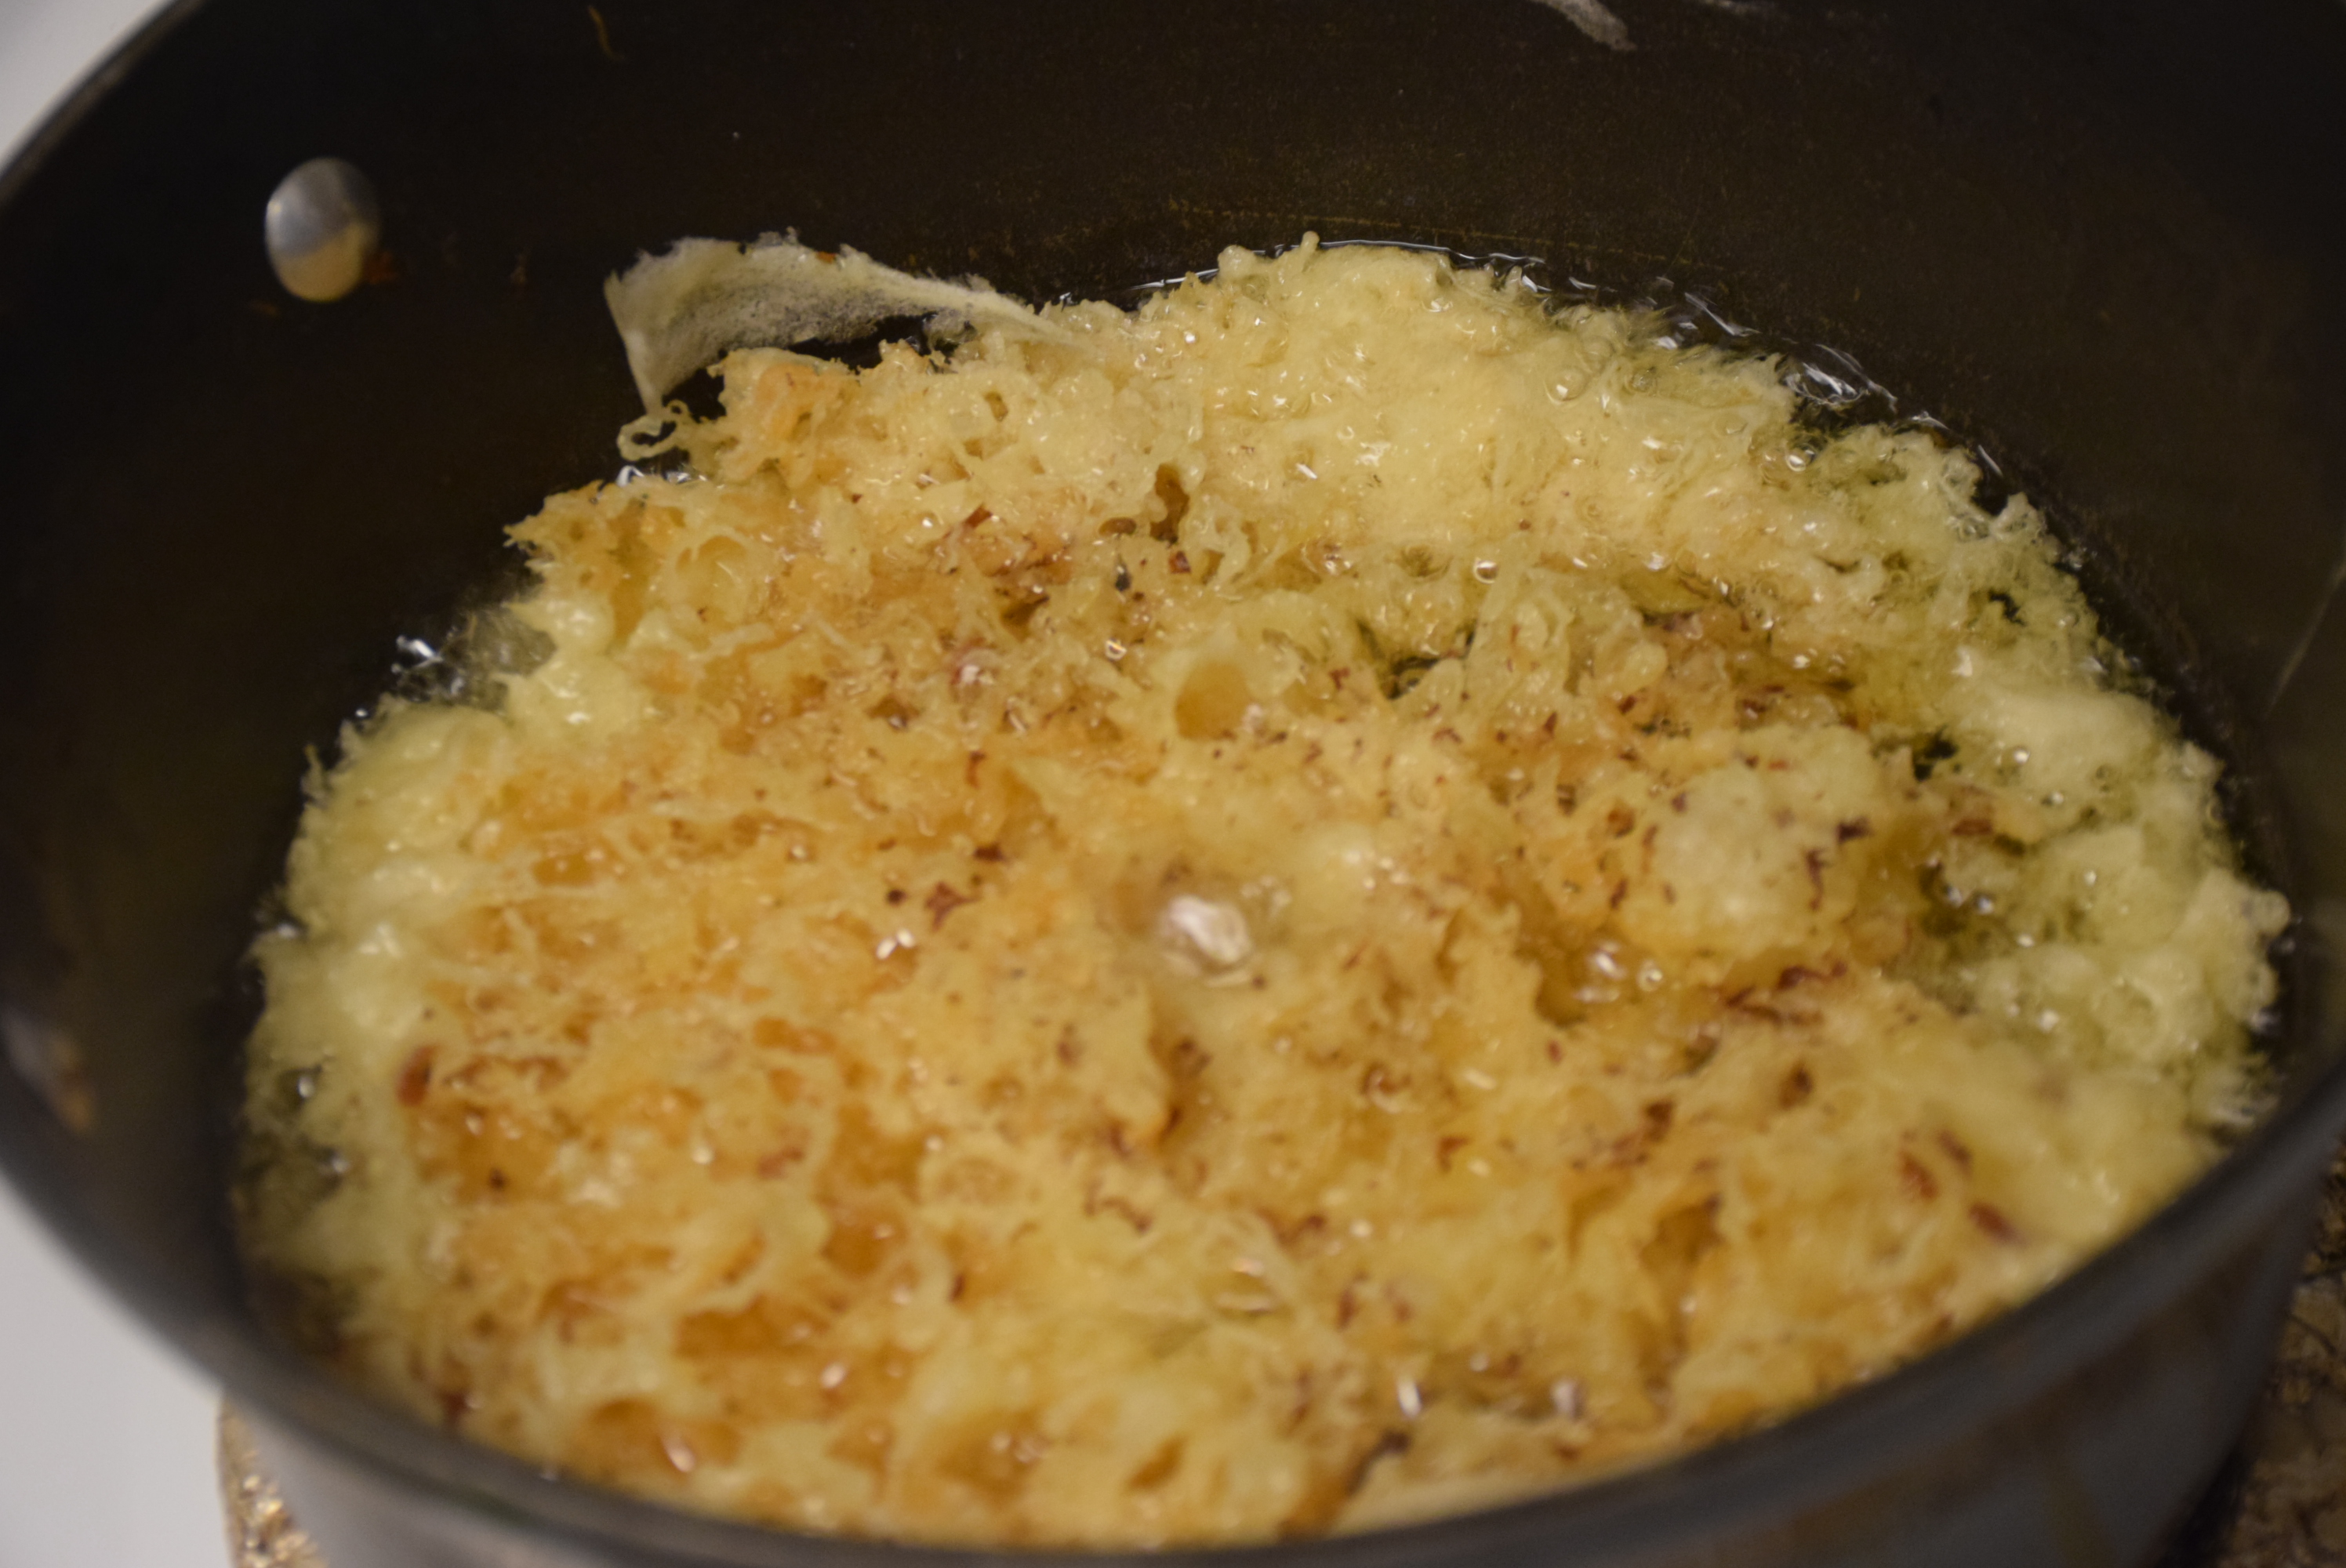
13. Also like Nishaji has shown in the video, pour the batter on the edges of the wok too, to get an elevated boundary.
14. For getting it browned from the bottom and up it needed 10-15 mins.
15. Once it is fried and you see the golden brown color in the center and it leaves the sides of the wok or pan ,it is ready to bring out.For this you will need a long wooden skewer or a steel skewer and a slotted spoon.
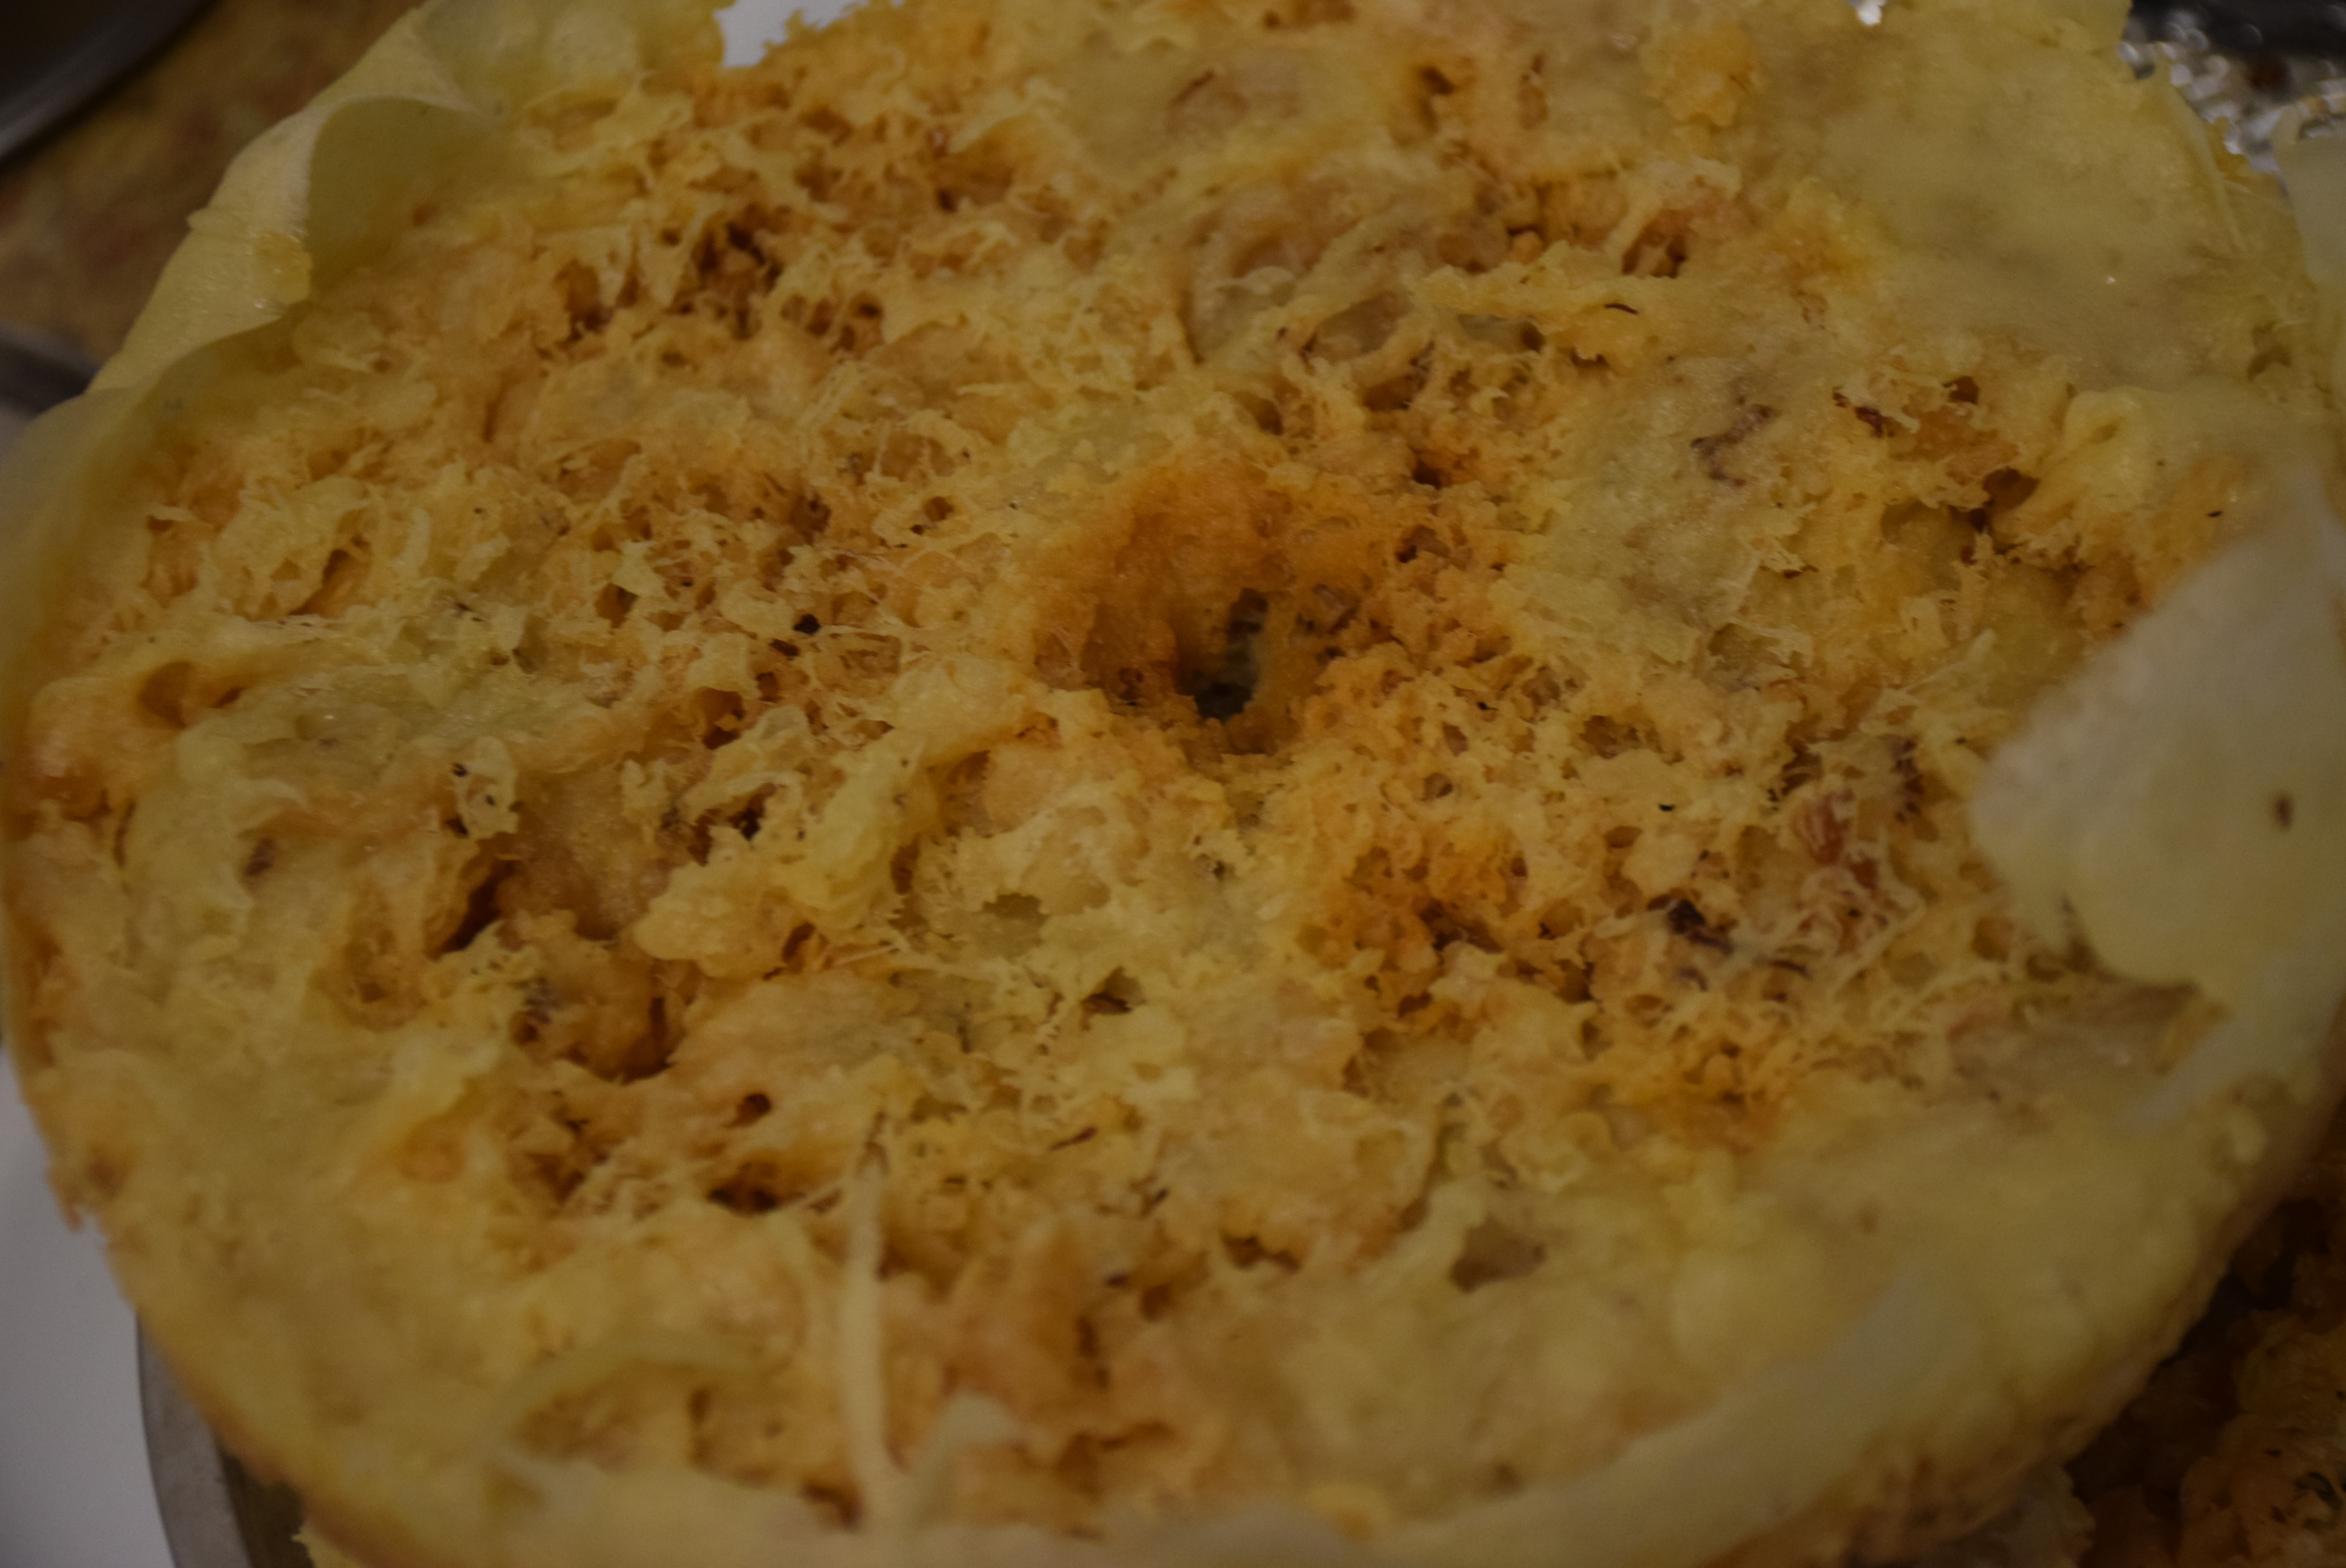
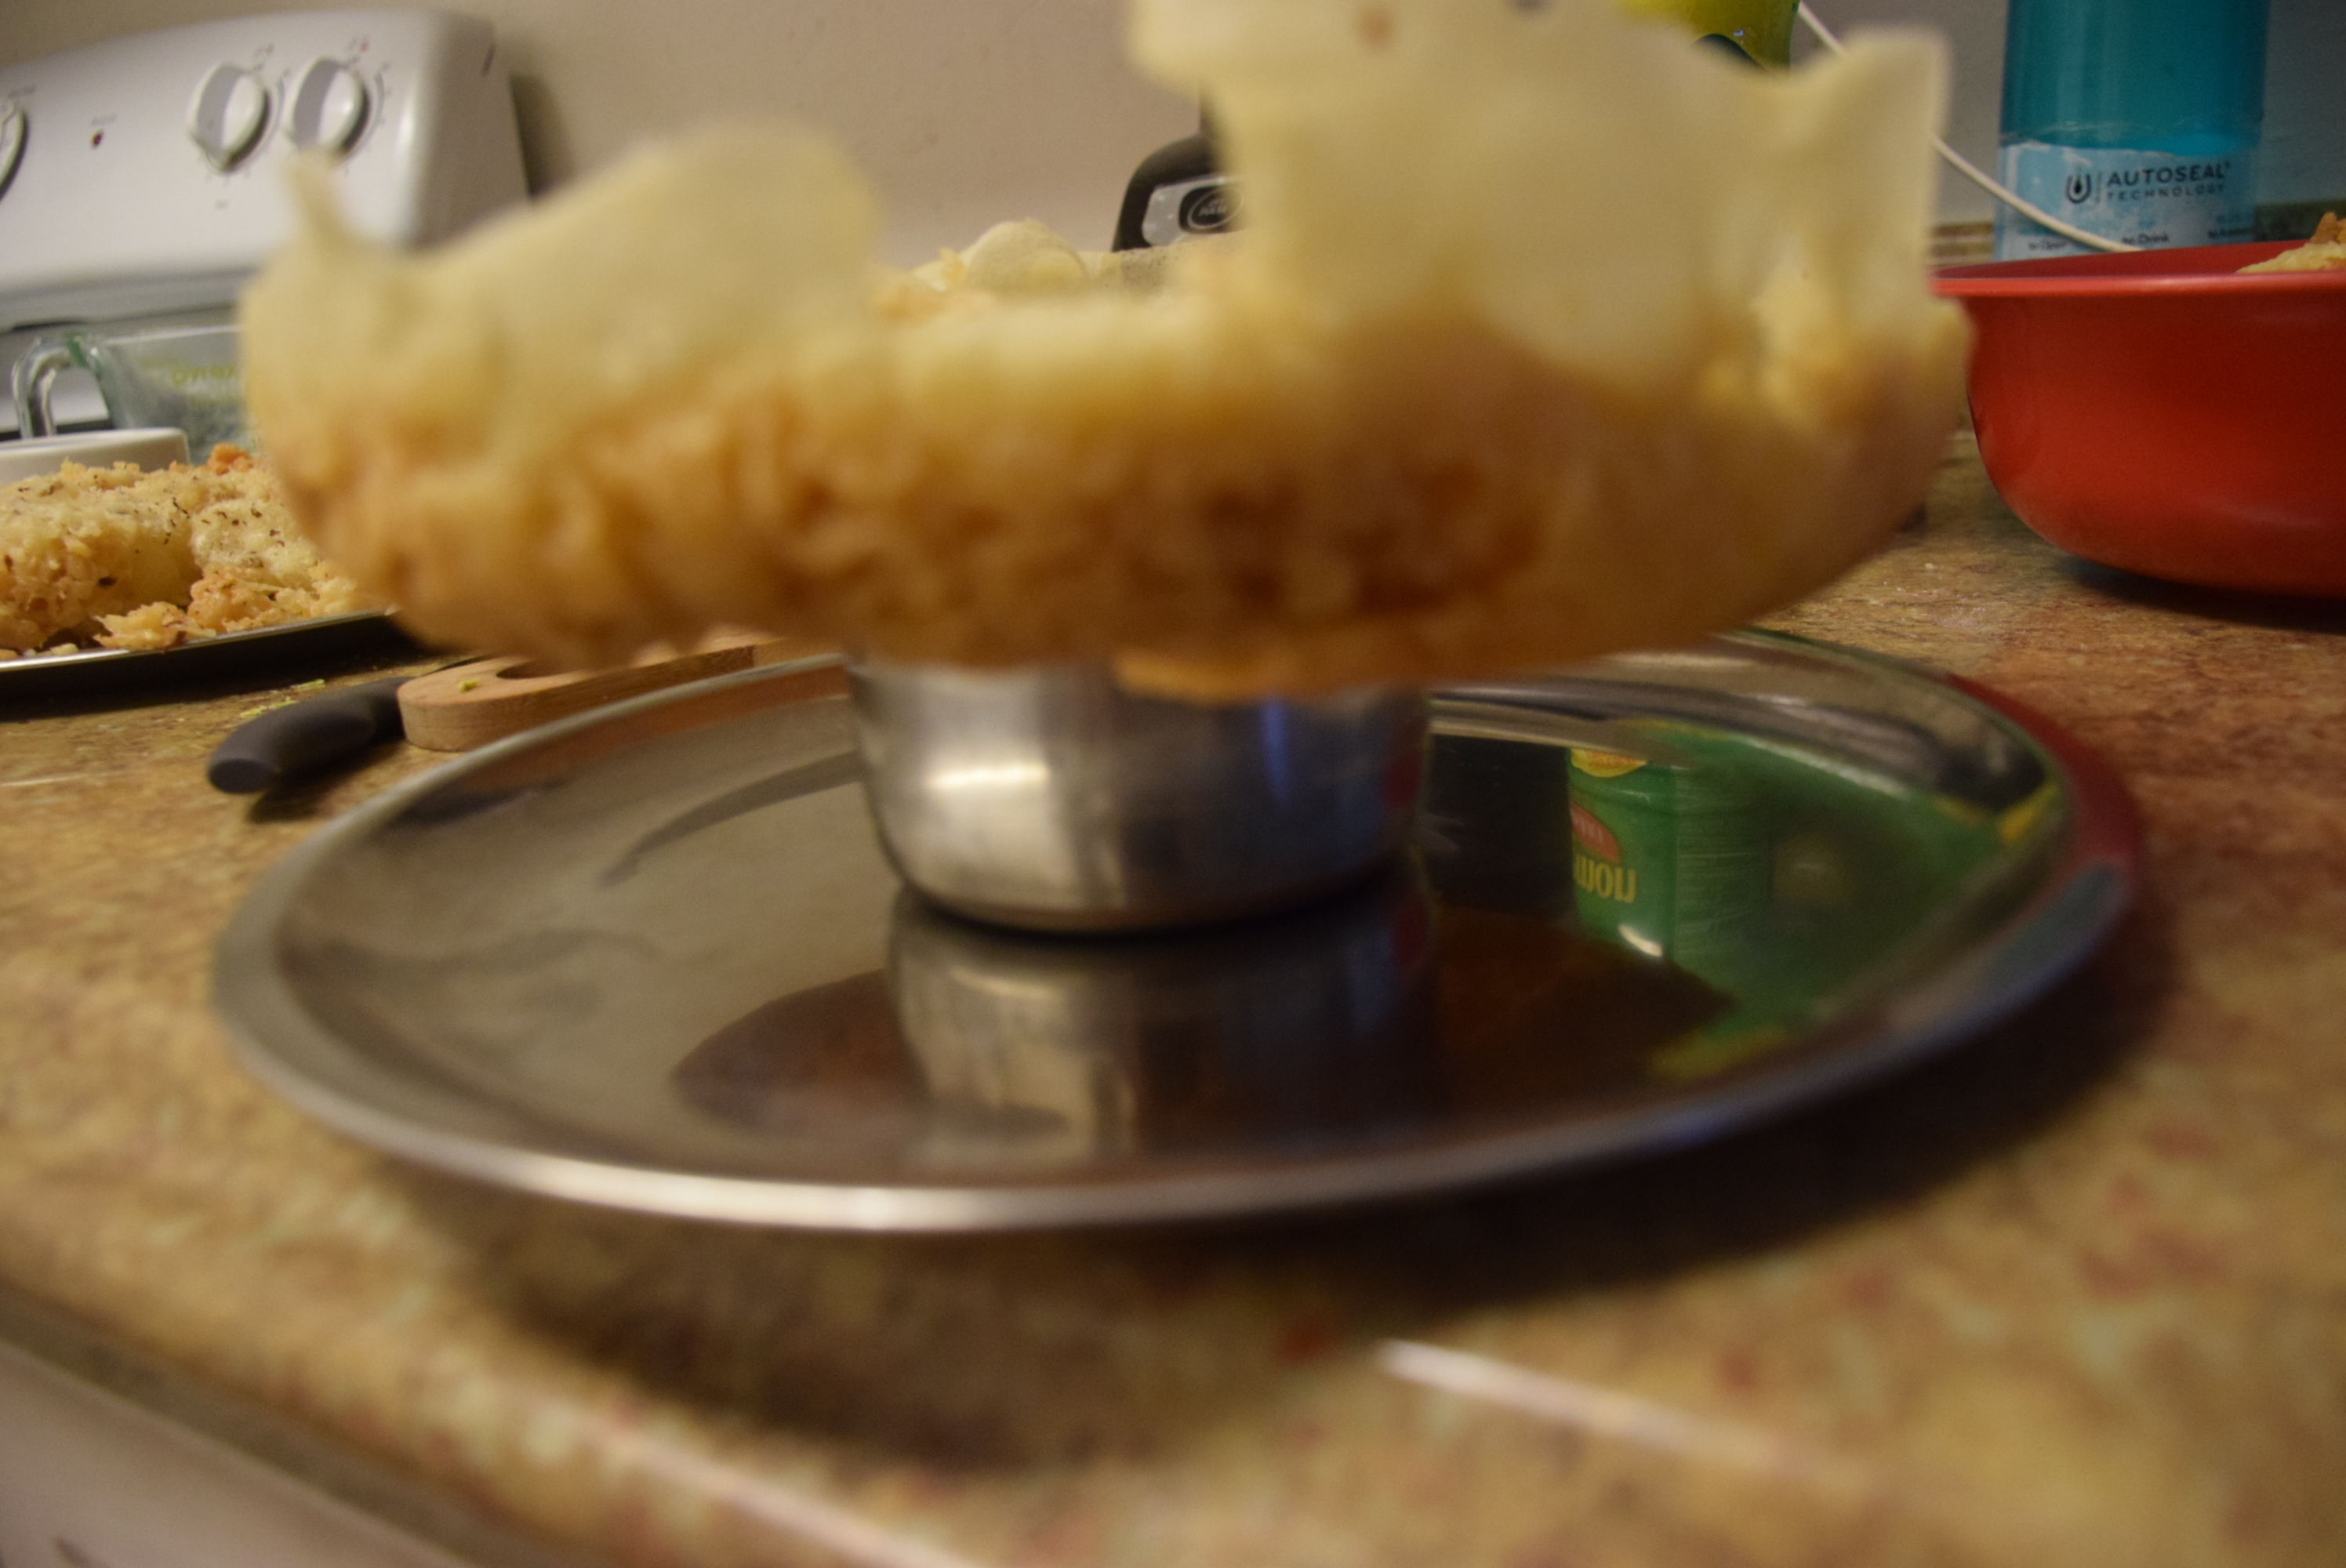
16. Since my ghevar was sufficiently large in diameter I dig my skewer in the dense part of the ghevar and use my slotted spoon with the other hand and brought it out. You may hang these ghevars through a skewer on a large bowl or you may keep them over a stand/dish in a plate so that the extra ghee dips on the plate .
Tip: Since the ghevars are crunchy ,they are difficult to handle. So be careful while taking them out and placing on the plate ,they might break.Hence its always better to use a small diameter and deep vessel.
17. Now prepare the sugar syrup. For this ,take a pan and add water + sugar in it. Also add the Ground Cardamom.
18. Bring it to a boil and then pour a drop in a plate and check its thread. If its one thread consistency on getting cooled it is done. Even 2 thread consistency will work in case you are pouring hot sugar syrup on cooled ghevars.
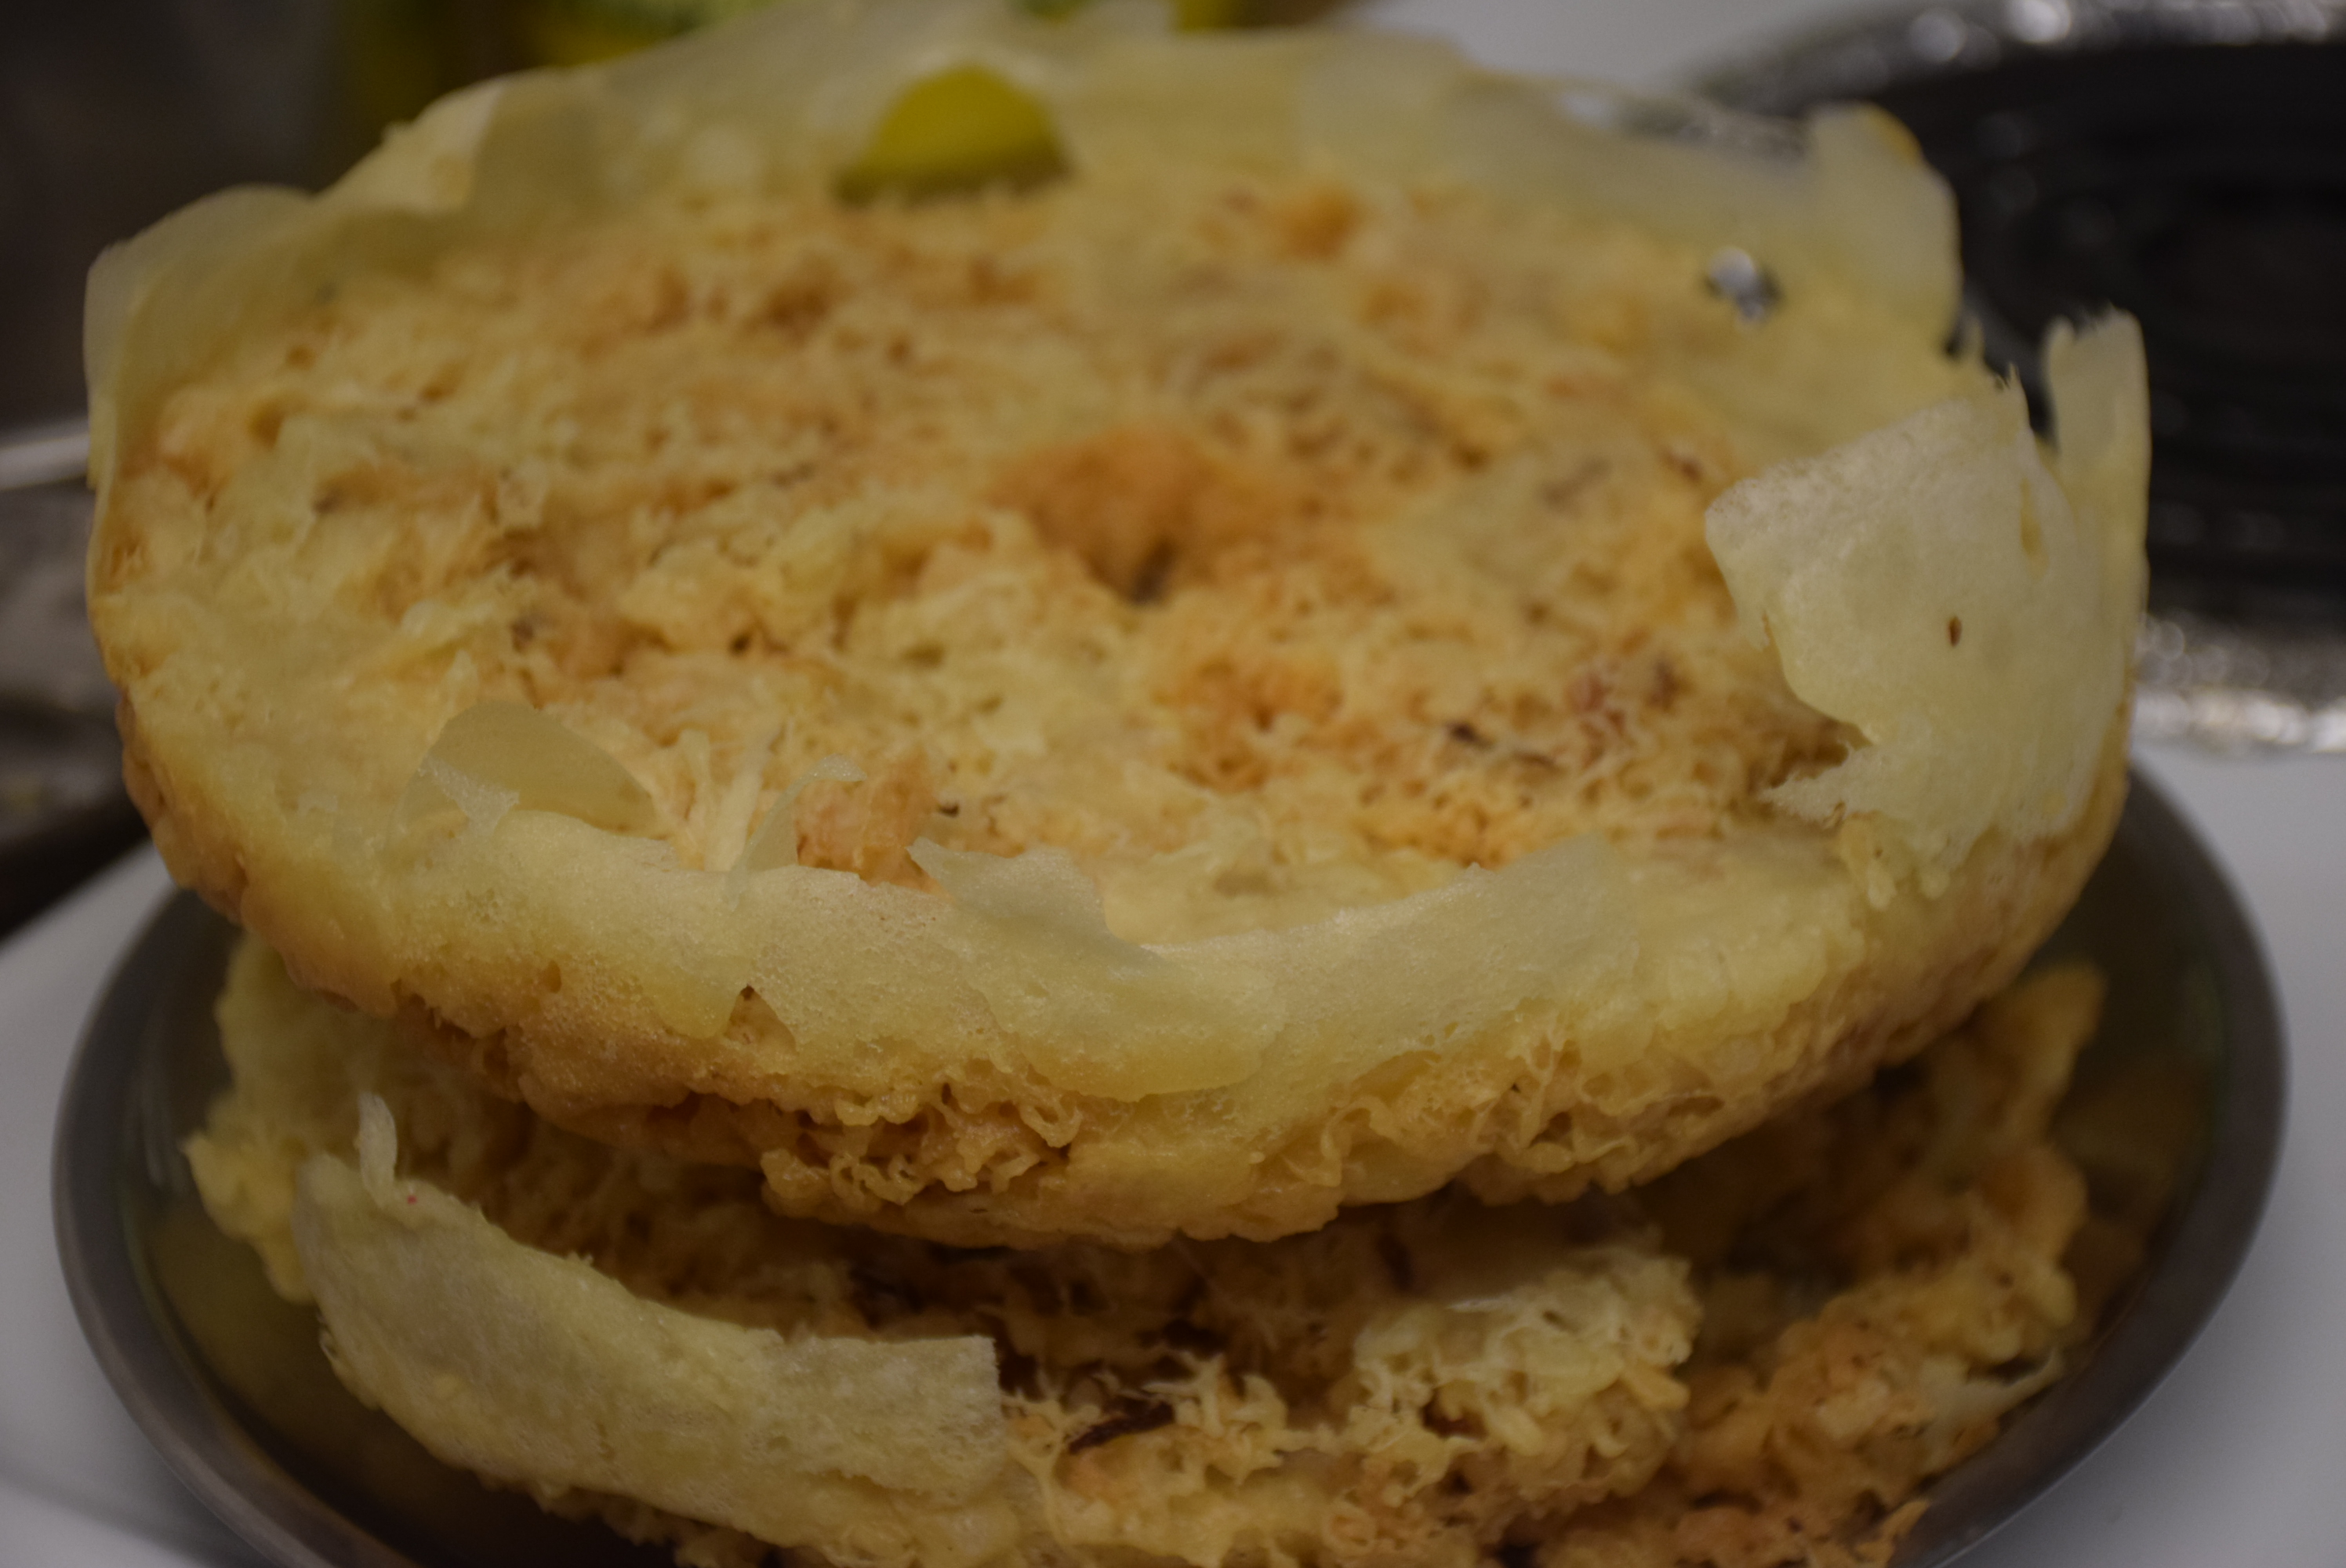
19. Cool the syrup to room temperature and pour it on cooled ghevars. For this Keep the ghevar over a small dish/bowl in a plate/thali and then start pouring the syrup all over it with a ladle. This will prevent the ghevar from sticking to the plate with the syrup.
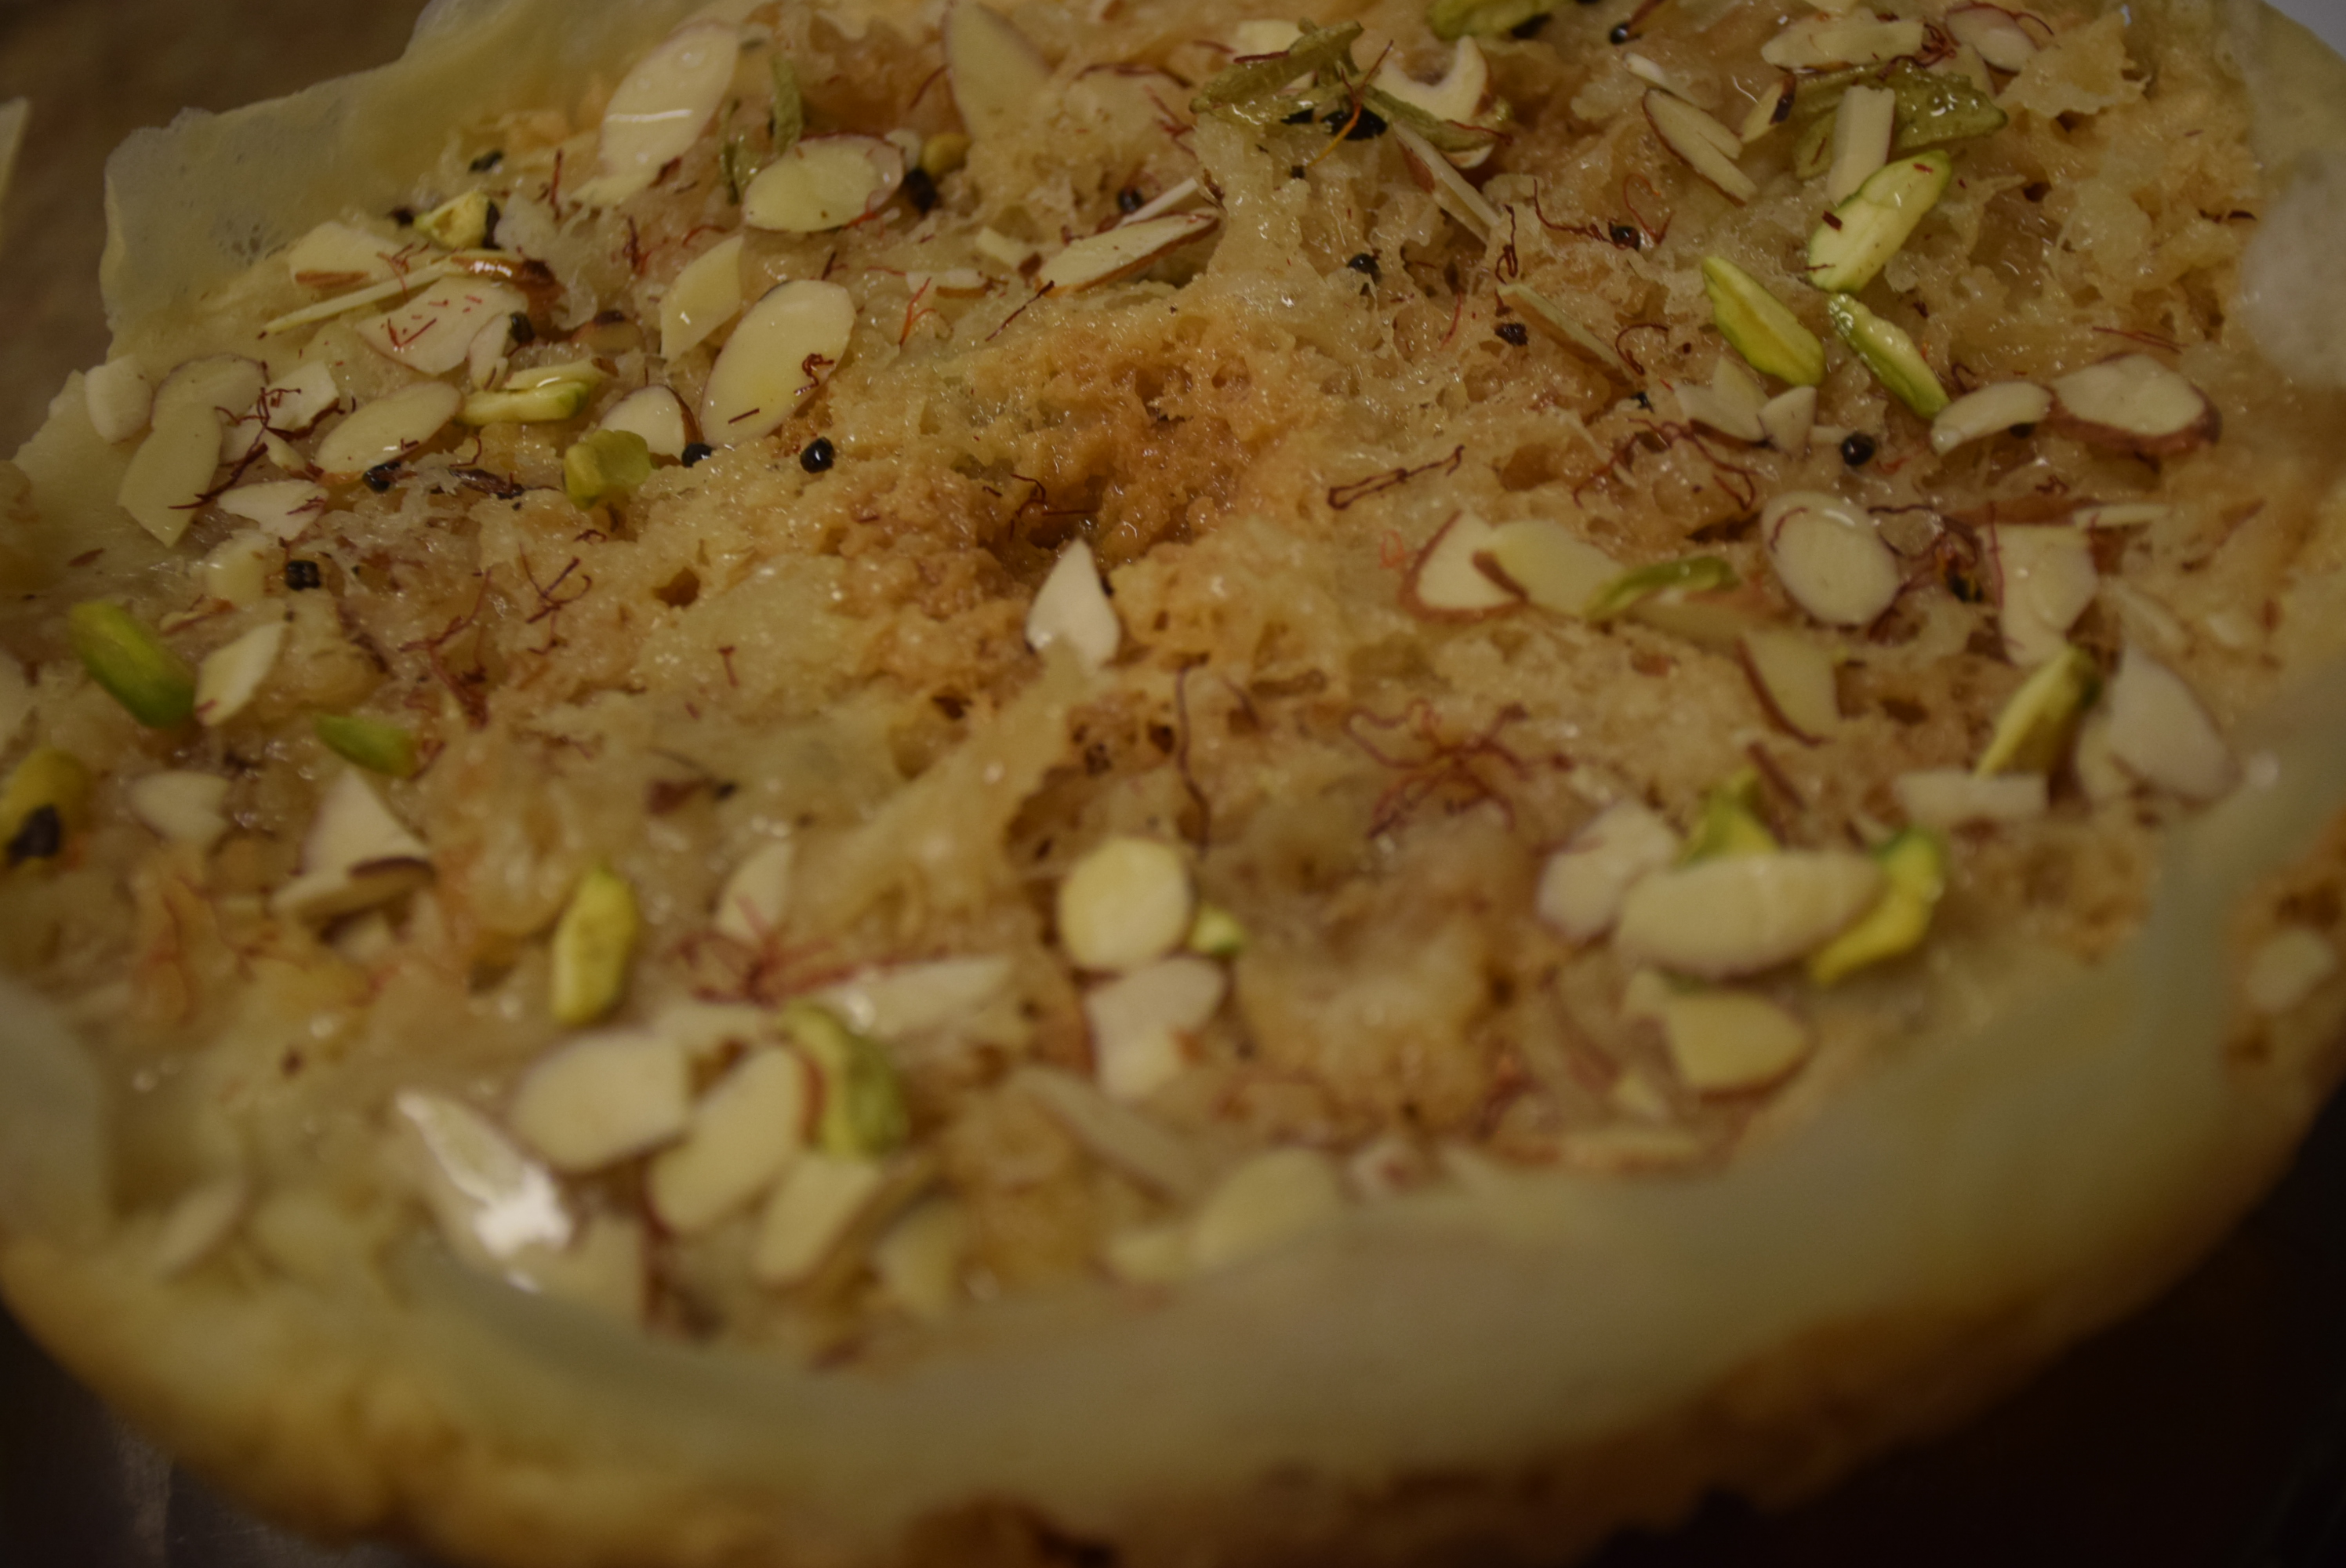
20. Garnish it with nuts or silver leaves (vark). Since I don’t like rabri , I served them just with the sugar syrup . You may serve the plain ghevar with milk (without sugar) for diabetic people.
2015’s Ghevar :
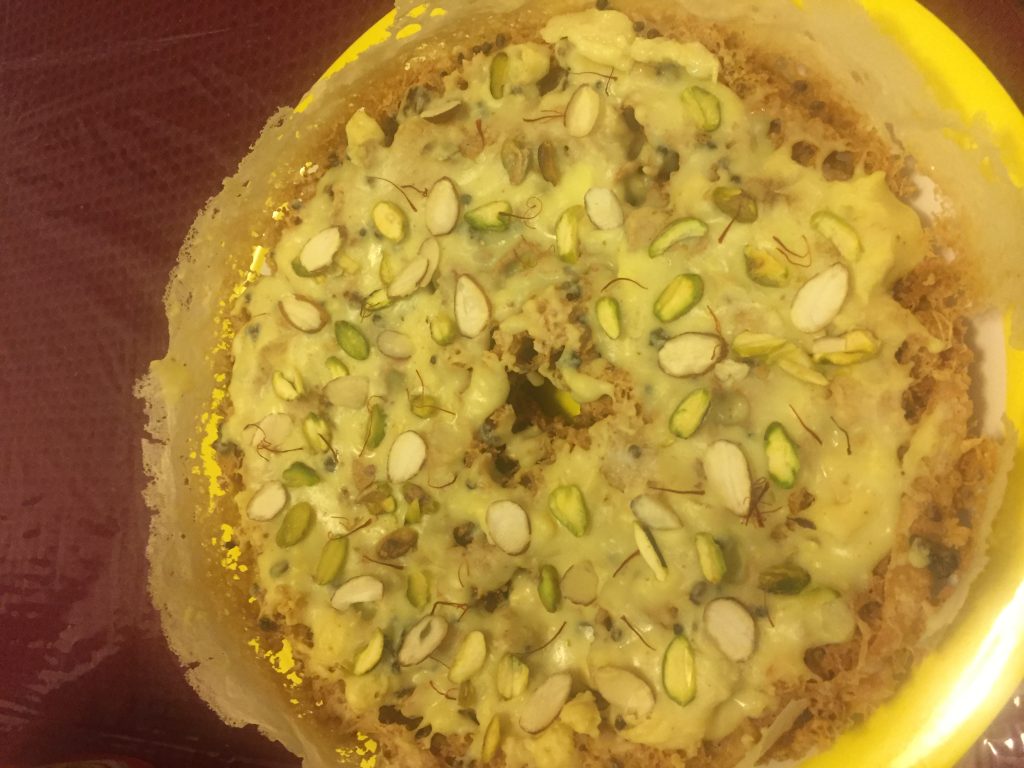
Year 2016’s Ghevar :
This is my trial(2017) on the traditional Ghevar.
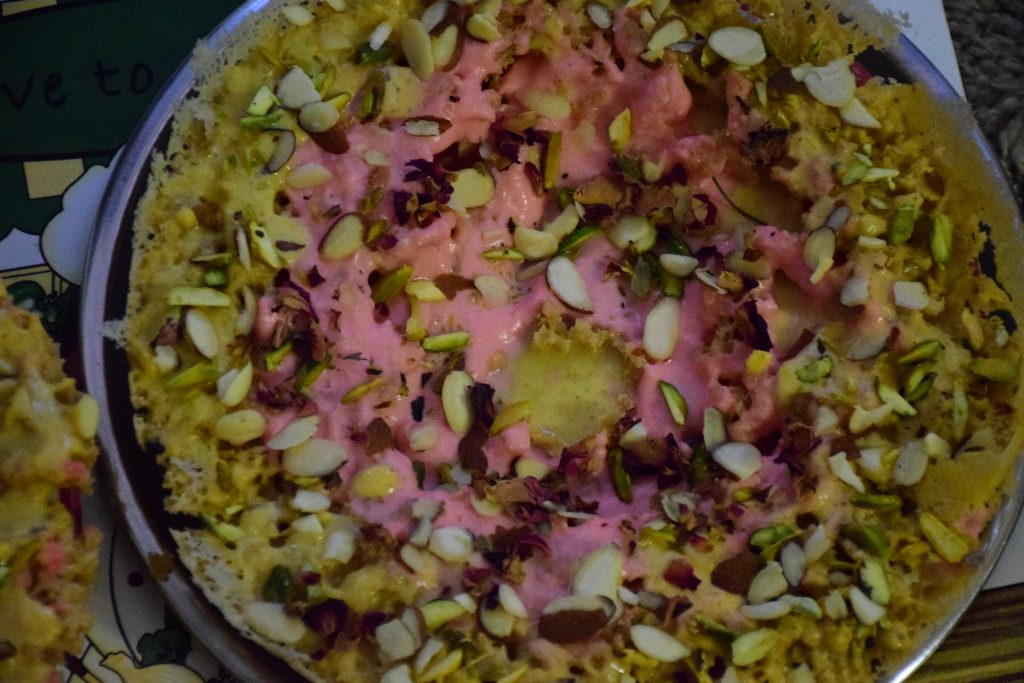
Strawberry and malai Ghevar
For the pink part , you can mix some sugar in strawberry cream cheese and Rooh Afza sherbet(rose syrup) to make a topping of pink color. Then apply it on the Ghevar and garnish it with pistachios.
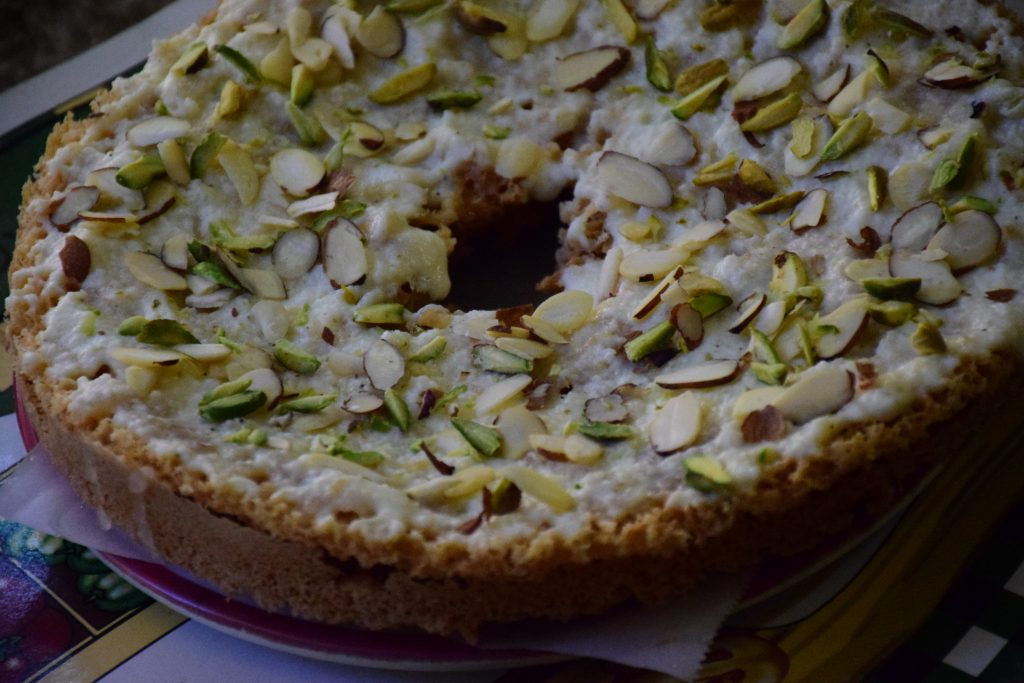
This year 2018 I added Mango flavor rabdi in the outer ring and Rose flavored in the inner ring of Ghevar.
This is the rabdi Ghevar of this year(2018) :
This crunchy dessert is just amazing ,with its sweetness to gorge on!! Enjoy and happy Teej to all Again!! 🙂