Home-made face scrub
The scorching bright sun, the continous dripping sweat and the unavoidable acnes dull your spirit and face? Don’t worry, then. You are in the right place. Today I am sharing one of my mom’s recipe for natural glow in our skin. She has been using this method for more than a year and I finally tried it to get some astonishing results.
The tanning , sun-burns are most common in U.S. since our skins don’t sweat here. The waste gets trapped in our skin layers and result in acne, pimples , moles and so on. Of course , most nutrition is obtained by consuming fruits and vegetables directly (which most of the kids avoid here ;)) , but some distinguishable effects are seen by using orange, lemon, cucumbers, potatoes, papaya, coconut etc on our skin that you will fall in love with this naturopathy. I don’t guarantee fairness by this method, but a glowing, fresh and healthy skin after each use. So lets go to the recipe now.
INGREDIENTS:
1. Orange peel powder – 2 tsp
2. Rice flour – 1 tsp
3. Chickpea flour (Besan) – 1 tsp
4. Turmeric (Haldi ) – 1/2 tsp (optional)
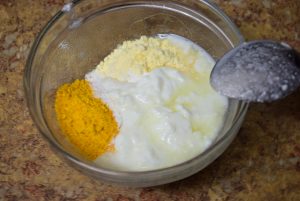
5. Home-made yogurt (dahi) – 2 -3 tbsp (for greasy skin types)
or
5. Coconut milk / whole cow’s milk – 2 tbsp (for dry to medium skin types)
6. Lemon juice – 1 tsp
RECIPE:
1. For making the orange peel powder, save the orange peels, break them into small pieces and dry them in sun/shade for 2 days. Once they are dried and hard , grind them in dry jar to a fine powder. Fill in a air-tight container and label it. 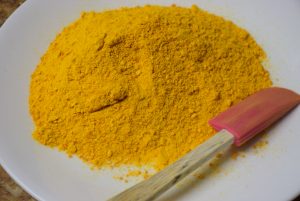
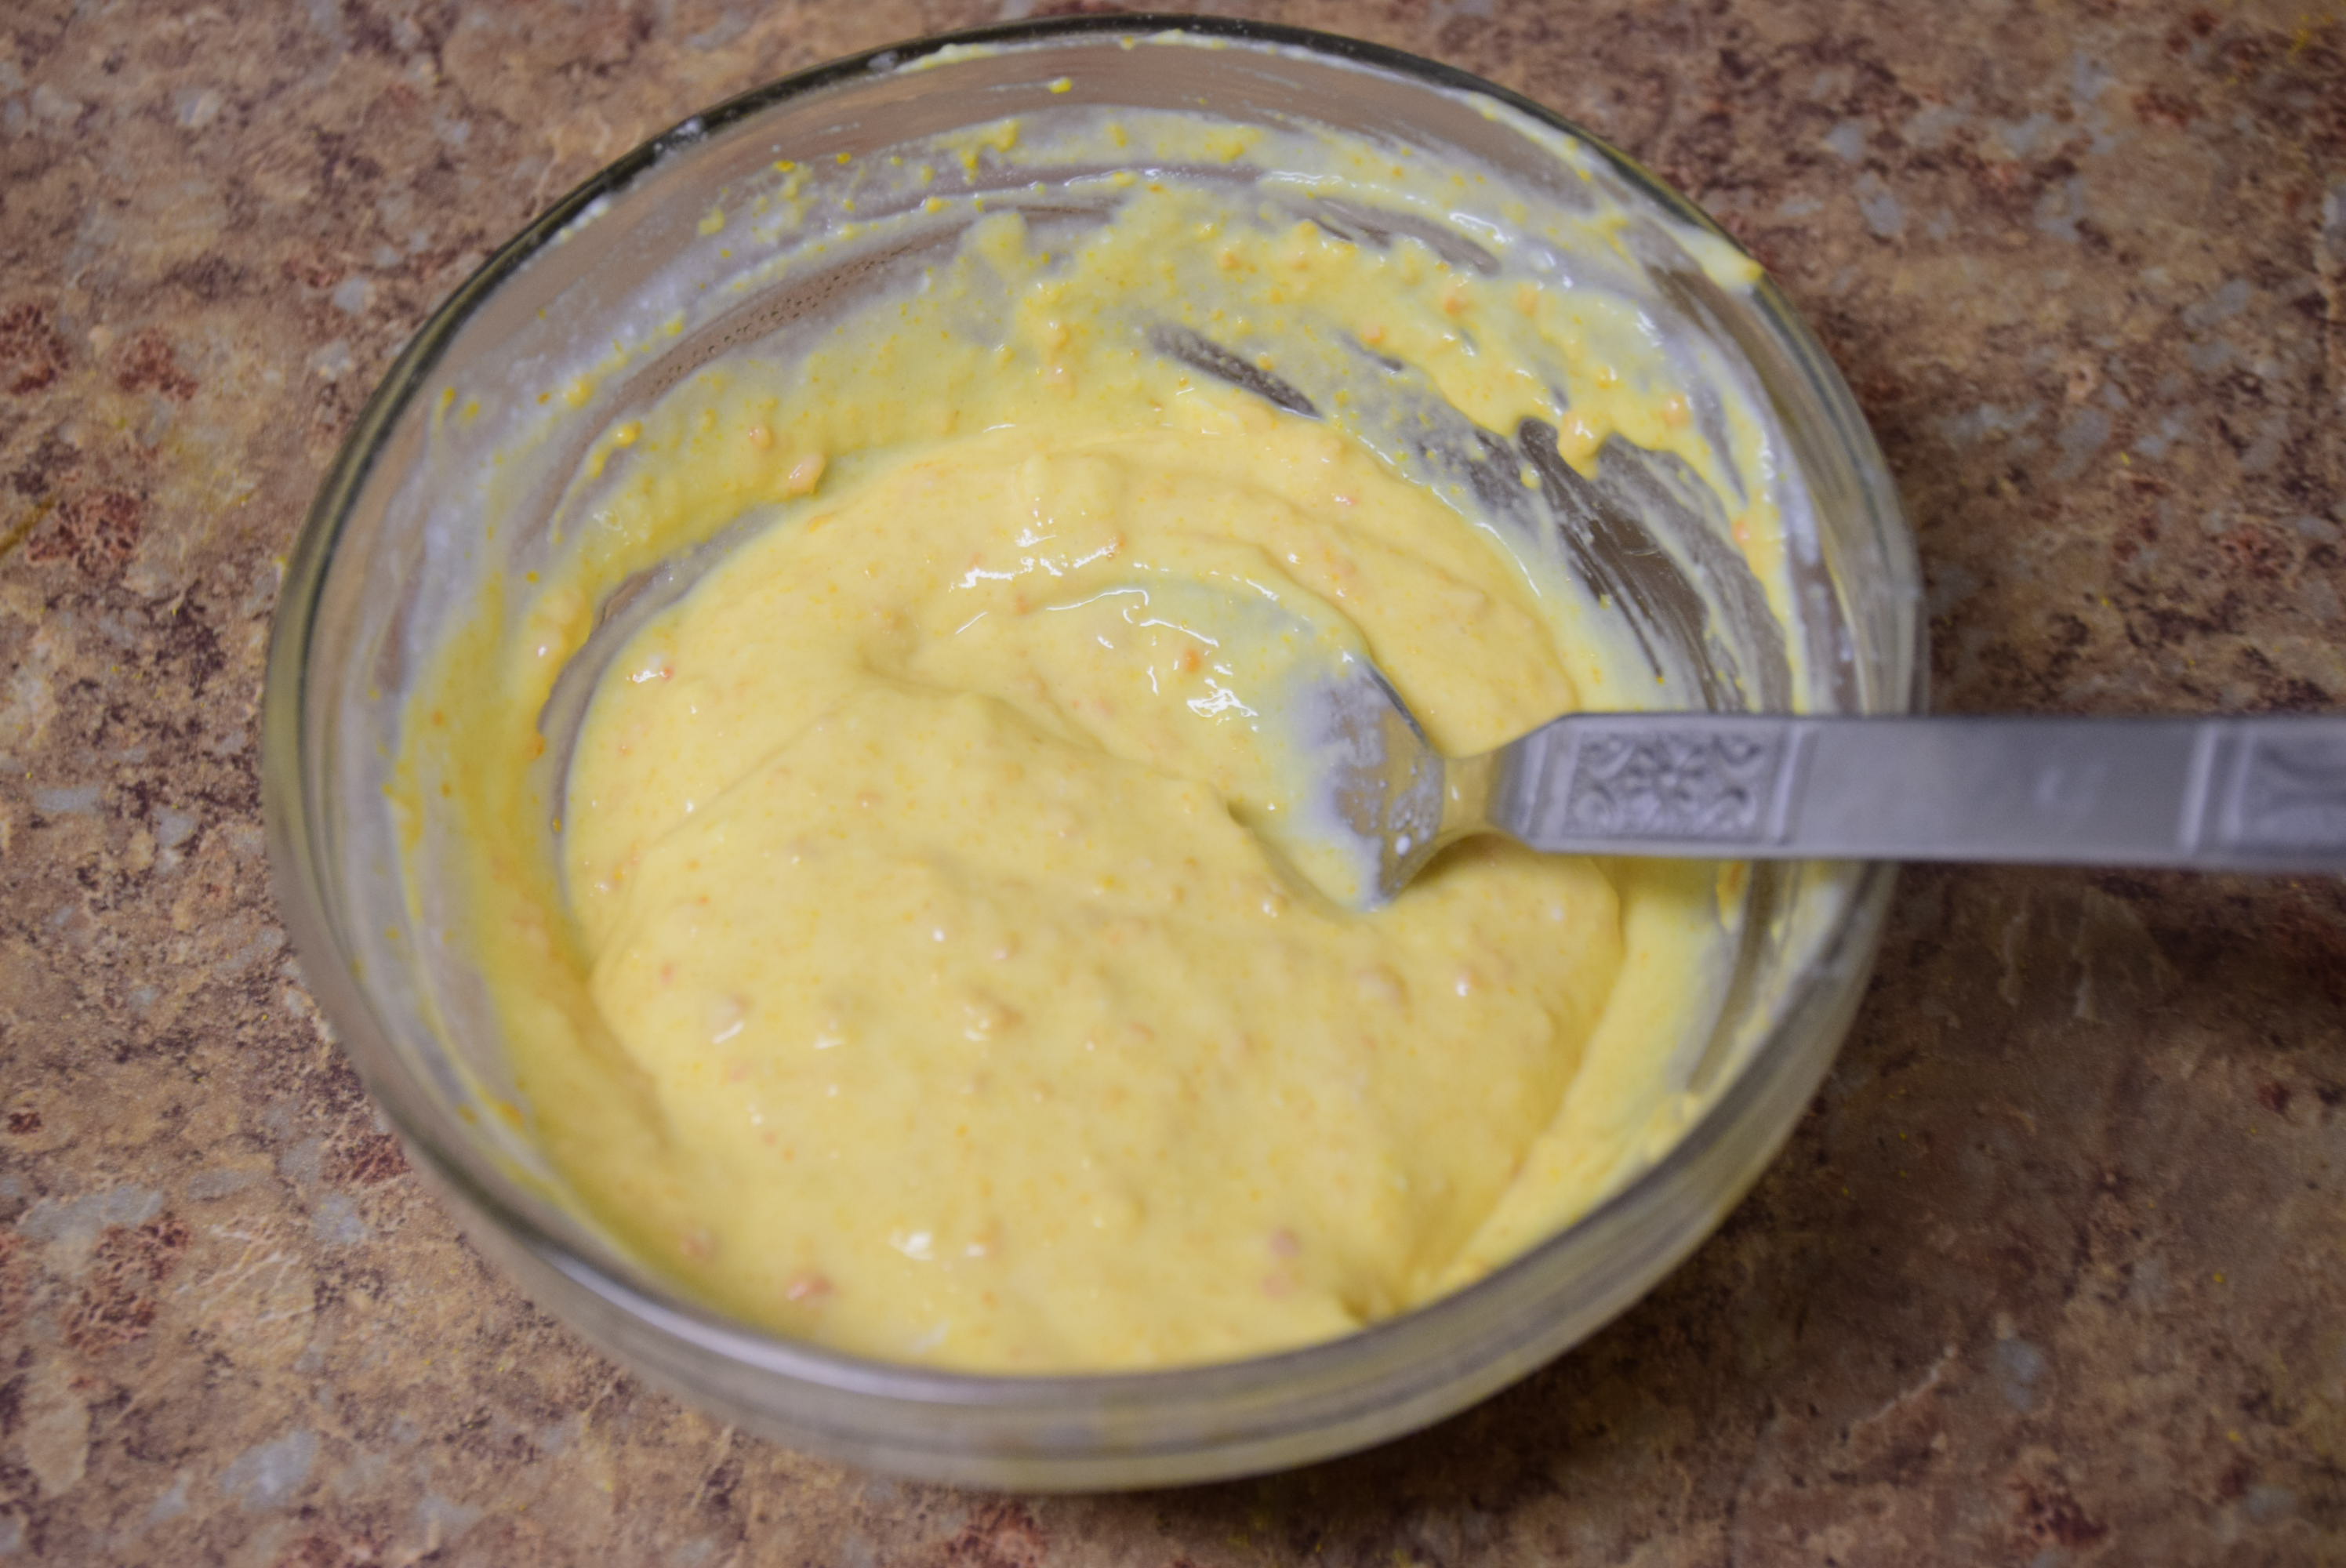
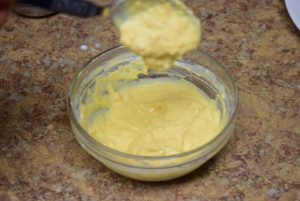
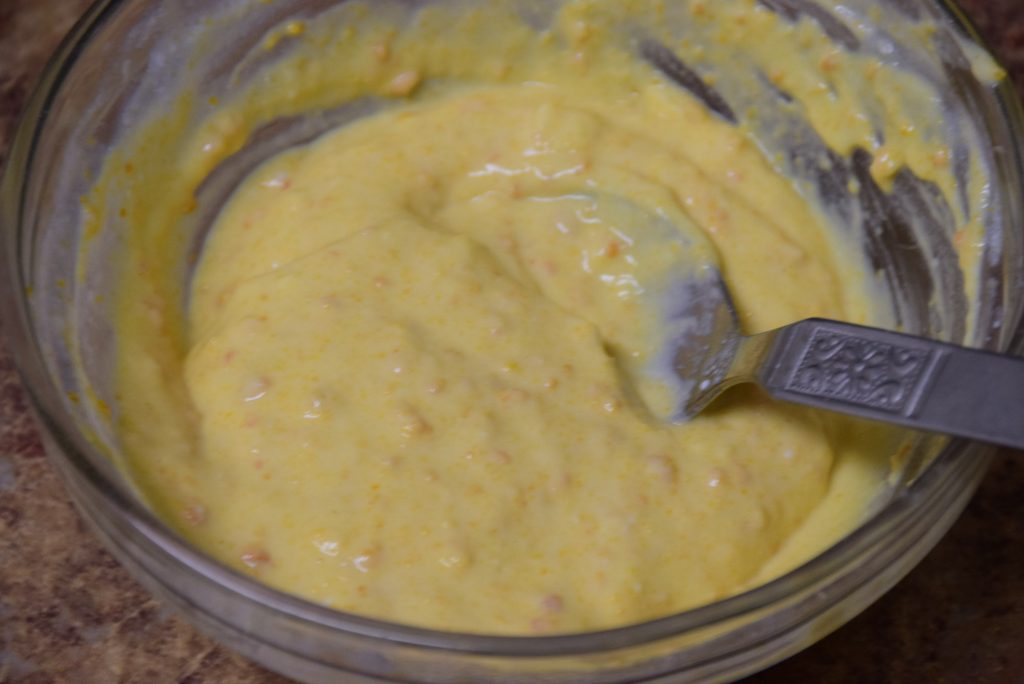
2. Whenever you are ready to use the scrub, add the rice flour, the orange peel powder, the chickpea flour, curd/milk depending on your skin types. Mix them well and add lemon juice in the end and mix it too to form a paste like consistency.[ Yogurt is better for oily type of skins, since it dries it up and Milk for dry types ,since it gets absorbed. Choose according to your skin type. ] 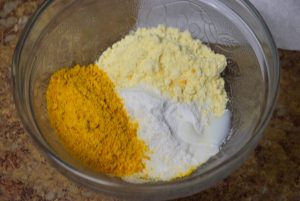
APPLICATION:
3. Wash your face , neck and upper shoulder with water . Now apply a generous amount of scrub just prepared all over your face, neck /shoulders and allow it to dry.
4. Leave it to dry in air for 30-35 mins. (Though it isn’t necessary to fully dry it . But give at least 5 mins to interact with the skin. Remember this is not face-pack but a scrub or a face -wash kind.)
5. Now wash it off with regular water and gently remove it.
6. Wash with cold water and apply ice all over the face. This will help shut your skin-pores and prevent any dirt/dust to enter it again.
7. Pat dry with clean towel.
You will see the difference in one use only. But to get results, you need to make and use it persistently. It is always recommended to use it the same day or within 2-3 days the most.
Disclaimer: I have only shared what I have tried and tested in my family for years. It is your sole responsibility to make and use it as per your requirements. Although it is any day a better option to the synthetic scrubs we get in the market, but if you suffer from skin reactions, always consult your doctor first.
Hope this brings a new sunshine on your face and brighten your everyday ! Till then keep sharing…
🙂
If someone needs a before-after pic of this scrub use, I can share it on ur email id. Thanks for reading !!